Pumpkins, with their vibrant orange hue and association with autumn festivities, are more than just a decorative element; they’re a versatile crop that can be cultivated for both culinary and ornamental purposes. Whether you’re an experienced gardener or a novice embarking on your first pumpkin patch adventure, this comprehensive guide will take you through each step, from selecting the right seeds to enjoying a bountiful harvest.
I. Choosing the Right Seeds: The Foundation of Success
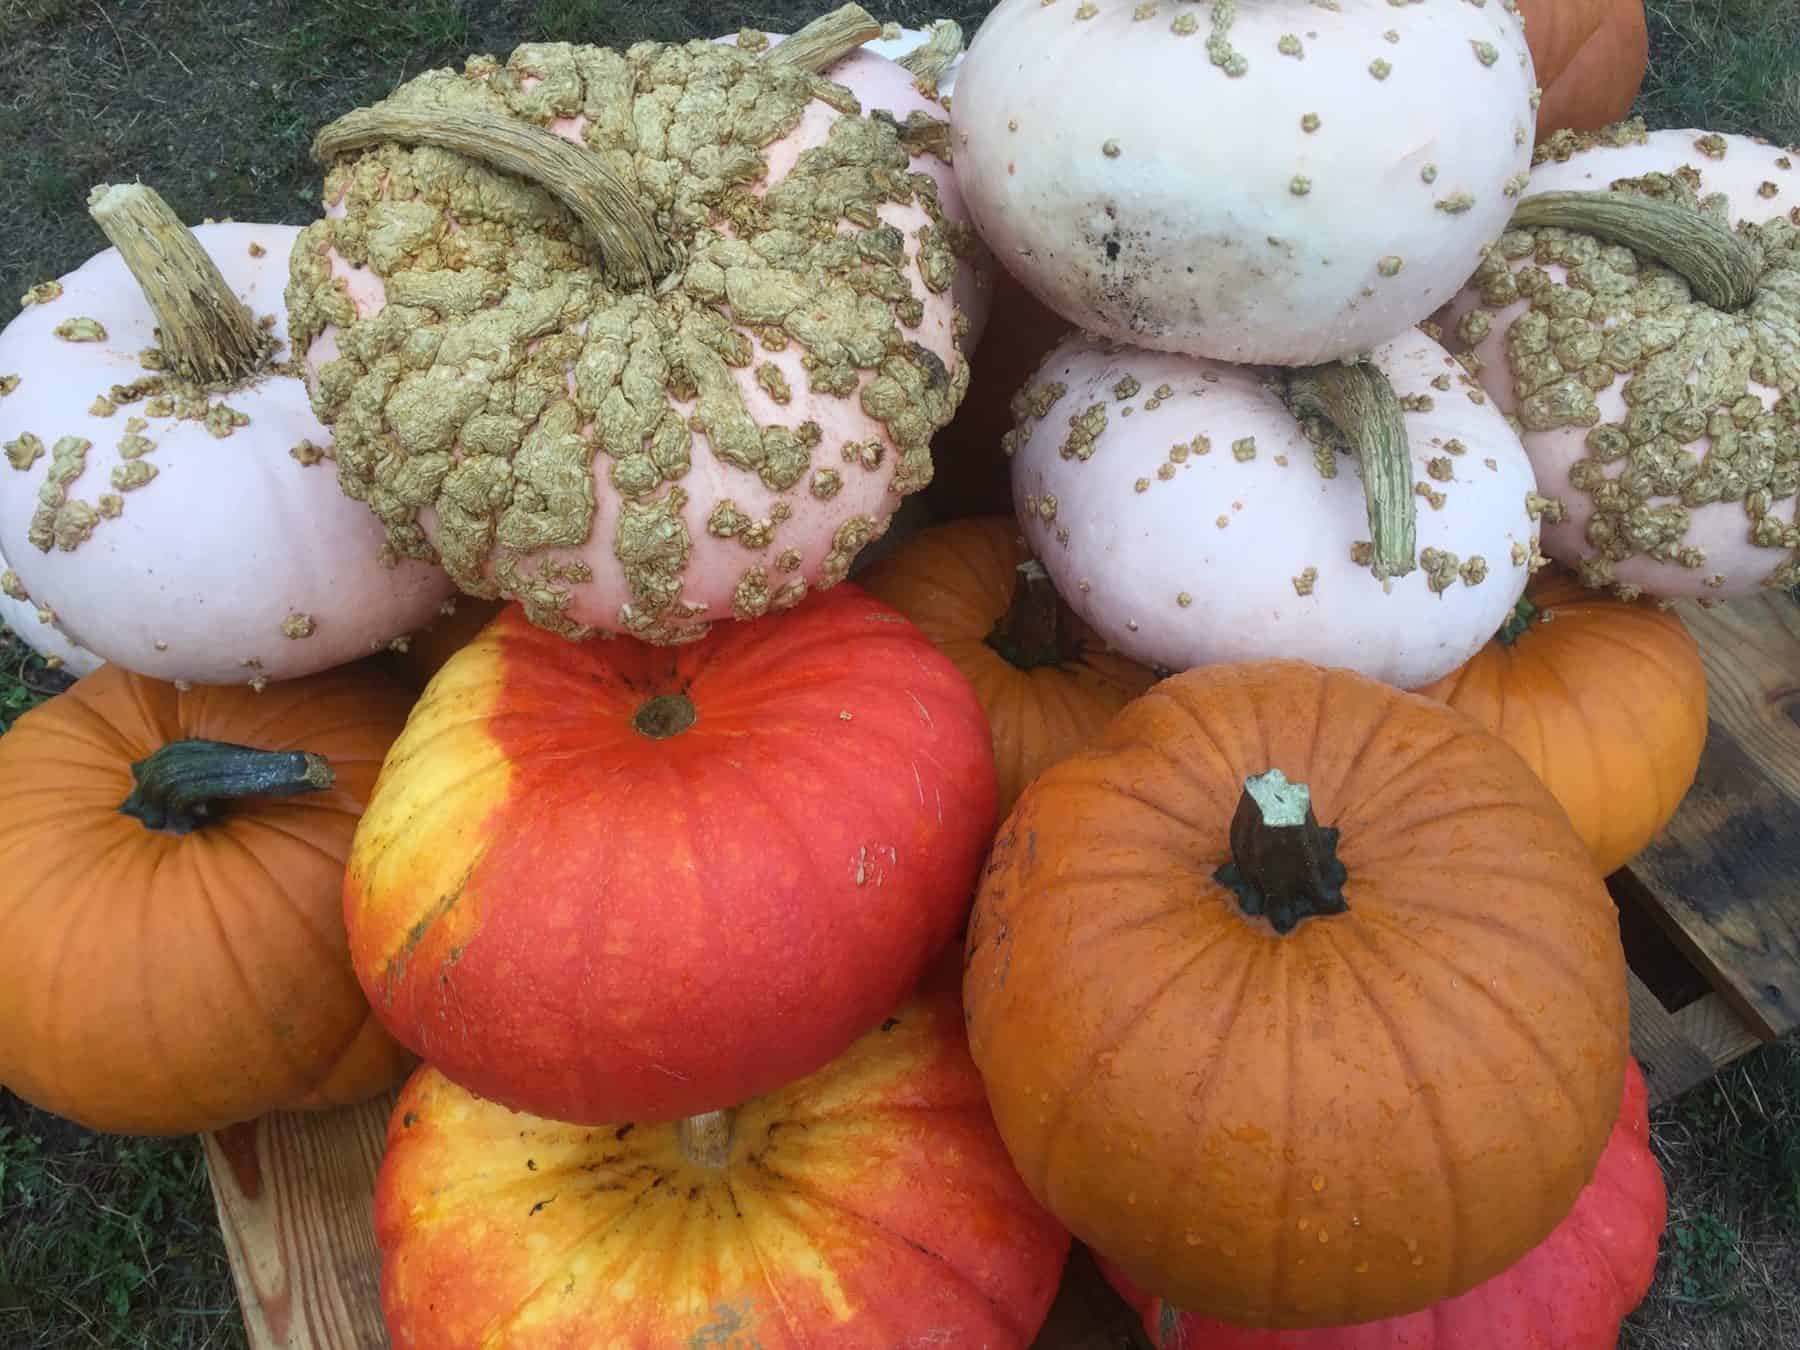
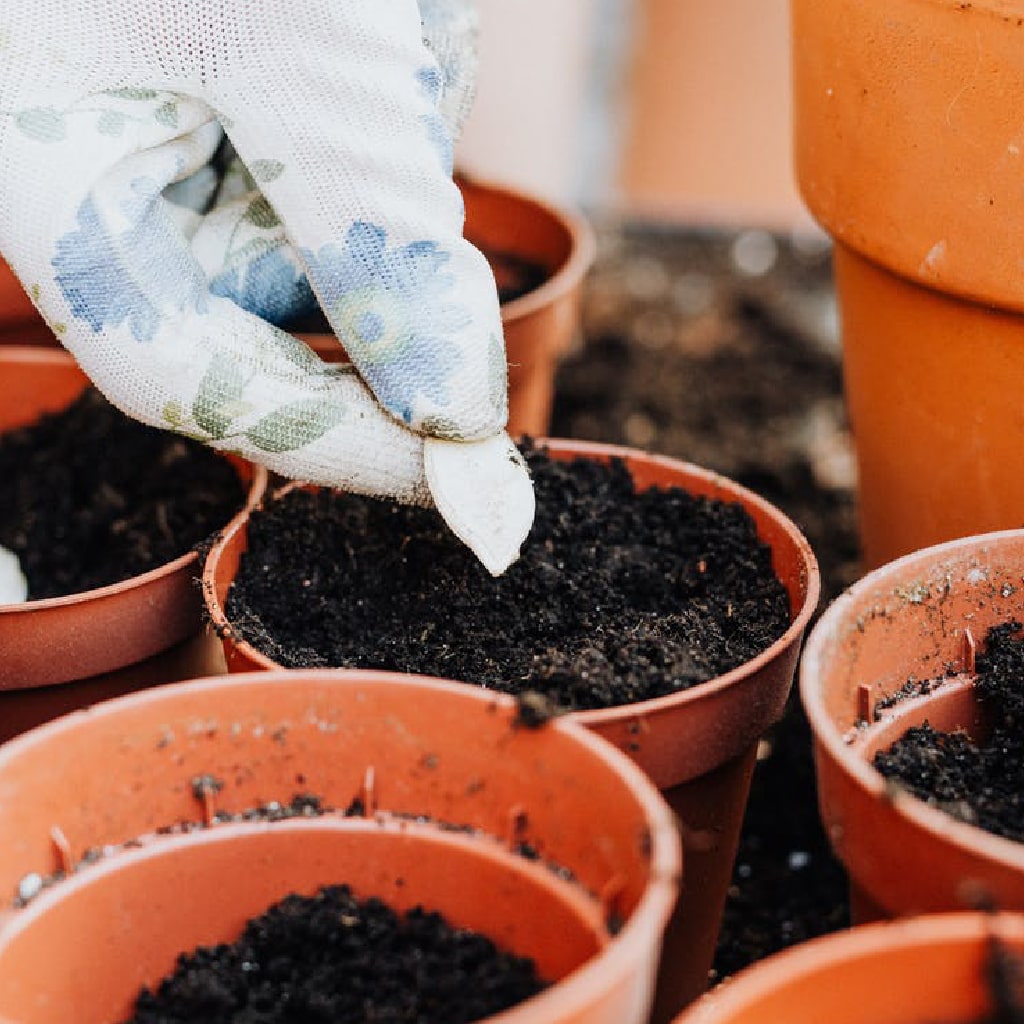
Selecting quality seeds is the cornerstone of a successful pumpkin harvest. Look for varieties that match your climate, intended use (e.g., carving, cooking, or decoration), and available space. Popular cultivars include ‘Cinderella’, known for its flattened, deeply ridged shape perfect for decorations, and ‘Sugar Pie’, a smaller variety ideal for pies and baking. Ensure seeds are fresh and from a reputable source to guarantee germination rates.
II. Preparing the Soil: Nurturing the Ground
Pumpkins thrive in well-draining, nutrient-rich soil with a pH between 6.0 and 7.5. Before planting, work in a generous amount of compost or well-rotted manure to improve soil structure and fertility. Consider conducting a soil test to determine any nutrient deficiencies and adjust accordingly. Avoid areas where water tends to pool, as wet feet can lead to fungal diseases.
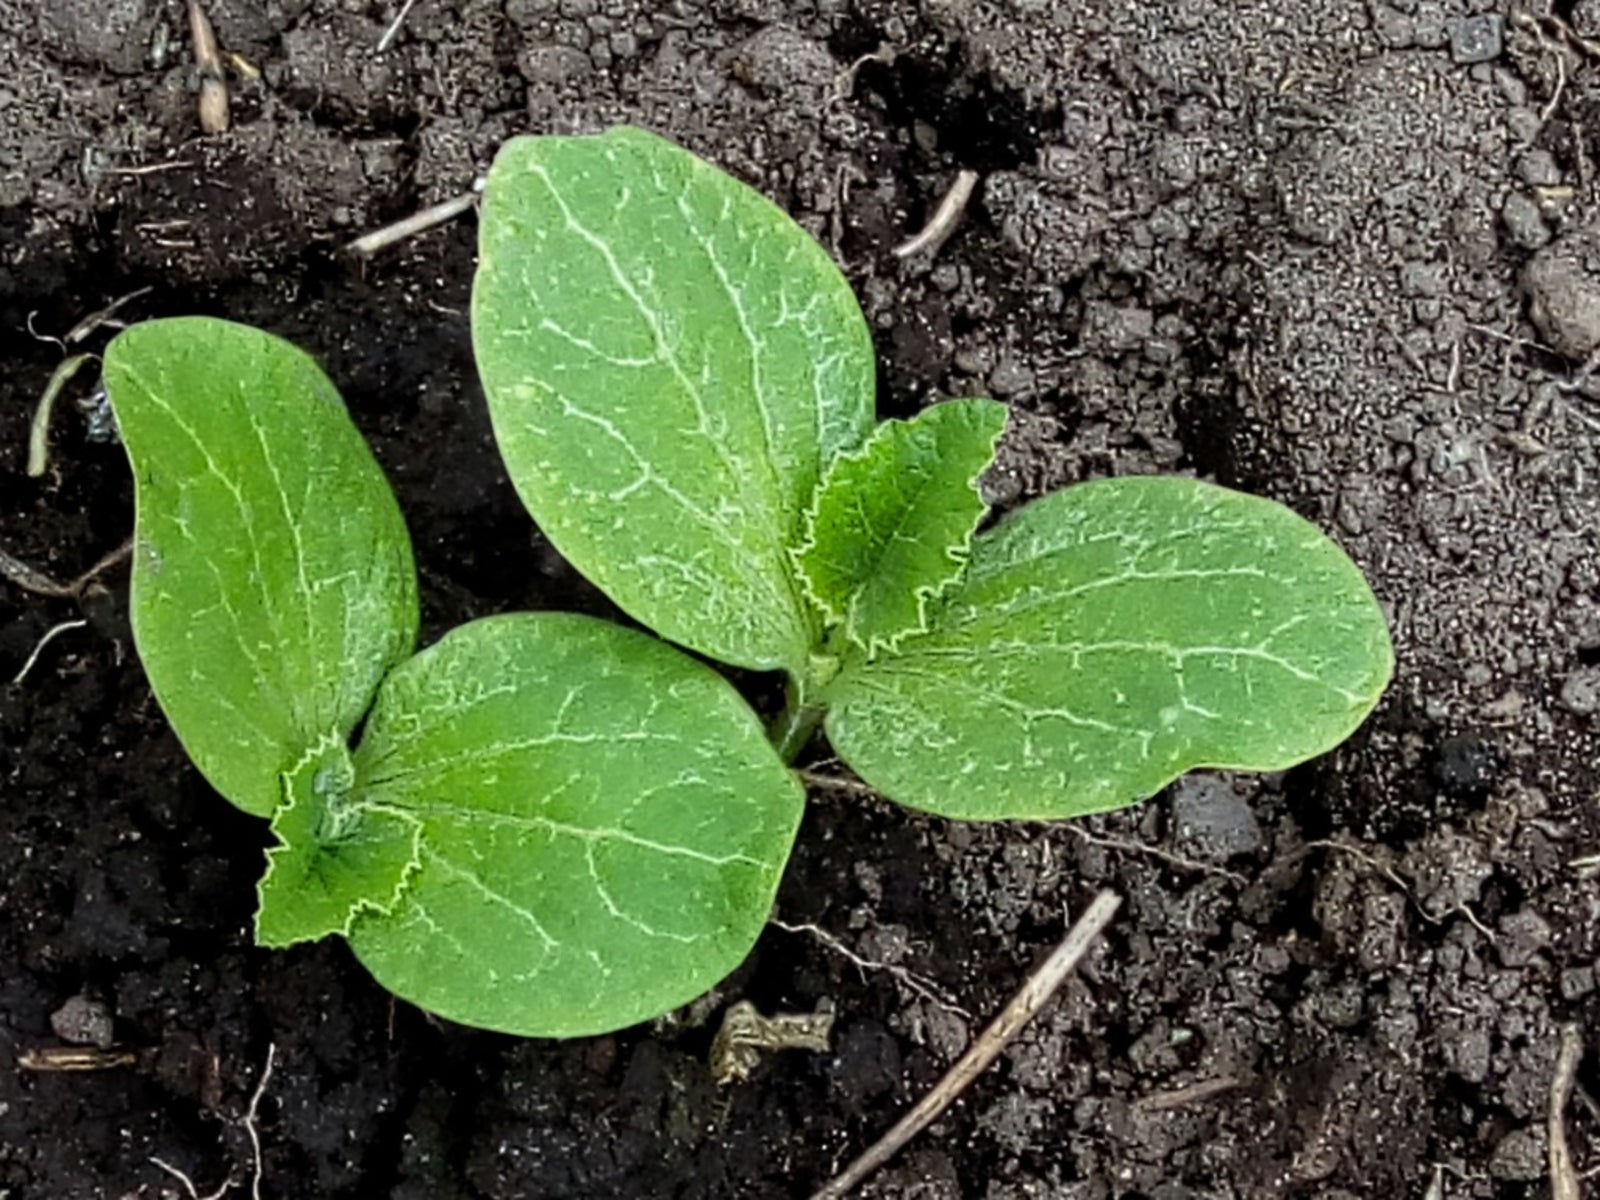
III. Planting at the Right Time: Timing is Everything
Plant pumpkin seeds directly into the garden once the danger of frost has passed and the soil has warmed to at least 65°F (18°C). In most regions, this falls around late May to early June. Plant seeds 1-2 inches deep and 4-5 feet apart, with rows spaced 8 feet apart to accommodate their sprawling nature. For an earlier start, you can also sow seeds indoors 3-4 weeks before the last frost date and transplant seedlings outdoors later.
IV. Watering Wisely: The Key to Healthy Growth
Pumpkins require consistent moisture throughout their growth cycle, especially during fruit development. Aim for about 1 inch of water per week, either through rain or irrigation. Use soaker hoses or drip irrigation to keep the foliage dry, reducing the risk of powdery mildew. Avoid overhead watering, which can promote fungal diseases.
V. Nutrient Management: Feeding for a Bumper Crop
While a good soil foundation is crucial, pumpkins may benefit from additional fertilization. Apply a balanced fertilizer (such as 10-10-10) at planting time, followed by side-dressing with compost or a high-nitrogen fertilizer when vines begin to run. As the plants start flowering and setting fruit, switch to a high-phosphorus fertilizer to encourage fruit development.
VI. Controlling Weeds and Pests: A Watchful Eye
Weed control is essential in the early stages to prevent competition for nutrients and sunlight. Mulching around plants with straw or wood chips can help suppress weeds and conserve moisture. Monitor for common pests like squash bugs, vine borers, and cucumber beetles. Handpicking, using insecticidal soap, or deploying natural predators like ladybugs can help manage pest populations.
VII. Supporting Vines and Managing Growth: Structuring Your Patch
As pumpkin vines spread, consider training them along a trellis or using a technique called “mounding” to direct growth and conserve space. This involves creating small mounds of soil around the base of each plant, encouraging the vines to grow outward rather than in a tangled mess. Prune excess foliage to improve air circulation and reduce disease pressure.
VIII. Pollination Matters: Encouraging Fruit Set
Pumpkins are dependent on pollinators, primarily bees, for fruit set. Planting flowering herbs and flowers nearby can attract these beneficial insects. If you notice a lack of bees, hand-pollination can be done by transferring pollen from the male flower (recognized by its straight stem) to the female flower (with a swollen base beneath the bloom).
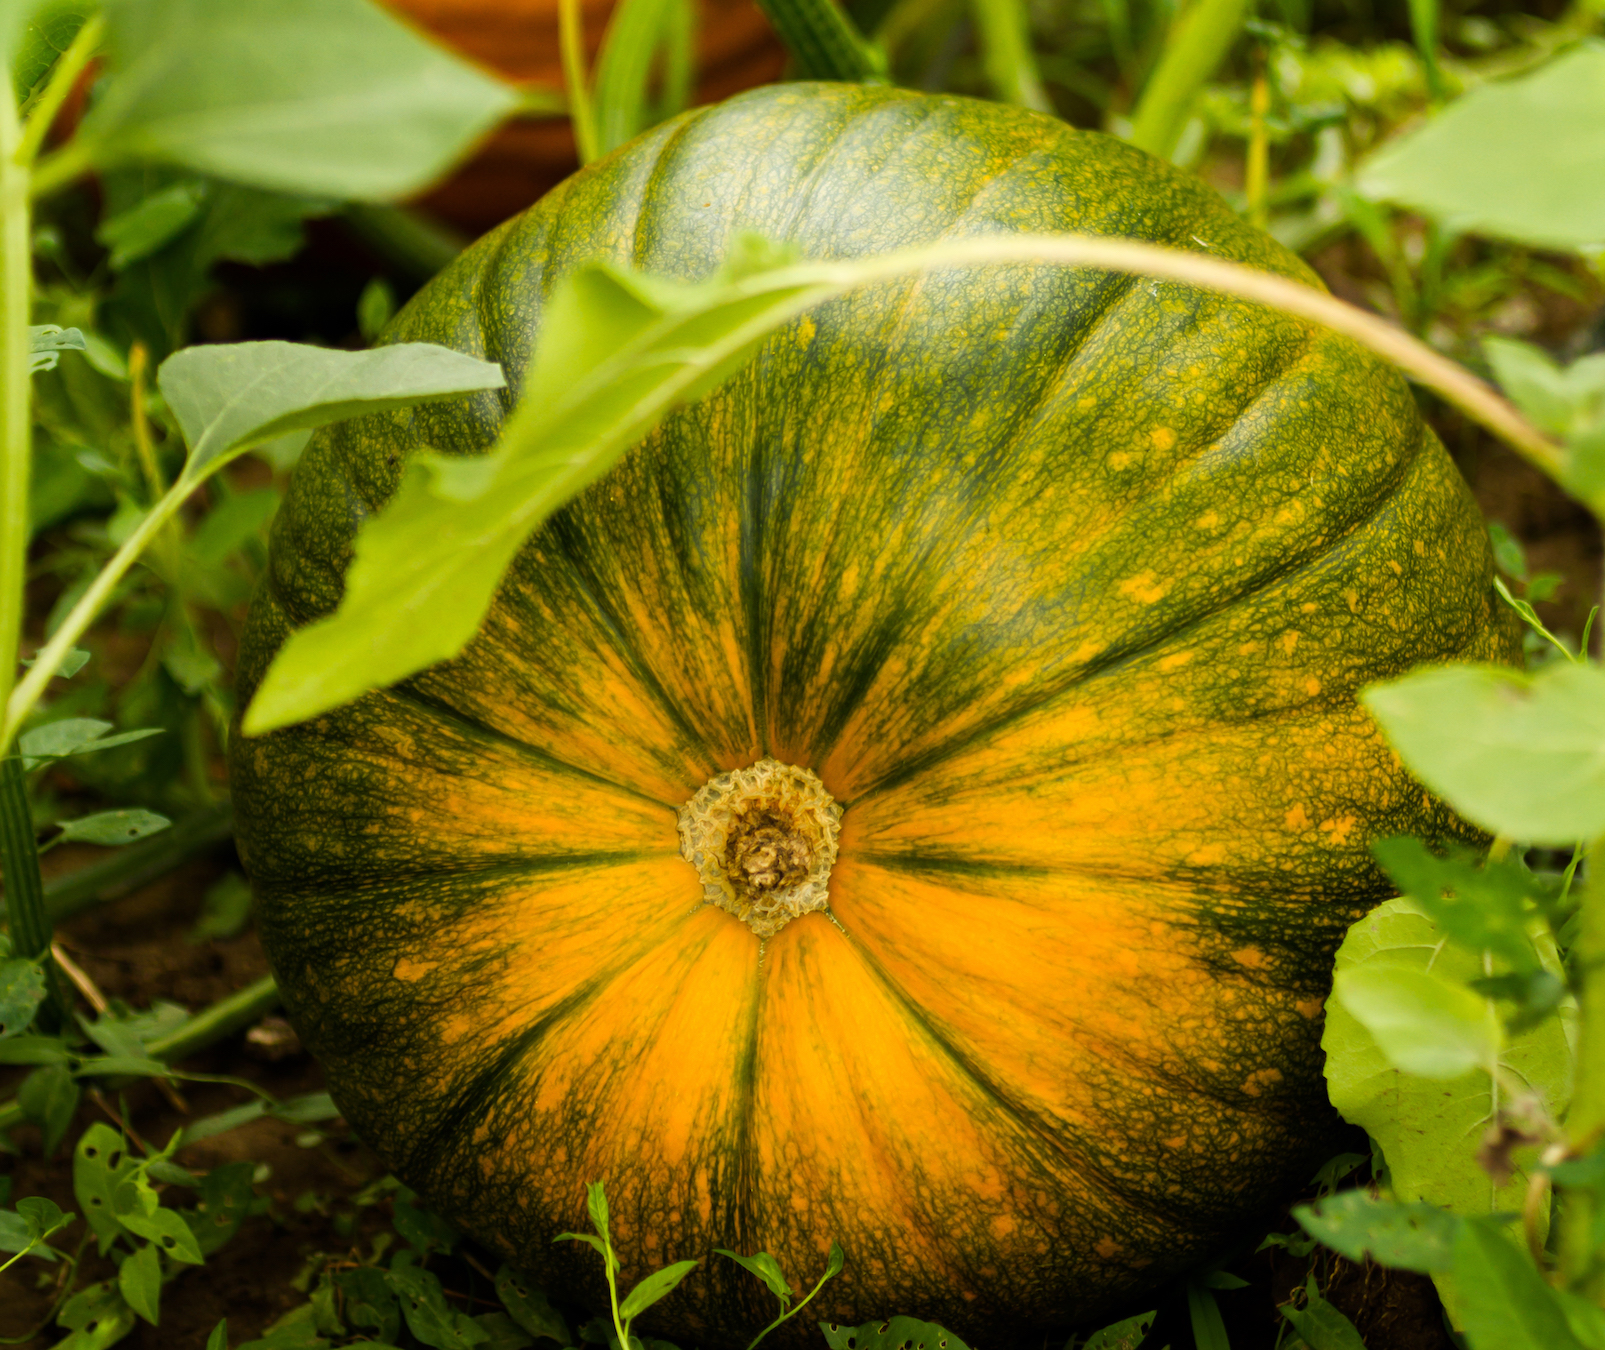
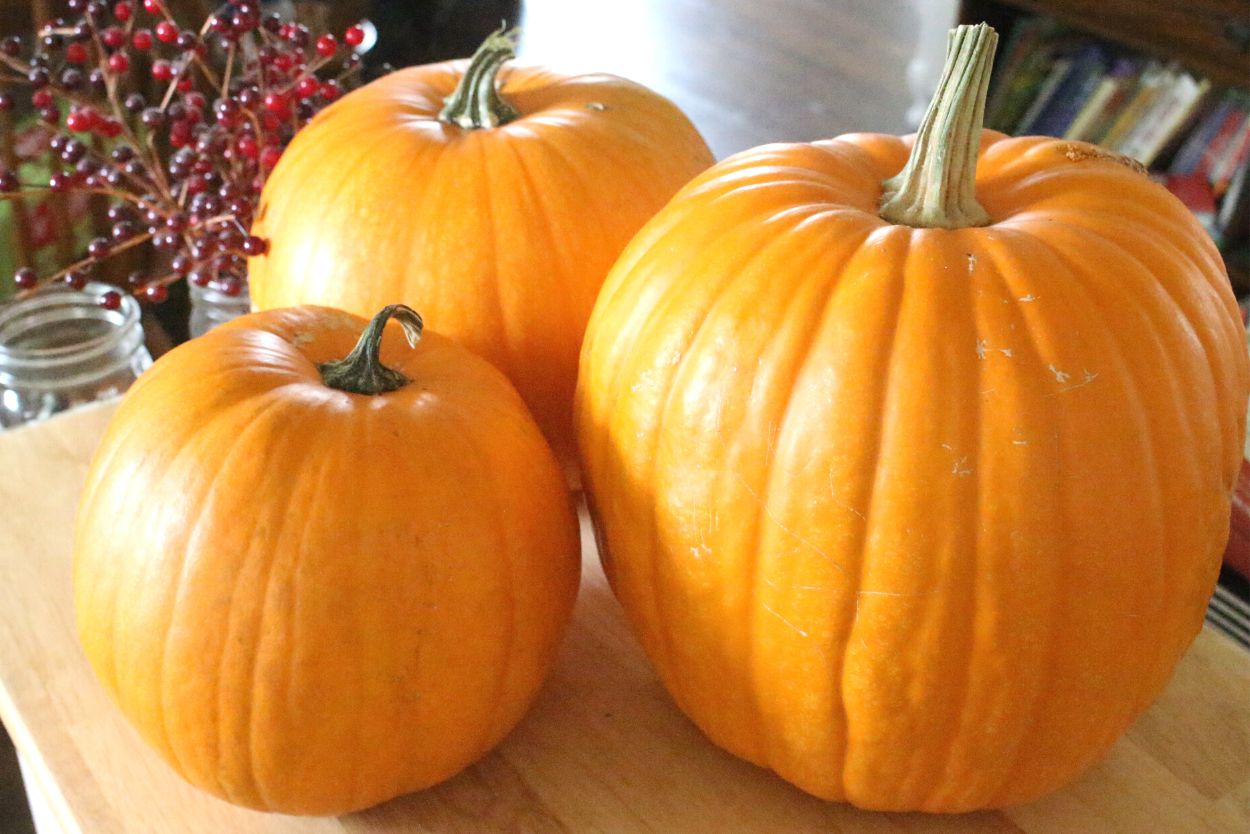
IX. Harvesting at the Peak: Knowing When to Pick
Knowing when to harvest is crucial for optimal flavor and storage. Generally, pumpkins are ready for picking when their color fully develops, the rind is hard, and a gentle thumb press does not dent the skin. Cut pumpkins from the vine using a sharp knife, leaving a few inches of stem attached to prevent rot. Handle carefully to avoid bruising.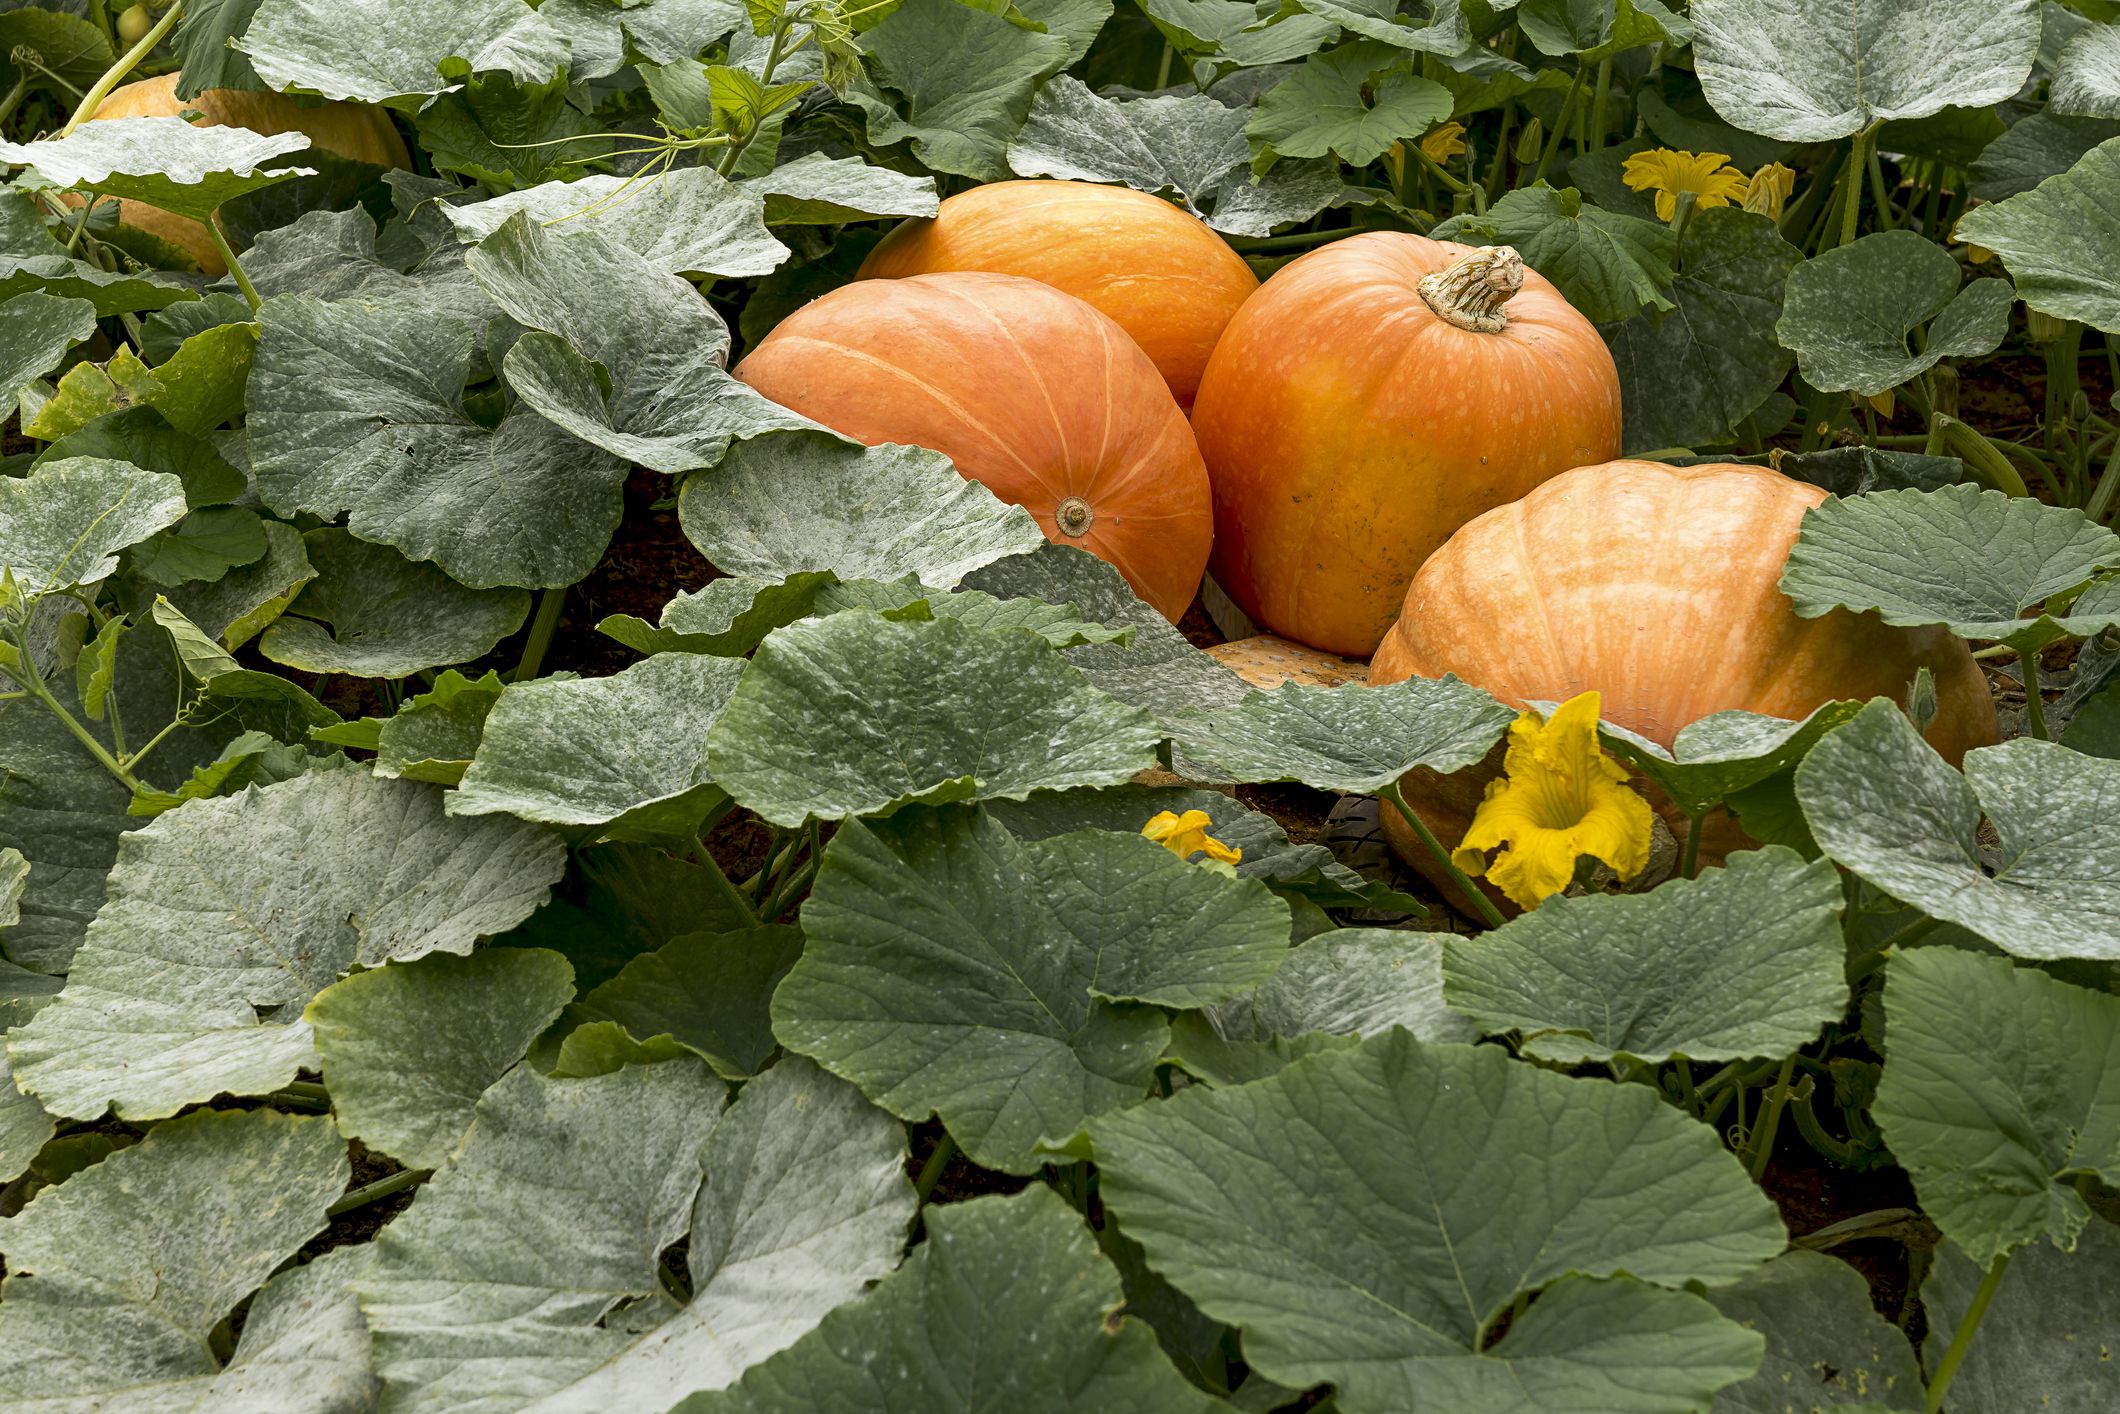
X. Storing Your Bounty: Extending the Harvest
Properly stored, pumpkins can last for several months. Cure harvested pumpkins in a warm, sunny spot (around 80°F/27°C) for 10-14 days to toughen the skin and enhance storability. Move them to a cool, dry place (ideally around 50-55°F/10-13°C) with good ventilation. Check periodically for signs of decay and remove any affected pumpkins to prevent spread.
By following these steps, you’ll be well on your way to a rewarding pumpkin harvest, whether for festive fall displays, homemade pumpkin pie, or as a satisfying gardening achievement. Remember, patience and attention to detail are key to growing pumpkins successfully. Happy gardening!
XI. Saving Seeds for Next Season: Sowing Continuity
After enjoying a fruitful harvest, consider saving some of the best pumpkin seeds for planting in the next season. Not only is this a cost-effective approach, but it also allows you to select and propagate the traits you prefer, such as flavor, size, or color. Here’s how to do it:
- Choose the Right Pumpkin: Select pumpkins from your healthiest, most robust plants. Ideally, pick pumpkins that exhibit the characteristics you wish to see in future generations, avoiding those with diseases or defects.
- Clean and Prepare Seeds: Cut open the chosen pumpkin and scoop out the seeds and surrounding pulp. Place the mixture into a large bowl and cover with water. Allow it to sit for a few days, stirring occasionally. Good seeds will sink to the bottom while the pulp and bad seeds float. Skim off the pulp and floating seeds, then rinse the good seeds thoroughly.
- Drying Seeds: Spread the clean seeds in a single layer on a paper towel or a screen. Keep them in a warm, dry, and well-ventilated area until completely dry. This could take up to two weeks. It’s crucial that the seeds are fully dry to prevent molding during storage.
-
Storage Preparation: Once dry, you may want to label each batch according to the pumpkin variety to maintain organization. Some gardeners recommend lightly oiling the seeds with vegetable oil to prevent sticking, although this step is optional.