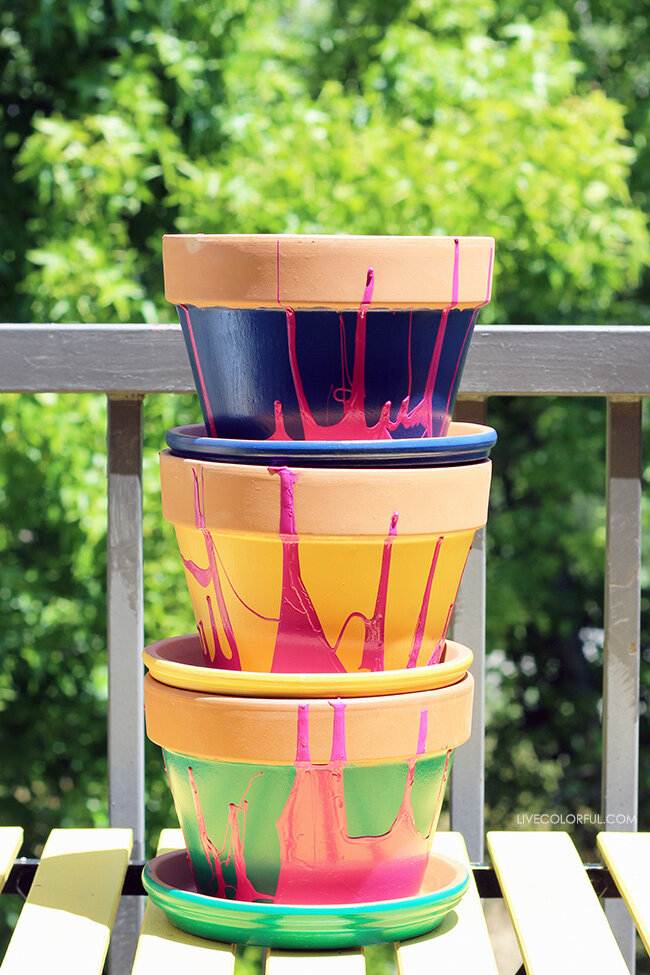
Introduction to Painted Flower Pots
Painted flower pots offer a unique and colorful way to enhance the beauty of your garden, balcony, or indoor plant arrangements. The practice of decorating flower pots with paint is not only a creative outlet but also a means to personalize your gardening space, making it a reflection of your style and personality. Painting flower pots can breathe new life into plain terracotta or ceramic containers, transforming them into eye-catching pieces of art that complement the natural beauty of the plants they hold.
Gathering Your Materials
Before diving into the painting process, it is essential to gather all the necessary materials to ensure a smooth and enjoyable experience. The first step is to select the type of pots you wish to paint; terracotta pots are a popular choice due to their porous surface, which holds paint well, but ceramic or plastic pots can also be used with appropriate preparation. Next, choose high-quality acrylic paints, as they provide vibrant colors and are suitable for outdoor use due to their durability and water resistance. You will also need a variety of brushes in different sizes for detailed work and larger areas, as well as painter’s tape for creating crisp lines and patterns.
Preparing Your Pots
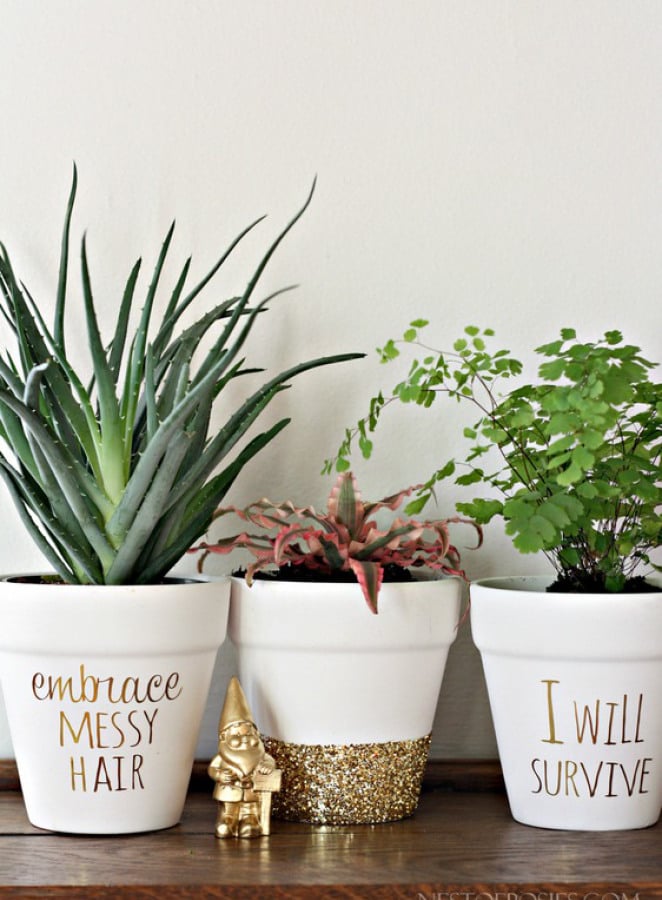
Proper preparation of your flower pots is a vital step that should not be overlooked, as it ensures the paint adheres well and the final result is smooth and professional-looking. Begin by thoroughly cleaning the pots to remove any dirt, dust, or residue that could interfere with the paint application. For terracotta pots, soak them in water for a few hours to open up the pores and allow for better paint absorption. If you are working with glazed ceramic or plastic pots, lightly sand the surface to create a rough texture that will help the primer and paint stick. Once the pots are clean and dry, apply a coat of primer if necessary, particularly for non-porous surfaces.
Choosing a Color Scheme
The color scheme you choose for your painted flower pots plays a significant role in the overall aesthetic and impact of the final product. When selecting colors, consider the environment where the pots will be displayed and the types of plants they will hold. For a cohesive and harmonious look, you might opt for colors that complement the natural hues of your garden or interior decor. Alternatively, you can create a bold statement by choosing contrasting colors that make the pots stand out as focal points. If you are unsure about which colors to pick, draw inspiration from nature, art, or even your favorite fabrics and fashion trends. Using a color wheel can also be helpful in determining complementary and analogous color combinations.
Incorporating Patterns and Designs
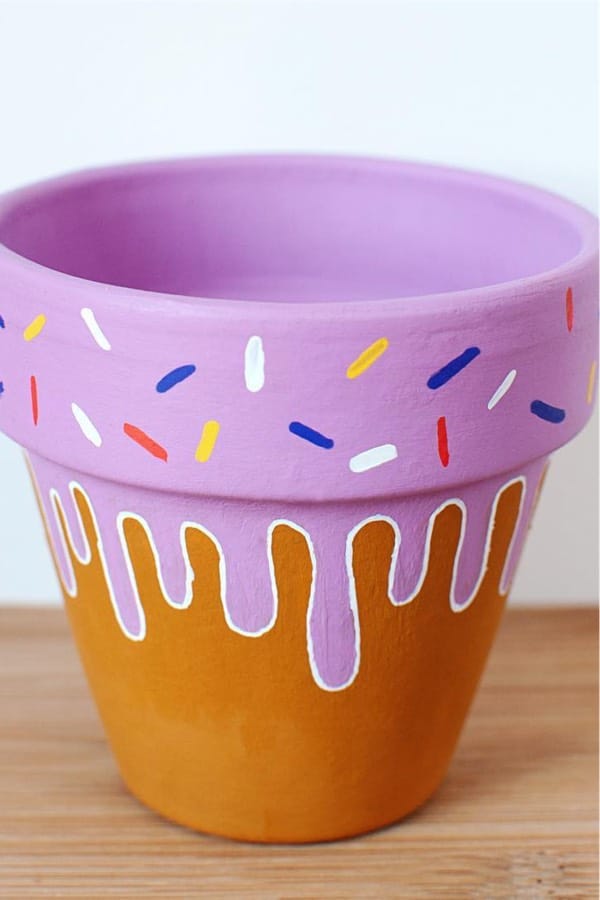
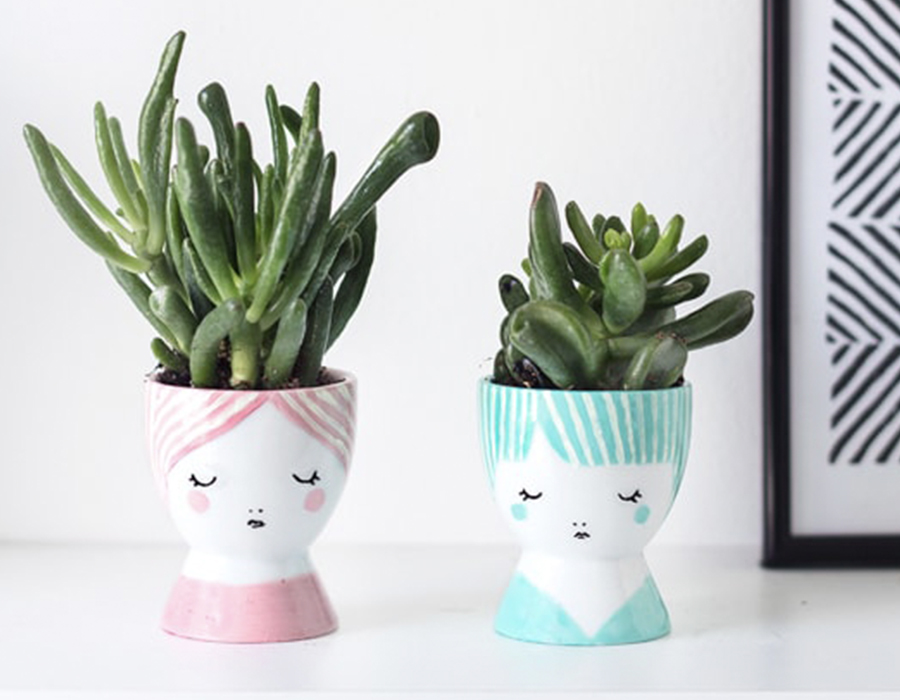
Adding patterns and designs to your painted flower pots can elevate their appearance and turn them into true works of art. There are countless possibilities when it comes to decorating your pots, ranging from simple geometric shapes to intricate floral motifs. To achieve precise and clean patterns, consider using painter’s tape or stencils, which can be purchased or created at home with cardstock and a craft knife. One popular technique is to use tape to create stripes or chevron patterns, applying different colors in each section for a vibrant and modern look. Stencils allow for more detailed designs, such as leaves, flowers, or even abstract shapes, enabling you to achieve professional-quality results with ease.
Experimenting with Textures
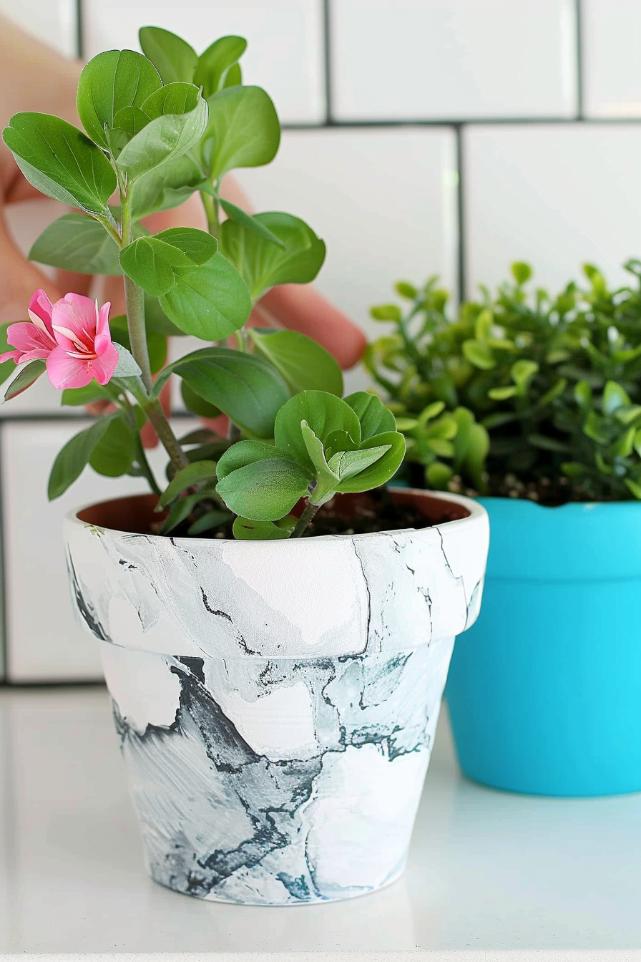
In addition to color and pattern, incorporating texture into your painted flower pots can add an extra dimension and tactile interest to your creations. Textured finishes can be achieved through various methods and materials, allowing you to explore different styles and effects. One simple technique is to mix sand or sawdust into your paint to create a gritty, rustic texture that mimics natural surfaces like stone or bark. Another approach is to use a sponge or rag to dab on layers of paint, creating a stippled or marbled effect that adds depth and complexity. For a more dramatic look, consider applying modeling paste or joint compound to the pot before painting; once dried, these materials can be carved, sculpted, or stamped to create raised designs and patterns.
Showcasing Your Painted Pots
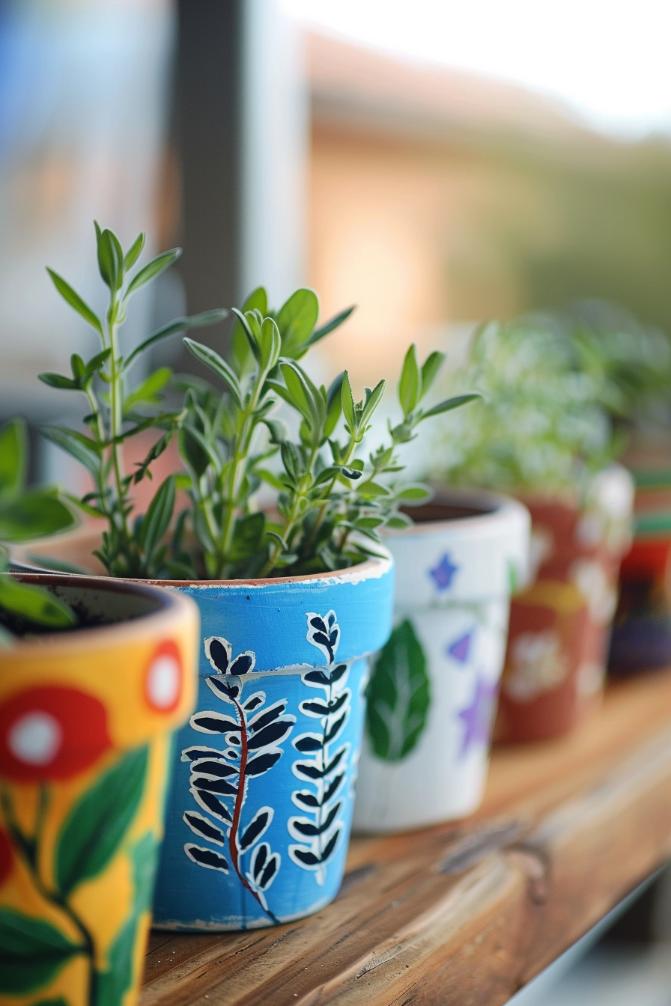
Once you have completed your beautifully painted flower pots, it’s time to showcase them in ways that maximize their visual impact and complement your plants. Consider arranging your pots in groups, creating clusters of varying heights and sizes to add depth and interest to your display. Use plant stands, shelves, or hanging brackets to elevate some pots, drawing the eye upward and adding verticality to your arrangement. When placing your pots outdoors, think about incorporating them into existing garden features like pathways, patios, or garden beds, ensuring they blend harmoniously with the natural surroundings. Indoors, painted pots can be used to brighten up windowsills, mantelpieces, or tabletops, bringing a touch of nature and artistry into your living spaces.
Organizing a Painting Party
Organizing a painting party is a fun and social way to share the joy of creating painted flower pots with friends, family, or fellow gardening enthusiasts. Hosting a painting party can be a wonderful opportunity to bond, exchange ideas, and inspire each other’s creativity. Start by inviting a group of people who enjoy DIY projects or have an interest in gardening. Prepare a variety of pots, paints, brushes, and other supplies in advance, ensuring there are enough materials for everyone. Set up a comfortable workspace with plenty of table space, chairs, and protective coverings to catch any spills or splatters.
Conclusion
In conclusion, giving your flower pots a painted makeover is a rewarding and enjoyable project that allows you to express your creativity while enhancing the beauty of your plants and living spaces. Whether you are an experienced artist or a novice DIY enthusiast, the possibilities for designing and decorating painted flower pots are endless. From selecting color schemes and incorporating patterns to experimenting with textures and adding personal touches, each step of the process offers an opportunity to create something unique and special.
