Introduction: Reviving Your Outdoor Space with Color
Gardening enthusiasts often find themselves seeking creative ways to infuse personality and vibrancy into their outdoor spaces. One simple yet transformative approach involves painting plastic flower pots. This DIY project not only revives tired containers but also allows gardeners to customize their plant displays to match any theme or aesthetic. This guide outlines the step-by-step process for turning mundane plastic pots into colorful garden accents, breathing new life into your green haven.
Preparation: Setting the Stage for Success
Choosing the Right Pot
Before diving into the painting plastic flower pots process, ensure your plastic pots are clean, dry, and free from cracks. Lightweight, smooth-surfaced pots work best for painting, as they provide an even canvas.
Selecting Paint and Supplies
Opt for spray paints or acrylic paints specifically designed for plastics. These formulas adhere better and are less likely to peel or chip. Gather painter’s tape, sandpaper (fine grit), a primer (optional), paintbrushes or spray can nozzle attachments, and a drop cloth to protect your workspace.
Cleaning and Sanding
Thoroughly clean the pots with soap and water, removing any dirt or residue. Allow them to dry completely. Lightly sand the surface with fine-grit sandpaper to create a slightly rough texture that will help the paint adhere better. Wipe away any dust with a damp cloth and let dry again.
Optional Priming
Applying a plastic primer before painting can significantly improve paint adhesion and longevity, especially if you plan to use acrylic paints. Follow the manufacturer’s instructions for best results.
The Art of Painting: Techniques for a Professional Finish
Color Schemes and Designs
Decide on your color scheme and design. You might choose a uniform color for a classic look, or experiment with patterns and multiple hues for a more whimsical touch. Sketch out your design on paper if it helps with visualization.
Spray Painting Technique
For a smooth, even finish, start by shaking the spray paint can well. Hold it approximately 6 inches away from the pot and apply light, even coats, moving in a sweeping motion. Overlap each pass slightly to avoid drips or streaks. Allow each coat to dry according to the paint’s instructions before applying the next. Multiple thin coats are better than one thick coat, which can lead to drips.
Brush Painting Technique
If using acrylic paint, begin by applying a thin layer of paint using a synthetic brush designed for smooth surfaces. Work in sections, maintaining a steady hand for even coverage. Let the first coat dry completely before adding additional layers to achieve the desired opacity. Remember, patience is key to prevent smudging or clumping.
Adding Details and Finishing Touches
Stenciling and Patterns
For intricate designs or lettering, use stencils. Secure the stencil to the pot using painter’s tape, then apply paint over it with a sponge or brush, being careful not to push paint under the edges. Remove the stencil carefully while the paint is still wet for clean lines.
Sealing and Protecting
Once your masterpiece is complete and fully dry, consider applying a clear sealer, especially if the pots will be exposed to outdoor elements. A clear, waterproof sealant will help protect the paint from fading, chipping, and weather damage, extending the life of your painted pots.
Creative Ideas to Inspire Your Project
Ombre Effect
Create a subtle gradient by blending two shades of the same color family, darkening gradually towards the bottom of the pot.
Mosaic Illusion
Paint the pot in solid colors, then use a fine brush to add tiny dots or squares in contrasting colors to mimic the look of mosaic tiles.
Nature-Inspired Themes
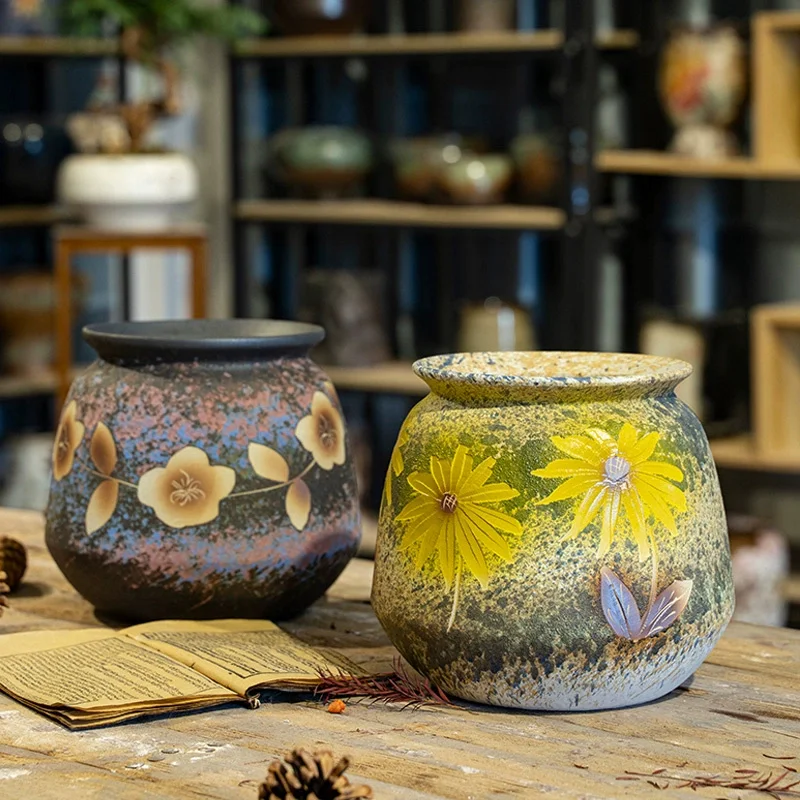
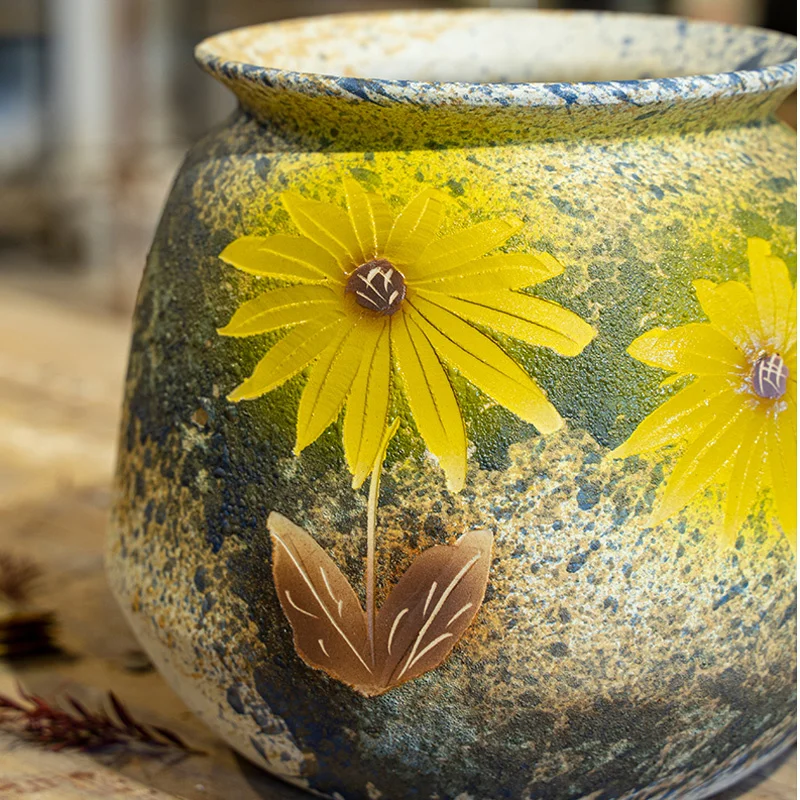
Draw inspiration from nature and paint flowers, leaves, or even a landscape scene onto your pots, adding a touch of whimsy to your garden.
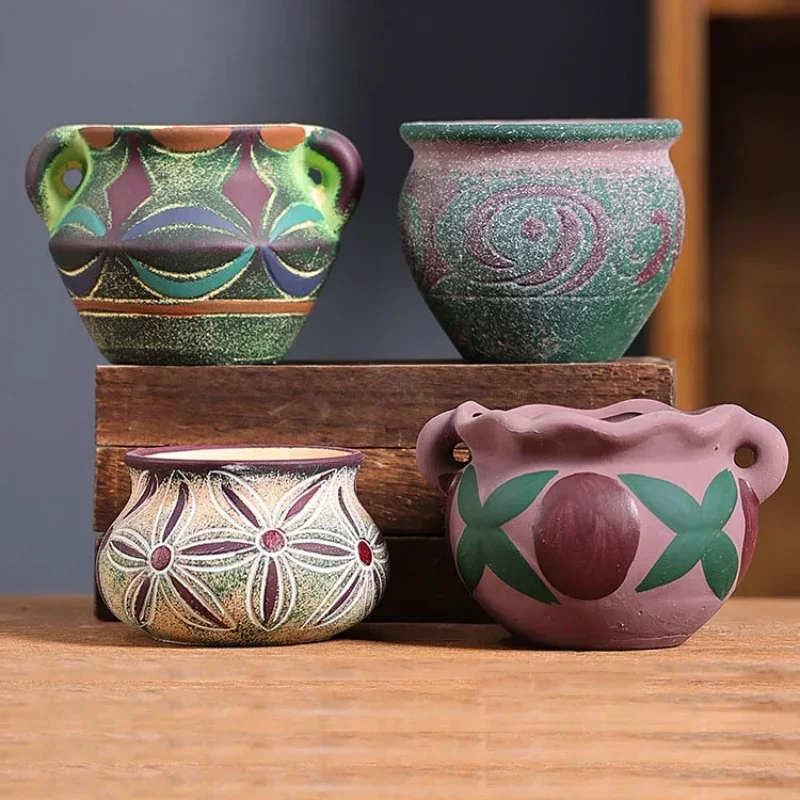
Geometric Patterns
Use painter’s tape to create sharp, clean lines for geometric shapes or stripes, giving your pots a modern, graphic feel.
Maintenance and Care Tips for Painted Pots
Handling and Cleaning
Treated gently, painted pots can last for years. Avoid scraping the surface with sharp objects and clean them with a soft cloth or sponge and mild detergent when needed.
Weather Considerations
While sealing helps, it’s wise to bring painted pots indoors during harsh winters or excessive heat to prevent damage from freezing or extreme sun exposure.
Repainting and Refreshing
Over time, if the paint starts to fade or peel, lightly sand the affected areas and apply a fresh coat following the steps outlined above.
Embracing Sustainability: Eco-Friendly Painting Practices for Your Garden Pots
As we delve into the art of transforming plastic flower pots, it’s crucial to consider the environmental impact of our choices. Embracing eco-friendly practices not only enhances the beauty of your garden but also contributes to a greener planet. Here are some sustainable strategies to adopt when painting your pots:
Using Non-Toxic, Eco-Friendly Paints
Seek out paints labeled as water-based, low-VOC (volatile organic compounds), or specifically formulated for eco-friendliness. These paints have lower chemical emissions, making them safer for you and the environment. Brands like ECOS Paints and BioShield offer such options suitable for plastic.
Repurposing and Upcycling
Before heading to the store for new pots, consider repainting old ones you already have or even salvaging discarded pots from friends, family, or community groups. Giving new life to existing items reduces waste and promotes circular living.
Solar-Powered Drying
Leverage natural resources by allowing your painted pots to dry outdoors in the sun. Not only does this save energy, but the warmth can also aid in faster drying times.
Minimizing Waste During Preparation and Cleanup
When sanding, collect the plastic dust for proper disposal or recycling where facilities exist. Use washable rags instead of disposable paper towels for cleaning, and dispose of any paint or cleaning materials responsibly, following local guidelines for hazardous waste.
Incorporating Nature in Your Designs
Enhance the sustainability quotient by integrating natural elements into your painted designs. For example, use real leaves as stencils to create organic patterns, or paint images of pollinator-friendly plants to encourage biodiversity in your garden.
Long-Term Thinking: Durability and Future Repurposing
Choose durable, weather-resistant finishes to extend the lifespan of your painted pots. This reduces the need for frequent replacements and repaints. Moreover, consider the future use of your pots; designs that are versatile and timeless ensure the pots remain useful even if your garden style evolves.
Inspiring Community Engagement
Share your eco-conscious painting projects with friends and neighbors, encouraging them to adopt similar practices. Organize a community paint swap or upcycling event where unused paint and old pots can find new life, fostering a culture of sustainability within your local area.
Continuing the Creative Journey
After embracing the beauty of imperfection in your painted flower pots, you may find yourself inspired to tackle more DIY projects around your home and garden. This newfound perspective encourages exploration, risk-taking, and a deeper connection with your creative self.
Conclusion: Transforming More Than Just Pots
Painting plastic flower pots is a simple yet highly effective way to rejuvenate your garden’s aesthetic without breaking the bank. It encourages creativity, personalization, and adds a unique flair to your outdoor living space. Whether you opt for bold, statement-making colors or delicate, intricate designs, the process of transforming ordinary pots into vibrant focal points is a rewarding DIY adventure that brings joy to both the creator and admirers. So, grab your paintbrush, let your imagination soar, and watch your garden bloom with newfound vitality and charm.