Creating a picturesque garden doesn’t necessarily require expensive planters or ceramic pots. With a bit of creativity and some DIY enthusiasm, you can transform simple plastic flower pots into stunning garden accents. Painting plastic flower pots is an enjoyable and rewarding project that can add a personal touch to your outdoor space. This guide will walk you through how to paint plastic flower pots like a pro, ensuring long-lasting, vibrant results.
1. Why Paint Plastic Flower Pots?
Painting plastic flower pots is more than just a way to refresh your garden aesthetics. It offers several practical benefits. Firstly, it allows for creative expression—providing you an unlimited color palette to match your garden theme or home decor. Whether you prefer bold, bright colors or soft, pastel hues, painting lets you customize your pots to your precise preferences.
Moreover, painting can provide an additional layer of protection against the elements. While plastic is durable, prolonged exposure to sunlight and rain can cause fading and structural deterioration over time. A quality paint job not only enhances the appearance but can also extend the lifespan by adding a protective coating that guards against UV rays and moisture.
Painting your pots can also be a more sustainable choice. Instead of discarding old, worn-out plastic pots, you can give them a new life with paint, reducing waste and contributing to a greener environment. This project is also budget-friendly, helping you revamp your garden without the expense of new planters.
Lastly, painting plastic flower pots can be a delightful project for both individuals and families. It’s a perfect way to engage in a hands-on activity, allowing you to bond and create something beautiful while spending quality time together.
2. Gathering Your Materials
Before diving into the painting process, it’s crucial to gather all necessary materials. Preparing in advance ensures a smoother, less interrupted workflow. Here’s a comprehensive list of what you’ll need:
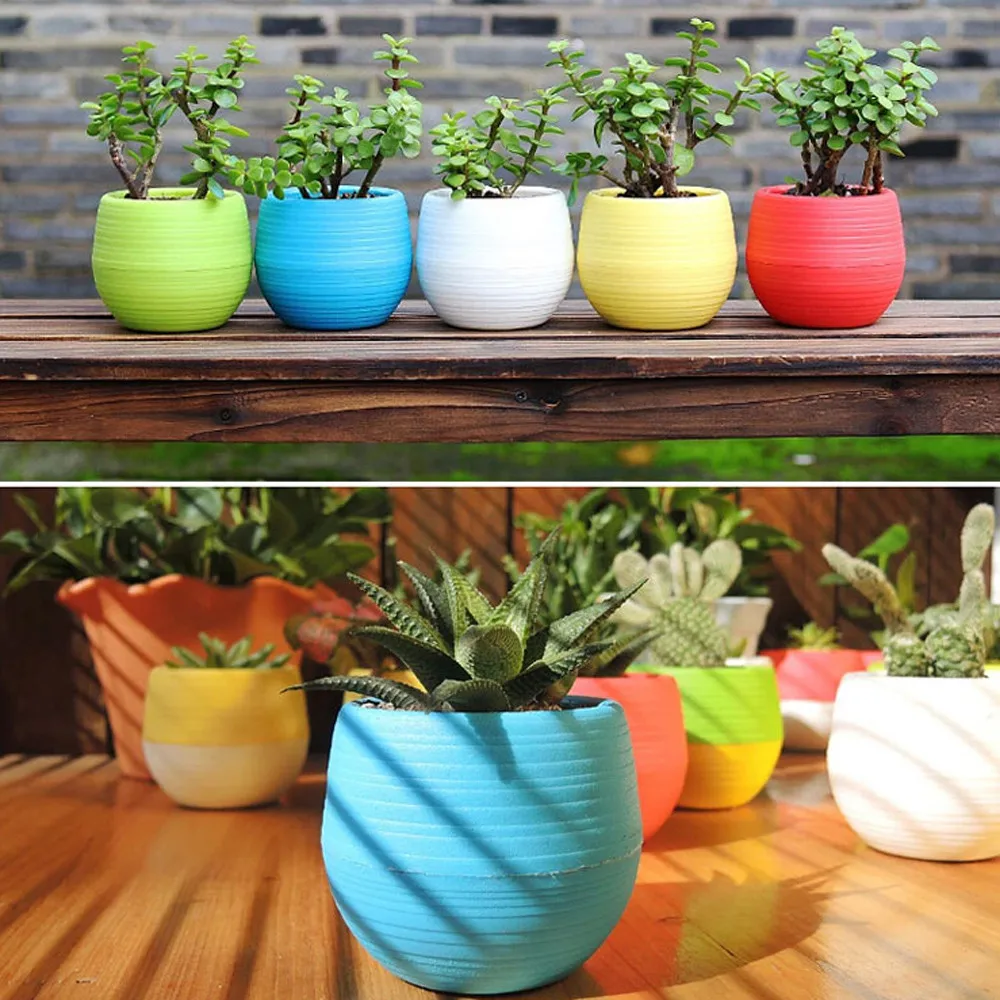
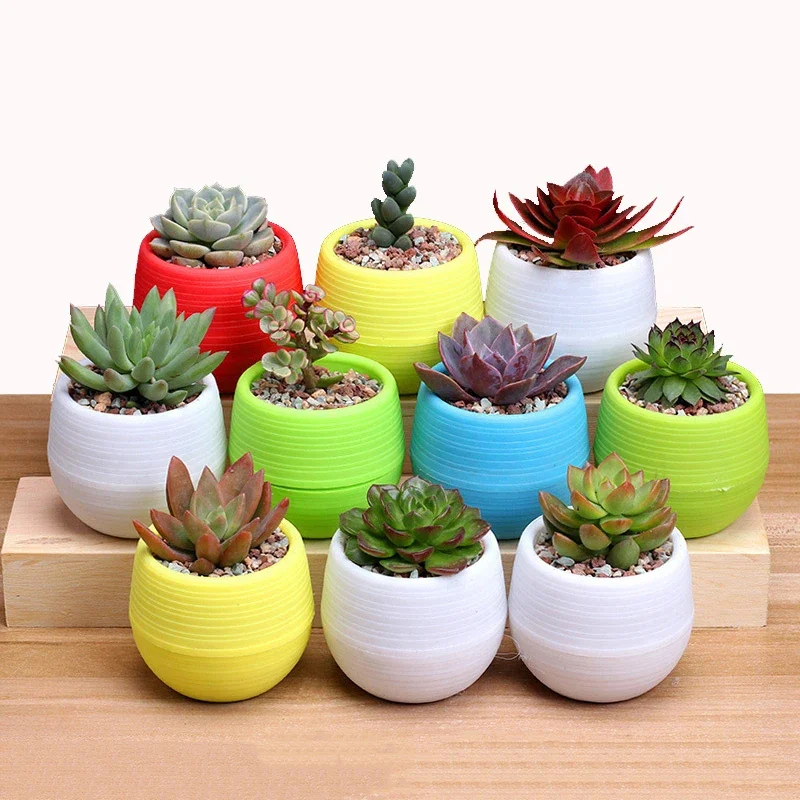
- Plastic flower pots: Choose pots in good condition, without cracks or major blemishes that could affect the final outcome.
- Sandpaper: A medium-grit sandpaper (around 100-150 grit) is ideal for lightly scuffing the surface of the pot.
- Soap and water: For cleaning the pots before painting.
- Primer: Specifically formulated for plastic surfaces to ensure the paint adheres properly.
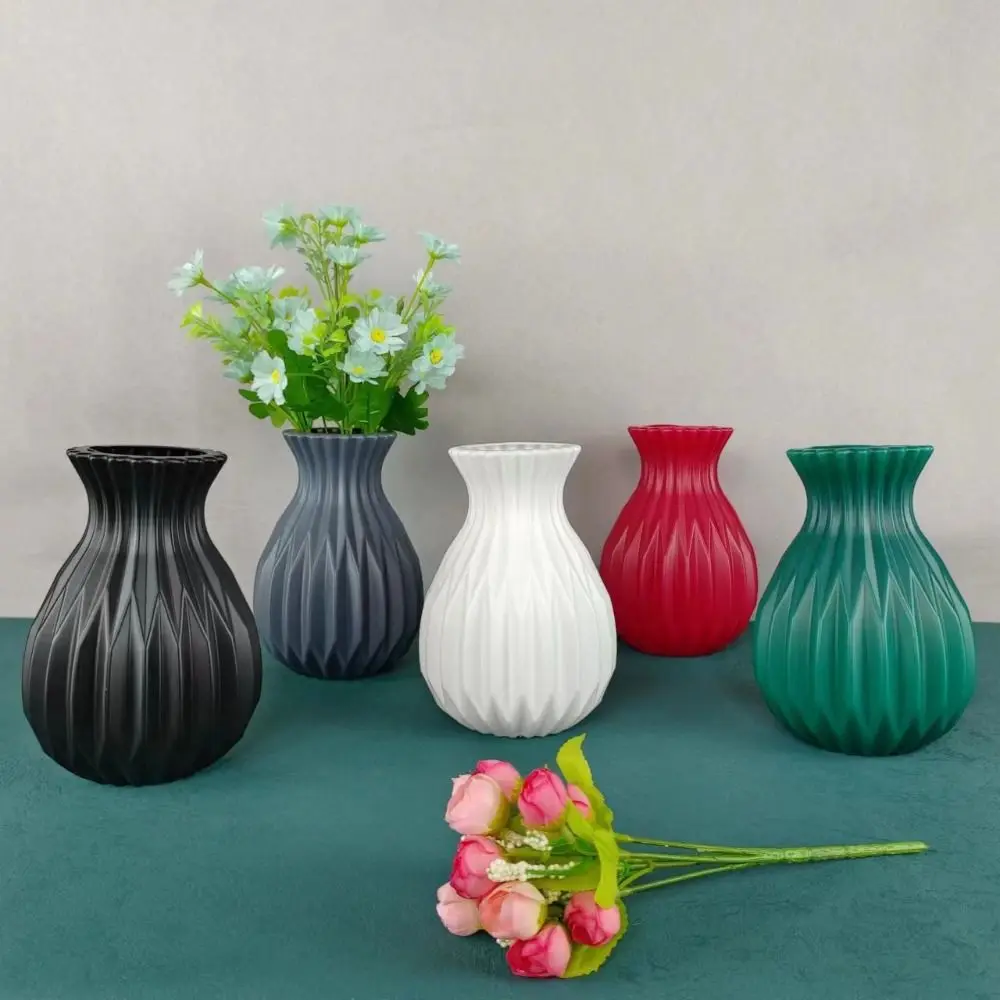
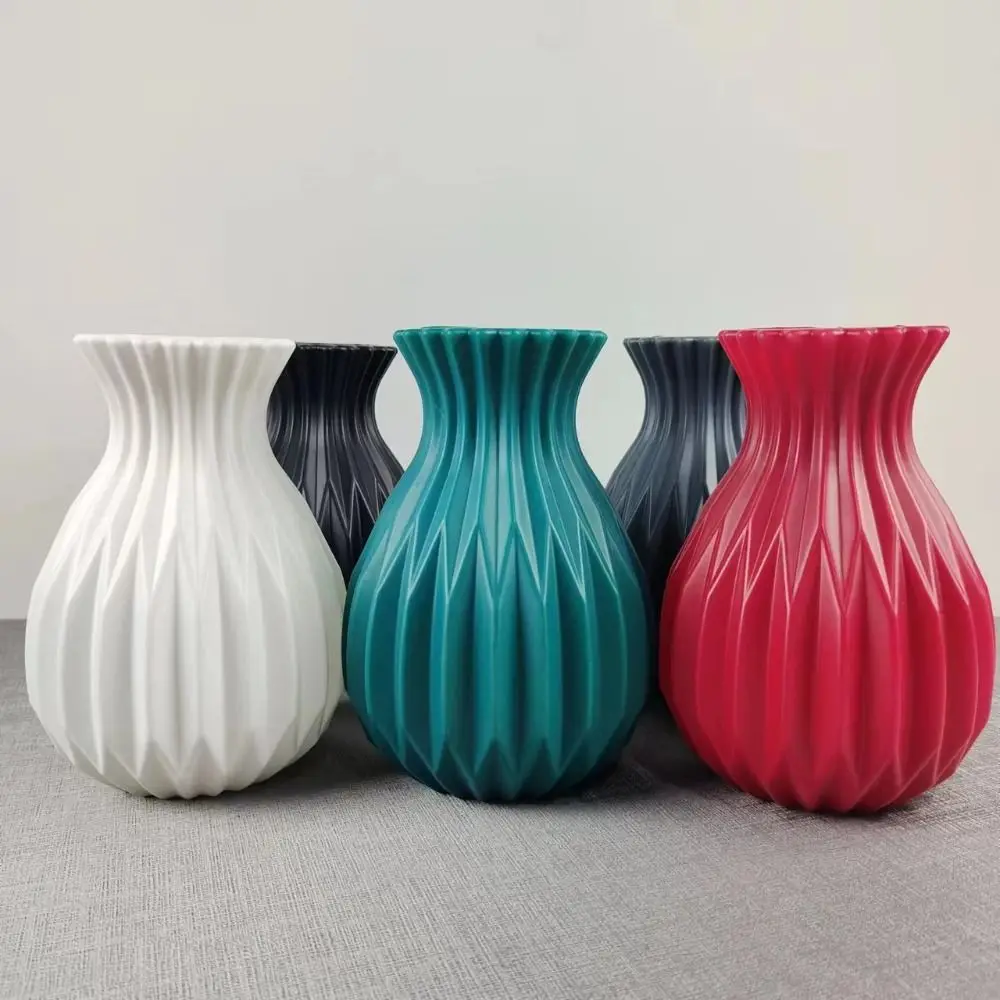
- Acrylic or spray paint: Select paint suitable for outdoor use to withstand weather conditions.
- Paintbrushes or sponges: Depending on the type of paint you choose and the desired effect.
- Drop cloth or old newspaper: To protect your work area from spills and drips.
- Masking tape: For creating designs or protecting areas you don’t want to paint.
- Clear sealant: For added protection and to seal your final paint job.
Make sure to wear old clothes or an apron, and have some rags or paper towels on hand for any accidental spills or mistakes. Having everything ready before you start will make the process much more enjoyable and efficient.
3. Preparing the Plastic Flower Pots
Proper preparation is key to achieving a professional-looking finish and ensuring the paint adheres well to the plastic. Start by washing the plastic pots thoroughly with soap and water to remove any dirt, dust, or grease. Allow the pots to dry completely before proceeding.
Next, lightly sand the entire surface of the pot using medium-grit sandpaper. This step is essential as it creates a slightly rough texture, allowing the primer and paint to adhere more effectively. Be sure to sand in gentle, circular motions to avoid scratching the plastic excessively. Once you’ve scuffed up the surface, wipe the pot down with a damp cloth to remove any sanding dust and let it dry again.
If your plastic pots have any labels, stickers, or residue, use a bit of rubbing alcohol or adhesive remover to clean these areas thoroughly. Residual glue can prevent the paint from sticking properly.
Finally, set up your painting area. Lay down a drop cloth or newspapers to protect your workspace. Ensure you’re working in a well-ventilated area, especially if you’re using spray paint, to avoid inhaling fumes. Good ventilation will also help the paint dry more quickly and evenly.
4. Priming the Plastic Flower Pots
Applying a primer is a crucial step that shouldn’t be skipped. Primer enhances the paint’s adhesion to the plastic surface, ensuring a smooth and long-lasting finish. Choose a primer specifically designed for plastic surfaces; these are formulated to bond effectively with the plastic.
Shake the primer can thoroughly before use to ensure it mixes well. Hold the can about 8-12 inches away from the pot and apply the primer in even, sweeping motions. It’s better to apply multiple light coats rather than one heavy coat to avoid drips and uneven coverage. Allow each coat to dry according to the manufacturer’s instructions before applying the next.
If you’re using a brush-on primer, use a clean, synthetic brush and apply with smooth, even strokes. Make sure to cover all areas of the pot, including any nooks and crannies. Let the primer dry completely before moving on to the painting stage.
Applying a primer not only helps the paint stick better but also provides a uniform base, which is especially important if you’re painting over a dark or brightly colored pot. Priming ensures that the true color of your paint shines through and gives a more professional finish to your project.
5. Choosing the Right Paint
Selecting the right type of paint is vital for achieving a durable and attractive finish. For painting plastic flower pots, acrylic or spray paints designed specifically for plastic are ideal. These paints are formulated to adhere well to plastic surfaces and can withstand outdoor conditions.
Acrylic paint is versatile and available in a wide range of colors. It’s easy to work with, dries relatively quickly, and can be applied with brushes, sponges, or even stencils for intricate designs. Acrylic paint is water-based, making cleanup easy with soap and water.
Spray paint is another excellent choice, especially for achieving a smooth, even coat. It’s fast to apply and can cover large areas quickly. When choosing spray paint, look for options labeled for plastic or outdoor use to ensure they can withstand the elements.
Consider the finish you desire—matte, satin, gloss, or metallic. Matte and satin finishes provide a more subdued look, while gloss and metallic paints can add a striking, eye-catching element to your garden.
If you plan to add additional designs or patterns, you might want to use a combination of spray paint for the base coat and acrylic paint for the details. Test your chosen paint colors on a small section of the pot or a spare piece of plastic to ensure you’re satisfied with the color and finish before committing to the entire project.
Conclusion: Transforming Your Garden
Transforming your garden with painted plastic flower pots is a fun, creative, and rewarding project. By following these steps, you can elevate the look of your garden and express your personal style. From choosing the right materials and preparing your pots, to perfecting your painting technique and maintaining your creations, painting plastic flower pots like a pro is within your reach.
Not only does this project offer aesthetic benefits, but it also contributes to sustainability by repurposing old pots and reducing waste. Whether you’re a seasoned gardener or a novice looking to personalize your outdoor space, painting plastic flower pots is an enjoyable way to make a significant impact.
Engage in this DIY project and watch your garden transform into a colorful, personalized oasis. Allow your creativity to flow, experiment with different designs, and take pride in the unique and beautiful space you’ve created. Your garden is an extension of your home and personality—why not make it as vibrant and unique as you are with expertly painted flower pots?