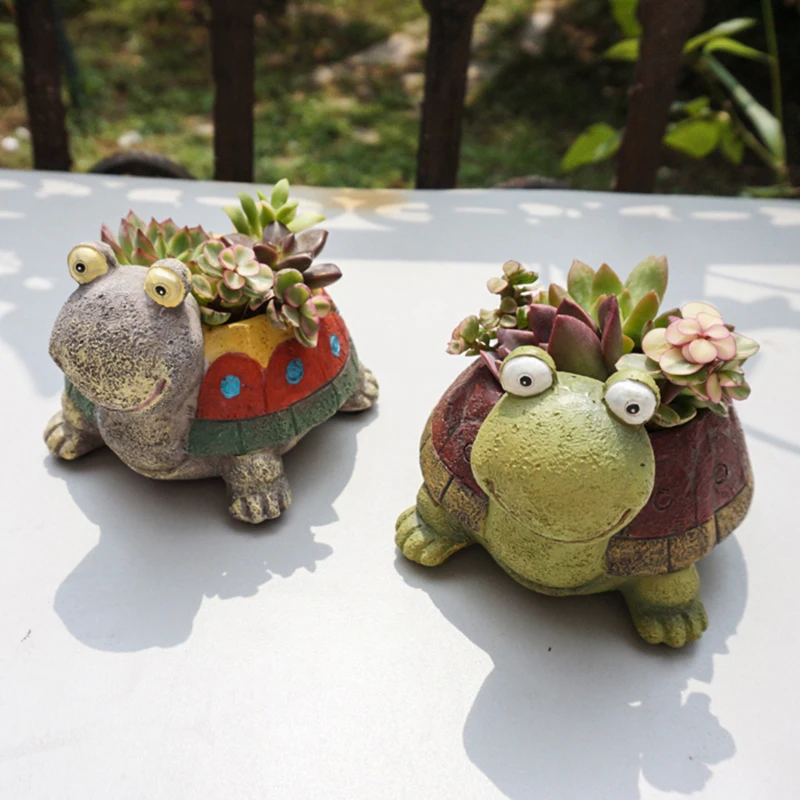
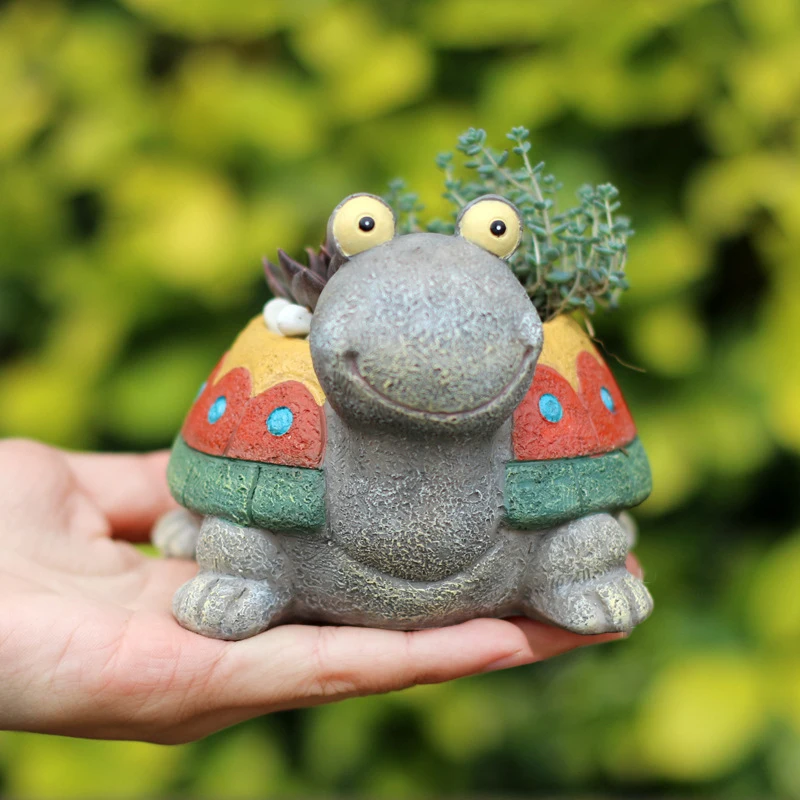
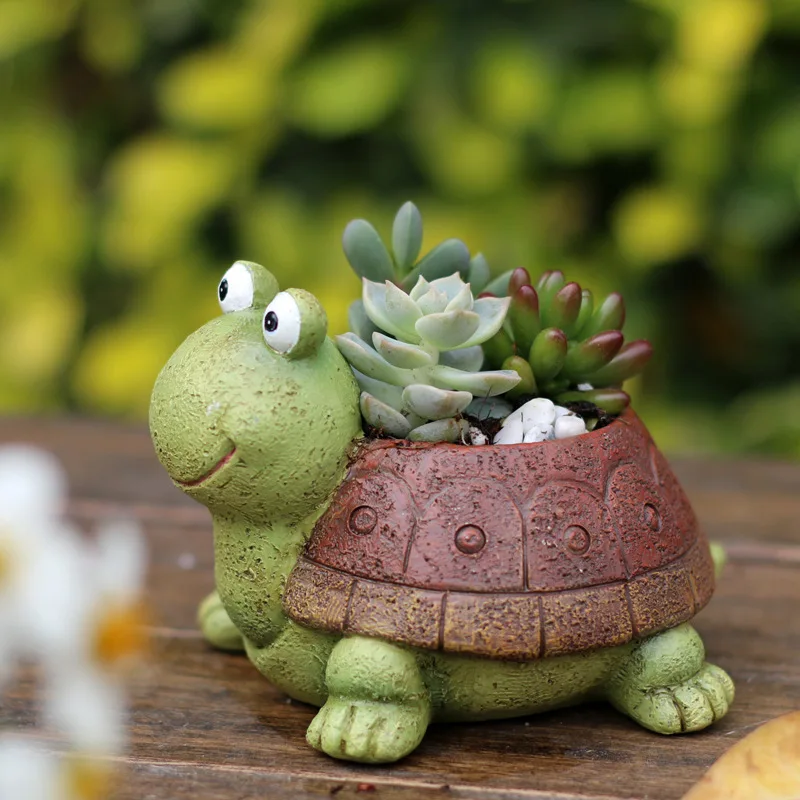
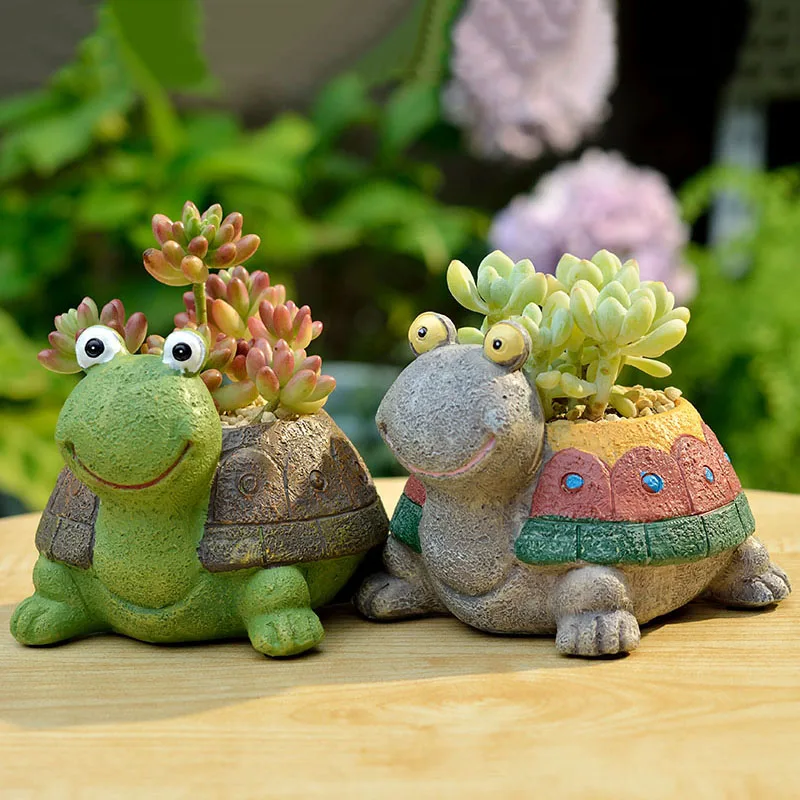
Gardening enthusiasts and home decorators alike understand the significance of flower pots in adding aesthetic appeal to both indoor and outdoor spaces. Decorated flower pots can transform boring corners into lively spots brimming with character and charm. Whether you’re an ardent gardener or a casual plant lover, this article will guide you through Creative Ways to Decorate Flower Pots: From Basic to Beautiful, turning ordinary containers into stunning pieces of art. From simple beginner projects to intricate designs, there’s something to inspire everyone.

The Appeal of Personalized Flower Pots
Personalized flower pots offer several benefits. They reflect your unique style and creativity, making your garden or home even more special. Customized pots can also serve as conversation starters or thoughtful, one-of-a-kind gifts for friends and family. Personalizing flower pots can be a fun and rewarding project for both adults and children, serving as a creative outlet and a way to connect with nature.
Additionally, decorated flower pots can elevate the look of any plants they house, highlighting their beauty and adding visual interest. For those looking to sell their handcrafted pieces, this venture can even turn into a profitable hobby or small business. Overall, the appeal of personalized flower pots lies in their ability to transform ordinary garden spaces into artistic and meaningful environments.
Basic Painting Techniques: A Splash of Color
The simplest way to start decorating flower pots is by painting them. This method requires minimal materials—some paint, brushes, and a bit of creativity. Acrylic paint is often the preferred choice due to its versatility and durability. Ensure the flower pots are clean and dry before starting, and consider using a primer to enhance the paint’s adhesion.
Basic painting techniques include solid colors, stripes, or polka dots. You can also experiment with ombre effects by blending two or more shades. To add a unique twist, try using old sponges, stamps, or stencils for more intricate patterns. Sealing the painted flower pots with varnish or a clear coat will protect your artwork and help the colors last longer.
Decoupage Magic: Paper Transformations
Decoupage is a technique that uses paper cutouts to decorate surfaces, and it’s particularly effective for flower pots. This method allows you to incorporate detailed images or complex patterns that might be challenging to paint by hand. You’ll need materials like decoupage glue (such as Mod Podge), scissors, brushes, and your choice of paper cutouts—think anything from magazine clippings to specialized decoupage paper or even napkins.
Start by cutting out your chosen designs and arranging them on the pot to find the best layout. Once satisfied, apply a thin layer of glue to the flower pot and carefully place each cutout, smoothing them down to remove any air bubbles or wrinkles. Another layer of glue on top seals the paper, creating a polished look. Allow the pot to dry completely before using it.

Mosaic Madness: Piecing Beauty Together
For those willing to spend more time and effort, creating mosaics on flower pots can yield stunning results. Mosaic decorations involve piecing together small fragments of materials like glass, tiles, or stones to form a coherent design. This technique requires a bit more preparation and tools, such as mosaic tiles, adhesive, tile nippers, and grout.
Start by planning your design and arranging the tiles without adhesive to ensure they fit well. Use tile nippers to trim pieces as needed. Once your layout is set, apply adhesive to secure each tile to the flower pot, working in small sections. After the adhesive dries, apply grout to fill the gaps between the tiles, wiping away any excess with a damp sponge.
Fabric Wrapping: Soft and Stylish
Fabric wrapping is a creative and low-cost way to decorate flower pots, adding a soft, stylish touch to your garden or home decor. This method involves using fabric scraps or old textiles you may already have at home. Materials required include fabric, scissors, fabric glue or Mod Podge, and optional embellishments like ribbons or buttons.
Start by cutting the fabric to fit around the pot, leaving a bit of extra material at the top and bottom for a neat finish. Apply fabric glue to the pot and carefully wrap the fabric around it, smoothing out any wrinkles. Glue the excess fabric to the inside top edge and bottom base of the pot for a clean look. For added flair, consider tying a ribbon around the pot or adding other embellishments.
Nature-Inspired Decorations: Bringing the Outdoors In
For a more organic and rustic look, consider decorating your flower pots with natural materials such as twigs, pebbles, shells, or dried flowers. These nature-inspired decorations can create a harmonious look that blends seamlessly with the plants themselves. Materials required may include natural items, hot glue, and a clear sealant for protection.
Begin by gathering your chosen natural materials. Arrange them on the pot to find the desired pattern or design. Once satisfied, use a hot glue gun to attach each piece securely. For example, you can create a border of twigs along the top of the pot or make a mosaic design with pebbles and shells. Applying a clear sealant will protect the decorations from wear and tear.

Chalkboard Paint: Functional and Fun
Chalkboard paint offers a unique way to decorate flower pots while adding an element of functionality. This versatile paint turns any surface into a writable chalkboard, allowing you to customize your pots with drawings, labels, or messages that can be easily changed. Materials required include chalkboard paint, brushes, and chalk.
Start by cleaning and priming the pot. Apply two to three coats of chalkboard paint, allowing each coat to dry completely before adding the next. Once the final coat is dry, you can use chalk to write the names of the plants, care instructions, or decorative doodles. The best part is that you can erase and redo the designs as often as you like.
Stenciling: Precision and Patterns
Stenciling provides a way to add precise, intricate designs to flower pots without requiring advanced artistic skills. With the help of stencils, you can achieve professional-looking patterns and motifs with ease. Materials needed include stencils, painter’s tape, a brush or sponge, and acrylic paint.
Begin by securing your stencil to the flower pot with painter’s tape, ensuring it lies flat to prevent paint from bleeding underneath. Use a brush or sponge to dab paint onto the stencil, applying an even layer. Carefully remove the stencil before the paint dries to avoid smudging. Repeat this process around the pot as desired, and consider combining different stencils for a layered effect.
Personalization: Names and Messages
Adding names, quotes, or messages to flower pots personalizes them in a meaningful way. This can be achieved through various methods like hand-painting, using vinyl decals, or even engraving for those with the appropriate tools. Personalized pots make thoughtful gifts and can commemorate special occasions.
For hand-painted personalization, use fine-tip paintbrushes and acrylic paint. If you’re not confident in your freehand skills, consider using stencils or tracing letters first. Vinyl decals are a quicker, mess-free option that provides crisp, clean lettering. For a more permanent result, engraving tools can etch designs directly into the surface of ceramic or clay pots.
Themed Pot Designs: Seasonal and Festive
Themed pot designs are a great way to celebrate various seasons and holidays. Creating a set of pots for different times of the year ensures that your garden or home remains festive and relevant. Materials required depend on the theme but can range from seasonal paints and decorations to specialized embellishments.
For spring, you might decorate pots with pastel-colored flowers, bunnies, and butterflies. Summertime can feature bright colors, beach themes, or nautical designs. Autumn pots can be adorned with leaves, pumpkins, and warm shades, while winter designs might include snowflakes, holly, and festive colors like red and green. Using interchangeable decorations, such as removable wraps or holiday-themed picks, allows for easy transitions between seasons.
Conclusion: Elevating Your Garden and Home
Decorating flower pots is an enriching activity that bridges creativity and gardening. From simple painting techniques to advanced carving methods, there’s a wide range of options to suit every skill level and aesthetic preference. By exploring Creative Ways to Decorate Flower Pots: From Basic to Beautiful, you can transform plain containers into stunning decorative pieces that enhance your garden and home.
The joy of personalized, beautifully decorated flower pots lies not only in their visual appeal but also in the process of creating them. Each decorated pot tells a story and adds a unique touch to your space. Whether you’re looking to brighten up a dull corner, personalize your plant collection, or create heartfelt gifts, these creative techniques ensure that every pot becomes a little masterpiece. So grab your materials and let your imagination guide you in turning basic flower pots into beautiful expressions of your creativity.
