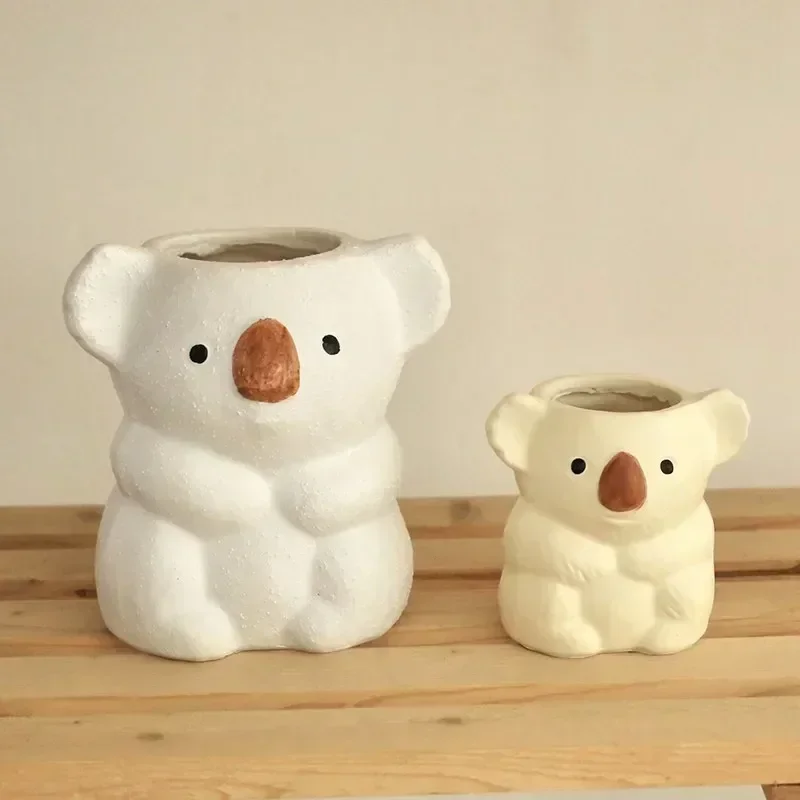
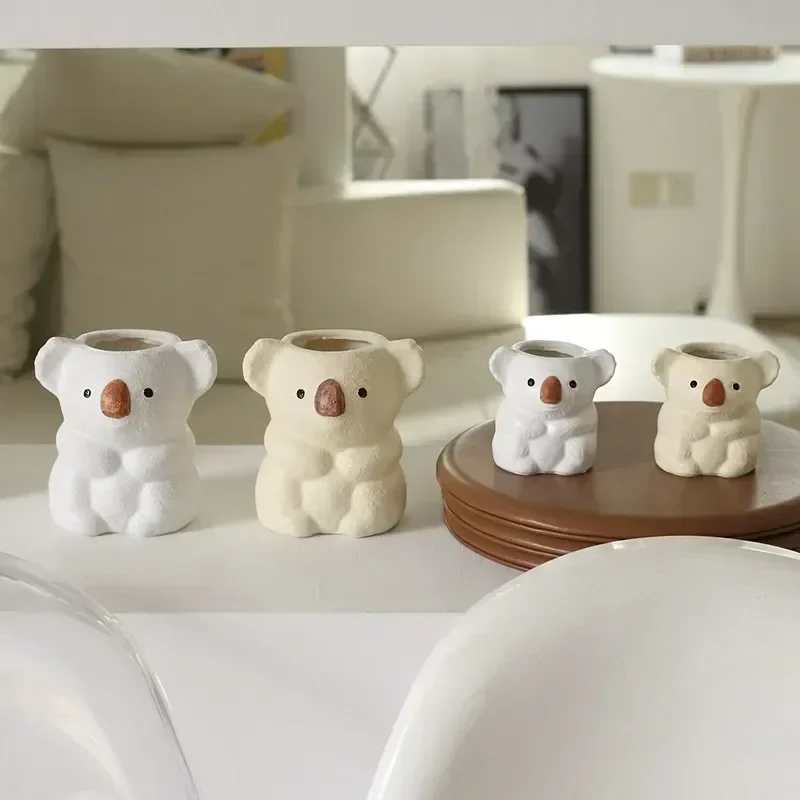
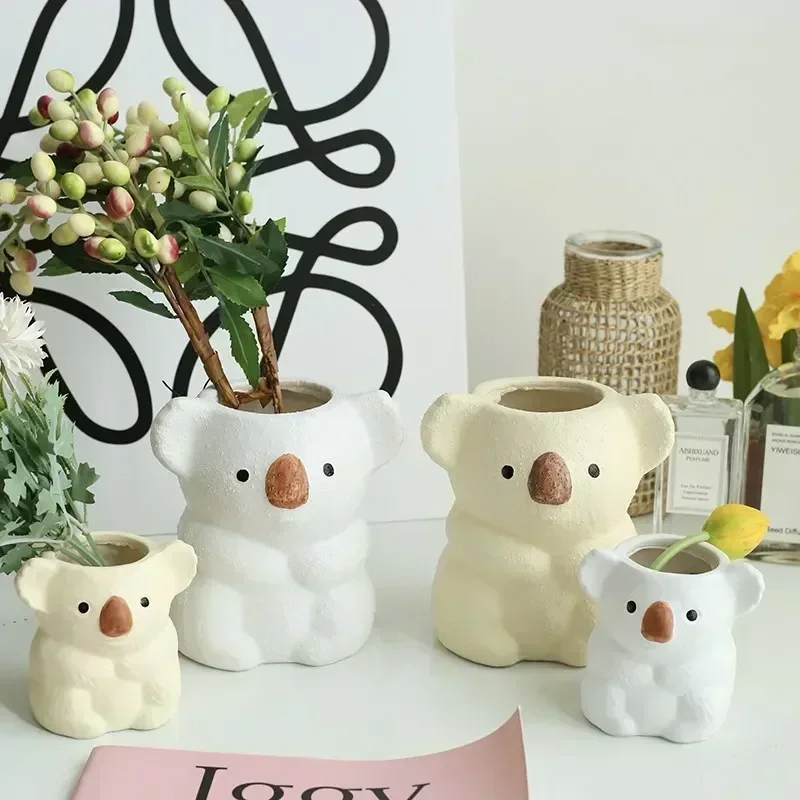
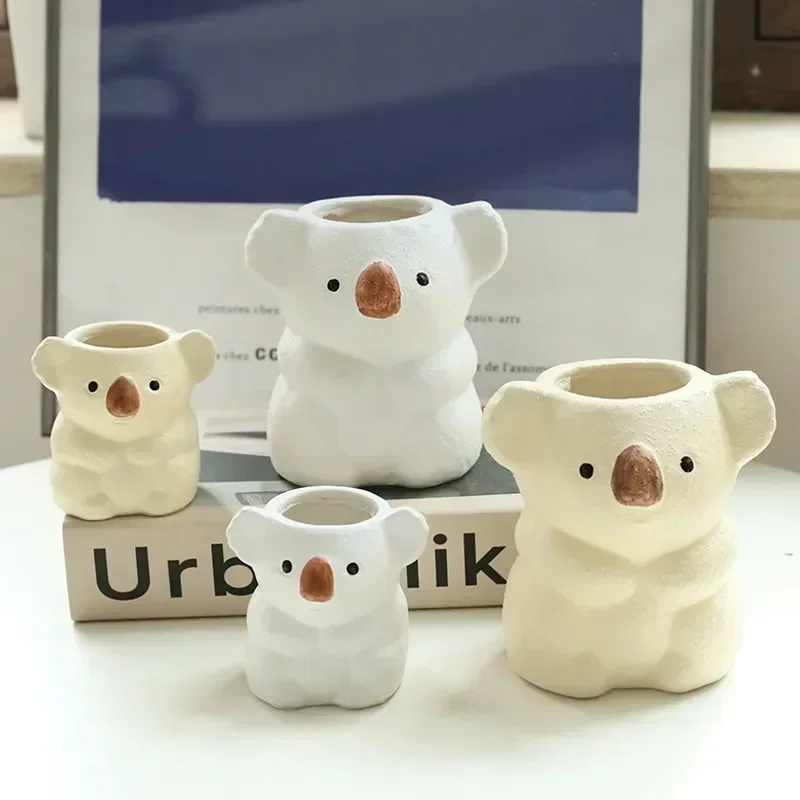
Introduction: Transforming Plain Plastic Pots into Artistic Masterpieces
Plastic flower pots are often chosen for their affordability and durability, but they can lack personality and visual appeal. Fortunately, with a little creativity and acrylic paints, you can transform these plain vessels into vibrant, custom works of art that express your style. Acrylic paints are incredibly versatile, offering bright colors, excellent coverage, and durability on plastic surfaces. This guide delves deeply into the process of painting plastic flower pots with acrylic paints, providing step-by-step instructions, tips, and creative ideas to inspire your next project.

Gathering Your Supplies: Essential Tools and Materials
Before you start painting, gathering the right supplies is crucial for a successful and enjoyable project. The essential materials include clean plastic flower pots, acrylic paints in your chosen colors, paintbrushes of various sizes and shapes, and a palette or disposable plates for mixing colors. Depending on the complexity of your design, you may also need painter’s tape, stencils, and sponges.
In addition to the painting supplies, you’ll need a primer suitable for plastic surfaces, which helps ensure the paint adheres well and lasts longer. A clear acrylic sealer or varnish is also necessary to protect your artwork from water, UV rays, and everyday wear and tear. Optional items like aprons, gloves, and drop cloths can help keep your workspace clean and protect your clothing from paint splatters.
Preparing the Plastic Pots: Cleaning and Priming
Proper preparation of the plastic pots is a critical step that can significantly impact the final outcome of your painting project. Start by thoroughly cleaning the pots to remove any dirt, dust, or oily residues that could prevent the paint from adhering properly. Use warm, soapy water and a scrub brush to clean the pots inside and out, then rinse them thoroughly and allow them to dry completely.
Once the pots are clean and dry, the next step is to lightly sand the surface with fine-grit sandpaper (around 220 grit). This roughens the surface slightly, helping the primer and paint adhere better. Be gentle while sanding to avoid scratching or damaging the plastic. After sanding, wipe the pots with a damp cloth to remove any dust particles.
Choosing Your Acrylic Paints: Colors and Techniques
The choice of acrylic paints is where your creativity can truly shine. Acrylic paints are available in a vast range of colors and finishes, including matte, glossy, metallic, and even iridescent options. Decide on a color scheme that complements your decor or the plants you plan to pot. You can opt for bold, bright hues for a modern vibe, pastel shades for a softer look, or natural earth tones for a more rustic feel.
When experimenting with different painting techniques, consider mixing colors on your palette to create custom shades or using layering techniques for added depth and texture. You can also add a few drops of water to the paint for a more transparent wash effect or mix in acrylic mediums to alter the consistency and finish of the paint.

Painting Techniques: From Basic Coats to Intricate Designs
Now that your pots are primed and your paints are selected, it’s time to start painting. Begin with a base coat that covers the entire pot. This provides a uniform background for your design and helps the subsequent layers of paint adhere better. Allow each coat of paint to dry completely before applying the next one. Generally, two to three coats are sufficient to achieve even coverage.
For more intricate designs, consider using painter’s tape to create stripes, geometric patterns, or other shapes. Apply the tape to the primed pot, ensuring it’s firmly pressed down to prevent paint from seeping underneath. Paint over the exposed areas, and carefully remove the tape before the paint dries to achieve clean, sharp lines.
Stencils are another fantastic tool for adding detailed designs to your pots. You can purchase stencils or create your own using stencil paper or mylar sheets. Secure the stencil to the pot with painter’s tape, and use a stencil brush or sponge to dab paint gently over the cut-out areas. Remove the stencil carefully to avoid smudging the design.
Adding Finishing Touches: Sealing and Protecting Your Art
After you’ve painted your designs and allowed the paint to dry completely, sealing your pots is crucial to protect your artwork. A clear acrylic sealer or varnish provides a protective layer that guards against water damage, fading, and daily wear and tear. Choose a sealer with the finish you prefer, whether it’s matte, satin, or glossy.
Apply the sealer in thin, even coats, following the manufacturer’s instructions. Spray sealers are convenient and provide a smooth finish, but brush-on sealers can give you more control over the application, particularly for intricate designs. Allow each coat to dry thoroughly before applying the next one. Typically, two to three coats of sealer are sufficient for adequate protection.
Creative Ideas and Inspirations for Your Painted Pots
The possibilities for painting plastic flower pots are virtually endless, limited only by your imagination. Here are some creative ideas and themes to inspire your project:
- Nature-Inspired Designs: Paint your pots with botanical motifs, such as leaves, flowers, or vines, to complement the natural beauty of the plants they will hold. Using a combination of earthy tones and vibrant colors can bring these designs to life.
- Geometric Patterns: Create modern, visually striking pots with geometric shapes and patterns. Triangles, chevrons, and stripes in contrasting colors can add a contemporary touch to your space.
- Abstract Art: Embrace your artistic side with abstract designs. Use acrylic pours, splatter techniques, or fluid art methods to create unique, one-of-a-kind pieces.
- Personalized Pots: Add a personal touch with monograms, names, or inspirational quotes. These customized pots make great gifts and add a sentimental touch to your decor.
- Themed Collections: Paint a series of pots around a specific theme, such as seasonal motifs, holidays, or favorite hobbies. This can be a fun way to decorate your home for different occasions.

Tips for Long-Lasting Results and Maintaining Painted Pots
To ensure your painted plastic flower pots remain vibrant and intact, follow these maintenance tips:
- Keep the pots indoors or in sheltered outdoor areas to protect them from harsh weather conditions. Excessive sun, rain, or frost can degrade the paint and sealer over time.
- Avoid placing the pots in areas with high humidity or moisture levels, as water can seep into any small cracks or unsealed areas and damage the paint.
- Handle the pots with care, especially if they have delicate designs or embellishments. When moving or cleaning the pots, use gentle pressure to avoid chipping or scratching the paint.
- Periodically check the pots for any signs of wear or damage, such as peeling paint or fading colors. Touch up any affected areas with the same acrylic paint and sealer to keep your pots looking fresh and vibrant.
- Clean the pots with a soft, damp cloth to remove dust and dirt. Avoid using harsh chemicals or abrasive cleaners, as they can damage the paint and sealer.
Conclusion: Unleashing Your Creativity with Painted Pots
Painting plastic flower pots with acrylic paints is an enjoyable and rewarding way to express your creativity while enhancing your home and garden decor. With the right materials, preparation, and techniques, you can transform ordinary plastic pots into stunning, personalized pieces that showcase your artistic flair. Whether you’re creating a cohesive collection of themed pots or experimenting with bold, abstract designs, the possibilities are endless.
By following this guide and incorporating your unique artistic vision, you can breathe new life into plain plastic pots and create beautiful, functional works of art. Enjoy the process, embrace your creativity, and take pride in the custom-painted pots that will brighten your spaces and delight your senses for years to come.
