Introduction: The Charm of DIY Painted Flower Pots
There’s a unique joy that comes from transforming plain, everyday items into personalized works of art. One such avenue for creativity is DIY painted flower pots. These customizable containers are a fantastic way to infuse color and personality into your home garden. Whether you’re an experienced crafter or a DIY novice, painting flower pots can be both a rewarding and therapeutic activity. With endless design possibilities, you can tailor each pot to complement your garden’s theme or your home’s décor. Let’s explore the world of DIY painted flower pots and discover creative ideas that will brighten up your home garden.
Choosing the Right Pots
The first step in creating beautiful painted flower pots is choosing the right type of pot. Terracotta pots are a popular choice due to their porous nature, which benefits plant health by allowing air and moisture to pass through the walls. They also provide a natural, rustic look that complements a variety of designs. Plastic pots are another option, being lightweight and less prone to breakage. Ceramic and metal pots can also be painted, though they require special primers to ensure the paint adheres well. Whatever type you choose, make sure to clean the pots thoroughly to remove any dirt or oils that might interfere with paint adhesion.
Gather Your Materials
Preparation is key in any DIY project, and painting flower pots is no exception. You’ll need a range of materials to get started. Essential items include paints suitable for the chosen pot material (acrylics work well for terracotta and plastic), paintbrushes of various sizes, a sealer to protect your design, and painter’s tape for creating crisp lines. Additional materials may include stencils for intricate patterns, sponges for texture, and even embellishments like beads or sequins. Having all your supplies at the ready will streamline the process and ensure you can focus on the fun part—painting!
Preparing the Pots
Before applying your creative designs, it’s crucial to prepare the pots properly. Start by thoroughly cleaning the pots with warm, soapy water to remove any residue. Allow them to dry completely. If you’re using terracotta pots, consider sealing the inside with a clear waterproof sealer to prevent moisture from seeping through and affecting the paint on the exterior. Additionally, lightly sanding smooth surfaces can help the paint adhere better. Apply a primer coat suited to the material of the pot; this will create a more uniform surface for the paint and help vibrant colors stand out.
Inspiration and Design Ideas
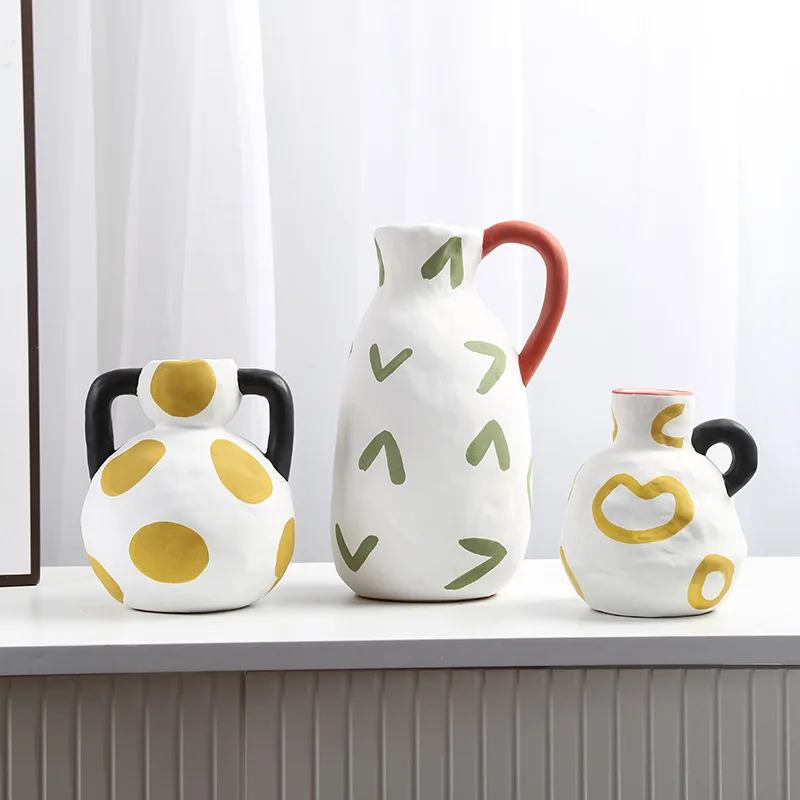
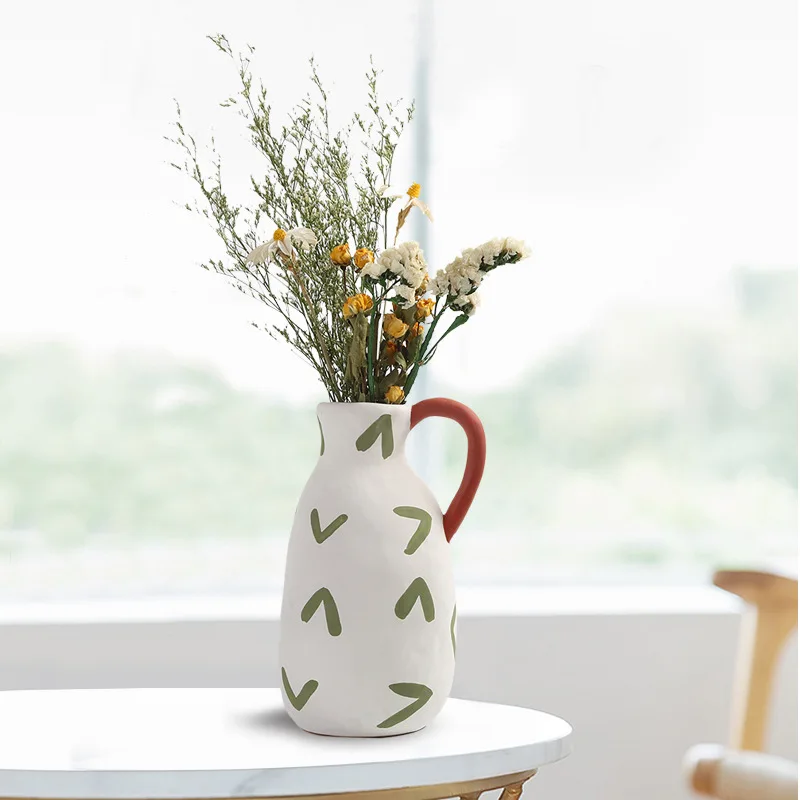
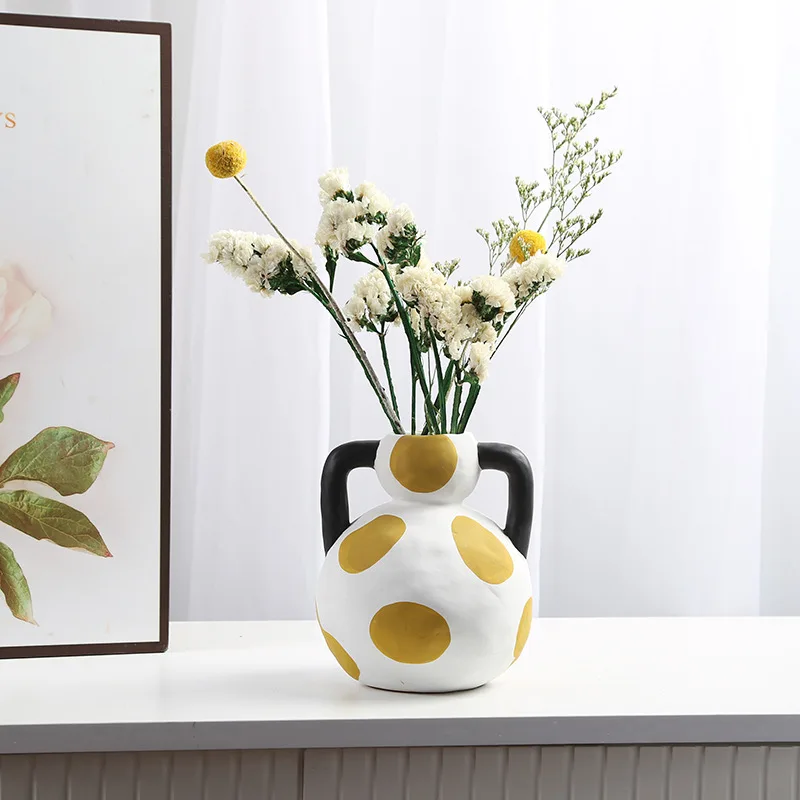
The sky is the limit when it comes to designing your painted flower pots. If you’re looking for inspiration, consider themes that resonate with you. A nature-inspired theme could incorporate floral patterns, leaves, or even insects like butterflies and bees. For a more modern look, geometric shapes or abstract designs can add a contemporary touch. Seasonal motifs, like snowflakes for winter or pumpkins for fall, can keep your garden décor relevant year-round. You can also draw inspiration from cultures around the world; for example, intricate mandala patterns add an element of intricate beauty to your pots.
Execution: Painting Techniques
Once you have a design in mind, it’s time to bring it to life. Start with a base coat in a color that complements your design. This base coat not only serves as the backdrop for your artwork but also helps the subsequent layers of paint adhere better. Allow the base coat to dry completely before moving on. Use painter’s tape to mark off sections for clean lines or to create patterns like stripes and gingham. For more intricate designs, stencils can be a lifesaver. Sponges can be used to create a textured effect, while fine-tipped brushes are perfect for detailing. Remember, multiple thin layers of paint are better than one thick layer to avoid drips and ensure even coverage.
Adding Textures and Embellishments
To add an extra dimension to your painted flower pots, consider incorporating textures and embellishments. Metallic paints can give your pots a glamorous sheen, while matte finishes provide a more subdued look. Adding textured materials like sand or glitter to the paint can create unique, tactile surfaces. For a more whimsical touch, glue on small objects like buttons, beads, or pieces of mosaic tile. Natural embellishments like twine wrapped around the top edge or seashells glued to the surface can enhance a nautical or rustic theme. These added elements can turn a simple painted pot into a stunning centerpiece in your garden.
Sealing and Protecting Your Artwork
After you’ve completed your masterpiece, it’s important to seal your painted flower pots to protect them from the elements. An outdoor sealant or varnish will safeguard the paint from moisture, UV rays, and general wear and tear. Apply the sealant in thin, even coats, allowing each layer to dry thoroughly before adding the next. Ensure that the sealant covers all painted areas, including any embellishments you’ve added. Proper sealing will extend the life of your artwork, keeping your pots looking vibrant and fresh for years to come.
Planting in Your Decorated Pots
With your pots beautifully painted and sealed, the next step is planting. Choose plants that complement your pot’s design. For instance, a pot painted with cool blues and greens could be filled with vibrant, warm-colored flowers for contrast, or you could match the flowers to the colors on the pot for a monochromatic scheme. Ensure the chosen plants are suitable for the pot’s size and have the right growing conditions. Add a layer of gravel at the bottom of the pot to improve drainage, fill with high-quality potting soil, and plant your flowers or herbs. Water them thoroughly and place them in a suitable location where they will thrive.
Displaying Your Painted Flower Pots
Where and how you display your painted flower pots can greatly impact your garden’s aesthetic. Grouping pots of different sizes and designs together can create an eclectic, eye-catching display. Arranging them on steps, shelves, or garden tables can add layers and depth to your garden. Consider creating a focal point with a larger, more intricately painted pot surrounded by simpler designs. Hanging pots from hooks or placing them on stands can add vertical interest. The versatility of painted pots means they can be displayed both indoors and outdoors, on patios, balconies, or even windowsills.
Seasonal and Themed Designs
One of the advantages of DIY painted flower pots is the ability to customize them for different seasons and themes. For autumn, consider painting pots in warm hues with pumpkin or leaf motifs. Winter designs could incorporate snowflakes, holly, or even a Christmas-themed pot with red, green, and gold accents. Spring and summer pots can be bursting with bright flowers, butterflies, and bees. Themed designs can extend beyond seasons to holidays, birthdays, or special events, allowing your garden to reflect the occasions you celebrate throughout the year.
DIY Paint Kits and Templates
For those who may feel less confident in their artistic abilities, DIY paint kits and templates can offer guidance and inspiration. These kits often include pre-selected color palettes, stencils, and step-by-step instructions to help you achieve professional-looking results. Templates, available online or in craft stores, can simplify the process of creating intricate designs. Using these tools can help build your confidence and skills, encouraging you to experiment with your own ideas in future projects.
The Benefits of DIY Painted Flower Pots
Beyond their visual appeal, DIY painted flower pots offer several benefits. They allow for creative expression and can be a therapeutic way to relax and unwind. Customizing your pots can also be a sustainable practice, breathing new life into old pots rather than buying new ones. Painted pots can make thoughtful, personalized gifts for friends and family. Additionally, they provide a sense of pride and accomplishment every time you look at your flourishing, beautifully housed plants.
Conclusion: A Burst of Creativity in Your Home Garden
DIY painted flower pots are a fantastic way to inject creativity and personality into your home garden. Through choosing the right pots, gathering materials, and employing various painting techniques, you can transform plain containers into pieces of art that enhance the beauty of your garden. Whether for seasonal displays, family projects, or simply as a relaxing pastime, painting flower pots offers endless possibilities for personalization and enjoyment. So grab your brushes and paints, and let your imagination take root and bloom in your garden.