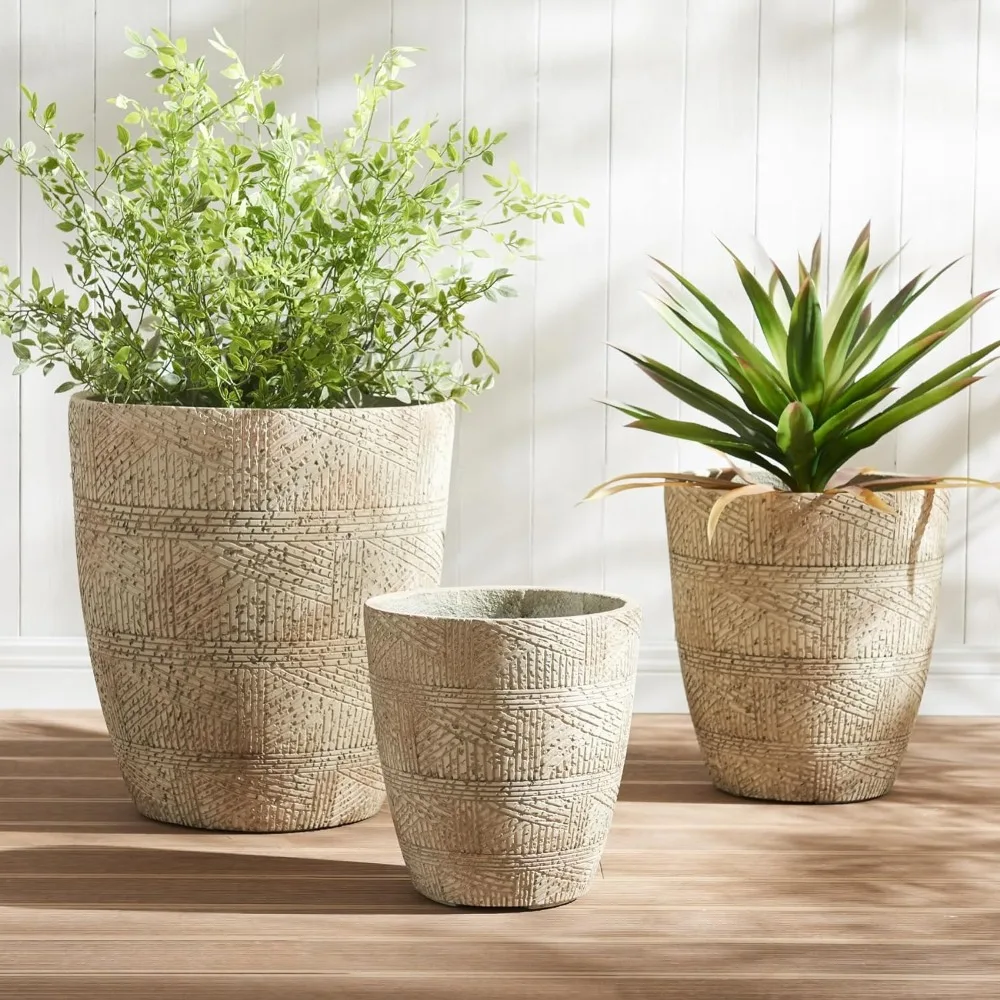
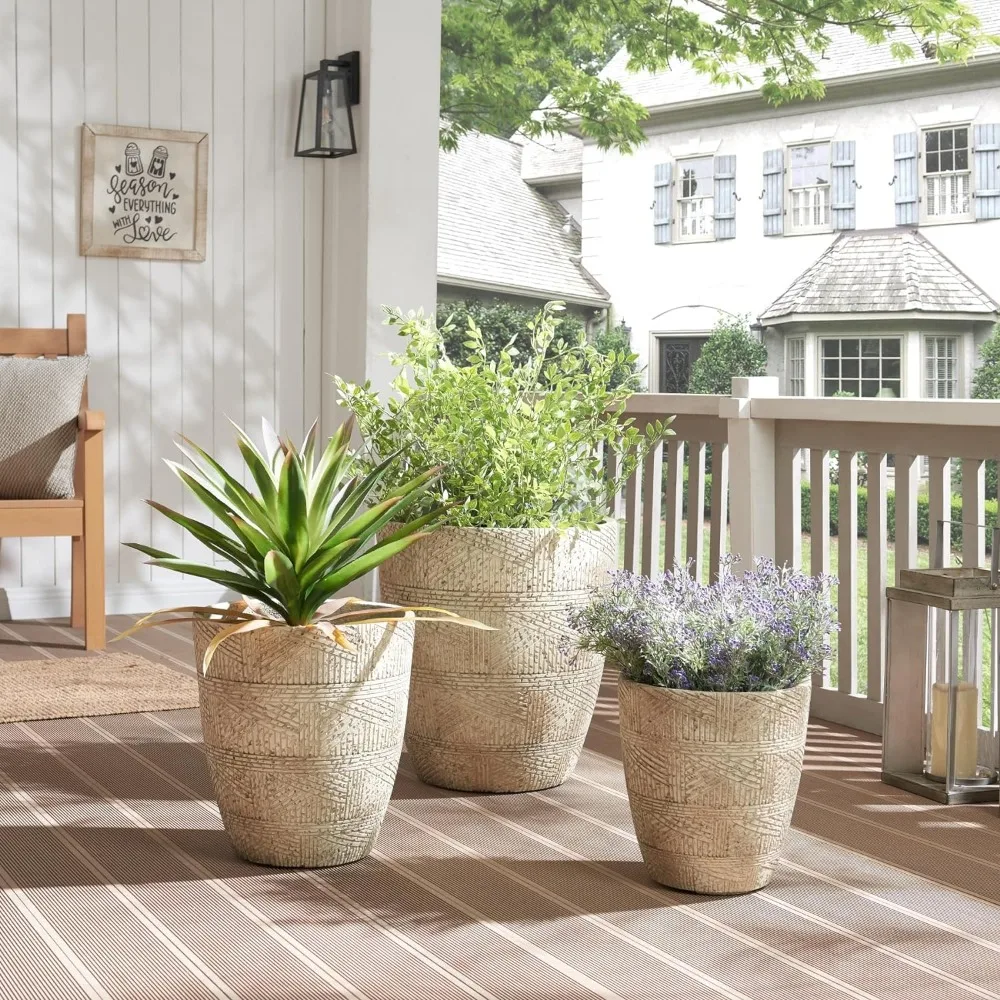
Creating your own flower pots not only adds a personal touch to your garden but also ensures that you have durable, weather-resistant containers for your plants. This step-by-step guide will provide you with all the information you need to make lasting concrete flower pots. From selecting the right materials to painting your pots, every detail will be covered to ensure your success.
Understanding the Basics of Concrete
Before diving into the process of making concrete flower pots, it’s essential to understand what concrete is and how it behaves. Concrete is a composite material made from aggregates, water, and cement. It is known for its high compressive strength and durability, making it an ideal choice for outdoor applications.
When making flower pots, it’s important to consider the type of concrete mix you’ll use. For flower pots, using a mix that is not too thick is crucial, as this allows for proper pouring and shaping. The ratio is typically about 2:1 for sand to cement, with water added gradually. This mix results in a robust pot that can withstand both the weight of the soil and the elements.
In terms of curing, concrete needs time to dry and harden properly. This process can take several days, during which the container gains its full strength. Be patient! Rushing this process can lead to cracks or breakage in your flower pots.

Gathering Necessary Materials
Once you have a good understanding of concrete, it’s time to gather your materials. The most basic ingredients for making concrete flower pots include:
- Concrete Mix: You can purchase pre-packaged concrete mix from a local hardware store. Look for a mix designed for outdoor use.
- Water: Ensure you have clean, fresh water, as the quality of water can influence the final result.
- Molds: You will need two molds: one for the outer shape of the pot and another smaller mold for the inner core. These can be purchased or made from plastic containers, cardboard, or silicone molds.
- Mixing Tools: Use a large bucket or wheelbarrow for mixing, along with a shovel or mixing tool.
- Protective Gear: Safety goggles, gloves, and a mask are recommended as concrete dust can be irritating.
- Release Agent: To help with de-molding, apply a release agent like cooking oil or commercial mold release to the inside of your molds.
- Sandpaper or a Wire Brush: This will be used for smoothing out rough edges once the pot is dried.
Having all the materials ready before you start will make the process smoother and more enjoyable. Purchase everything in advance, and set up a designated workspace where you can make your cement pots without interruption.
Making the Concrete Mixture
With your materials gathered, it’s time to make the concrete mixture. Concrete is a combination of cement, aggregates (sand or gravel), and water. The key is to mix the right proportions for a strong and lasting pot.
Start by measuring out your concrete mix in a bucket or wheelbarrow. If you’re using a pre-packaged mix, follow the instructions on the bag for preferred ratios. Typically, a good starting point is two parts sand to one part cement. Gradually add clean water while mixing until you reach a consistent, thick but pourable texture.
When mixing, it’s important to avoid over-watering. Adding too much water can weaken the final structure, causing it to crack or crumble. A helpful tip is to add water slowly and stir thoroughly after each addition until you’ve achieved the desired consistency.
Once you’re satisfied with the mixture, take a moment to clean your tools and workspace, as concrete can be quite messy. Prepare your molds beforehand by applying a release agent, ensuring that your beautiful new pots come out easily once they dry.

Pouring the Concrete into Molds
Now that you have the concrete mixture ready, it’s time to pour it into the molds. This step requires careful handling, as the mixture can be heavy and difficult to manipulate.
Starting with the larger outer mold, carefully pour a layer of the concrete mixture into the bottom, creating a foundation. Tap or shake the mold gently to eliminate air bubbles and help the mixture settle evenly. Once the base layer is in place, take your smaller inner mold and push it down into the larger mold. The depth will determine the thickness of the walls and the overall height of your pot.
Make sure the inner mold is stable and well-centered. If it shifts, it may create a pot with uneven walls. Fill the space between the two molds with the remaining concrete mix, packing it down as you go to avoid air pockets.
After pouring, smooth out the top surface with a trowel or even a piece of cardboard. This will ensure that your pot has a clean, finished look. Remember to use a level to check that the top of the pot is even.
Curing the Concrete
Once you have poured the concrete into the molds, the next and perhaps most crucial step is curing. Curing is the process by which concrete hardens and gains strength over time. This process usually takes at least 24-48 hours, but longer is recommended for optimal durability.
Cover the filled molds with plastic sheeting or damp towels to retain moisture, which is key for successful curing. If the concrete dries out too quickly, it can lead to cracks and a weaker final product. During this time, try to keep the molds in a shaded area to avoid direct sunlight, which can cause uneven drying.
It can be tempting to try and de-mold the pots early, but resist the urge! Allow the concrete plenty of time to cure, as undue stress can lead to fractures or complete failure of the pot. If possible, wait at least a week before completely removing the molds. As a good practice, you can gradually expose them to air by partially removing the outer mold after a couple of days, then completely freeing the pot once you’re confident in its strength.
![]()
De-Molding and Smoothing
When the curing time is up, it’s time to de-mold your concrete flower pots. Start by carefully removing the outer mold. If you used a plastic or silicone mold, this step should be relatively simple. If you encounter any resistance, gently tap the mold to help it release the concrete.
After removing the outer mold, it’s time to extract the inner mold. This step should be executed carefully to prevent any accidental damage to your newly formed flower pot. If the inner mold is stuck, you can also use a soft tool or even water to help loosen it.
Once both molds are removed, your pot will likely have a rough texture and possibly some sharp edges. To achieve a smooth finish, utilize sandpaper or a wire brush to gently sand down any imperfections. This step can enhance the overall appearance of your pot and make it safer to handle.
Be sure to wear a mask while sanding to avoid inhaling any concrete dust. Once you’re satisfied with the surfaces, clean off any debris, and your flower pots are ready for the next stage: painting and finishing.
Painting and Sealing Your Flower Pots
While concrete flower pots can have a unique aesthetic, many choose to paint or seal them for added protection and style. This step is optional but can significantly elevate the look of your creations.
For painting, make sure your pots are completely dry and free of dust. Start by applying a base coat of outdoor concrete paint. Look for products specifically designed for concrete to ensure good adhesion and durability. You can choose to apply a single color or get creative with patterns and designs.
Once the paint has dried, sealing the concrete pot adds an extra layer of protection against moisture and wear. A clear sealant made for outdoor use is highly recommended. This will not only preserve the color of your paint but will also protect the concrete from rain and sun damage.
Apply the sealant evenly, allowing it to dry as per the manufacturer’s instructions. This step is crucial, especially if you live in a region with harsh weather conditions. A well-sealed pot can last for years without deteriorating.
Planning Plant Arrangement
With your beautiful new concrete pots ready, it’s time to consider what plants will go in them. The type of plant you choose should depend on the size of the pot and its intended location, either indoors or outdoors. Take time to research which plants thrive in the conditions you can provide.
Keep in mind that drainage is essential for healthy plants. While you can add gravel to the bottom of your pots, consider drilling holes into the bottom of your concrete flower pots. This allows excess water to escape, reducing the risk of root rot.
Once you’ve decided on the plants, start arranging them in your pots. Play around with various layouts until you find a combination that you enjoy. Pay attention to plant height and color, ensuring that they complement each other. After everything is set, fill the pots with potting soil and gently place your plants in, watering them lightly afterward.
Maintaining Your Concrete Flower Pots
Your hard work has resulted in beautiful, durable concrete flower pots, but the journey doesn’t end here. Proper maintenance is key to ensuring that your pots and plants thrive.
Regular watering is necessary, but avoid overwatering, especially if your pots don’t have drainage. Check the soil moisture regularly to prevent water build-up. During colder months, consider bringing pots indoors if they house delicate plants, as freezing temperatures can affect the integrity of the concrete.
It’s also essential to clean the surface of your pots periodically. Use a soft brush to remove dust and debris, and wash them down with water when needed. This will not only keep your flower pots looking beautiful but will also help avoid any long-term damage caused by grime and mildew.
For painted pots, inspect the finish regularly for chipping or wear. Touch up any areas that need refreshing, especially before the rainy or winter months, to ensure your pots continue to look their best.
Conclusion: Customization and Enjoying Your Craft
Creating your own concrete flower pots is rewarding, allowing you to express your creativity while providing durable homes for your plants. Throughout this step-by-step guide, you’ve learned how to mix concrete, pour it into molds, de-mold your pots, and finish them beautifully.
Don’t be afraid to experiment with colors, shapes, and sizes to make unique pieces for your garden or home. Best of all, making flower pots from concrete allows you to customize and personalize your space in ways that store-bought options can’t match.
Enjoy the process and take pride in your concrete flower pots as they flourish with your chosen plants. These containers can become focal points in your garden or home, showcasing both your artistic endeavors and your love for nature. Happy crafting!