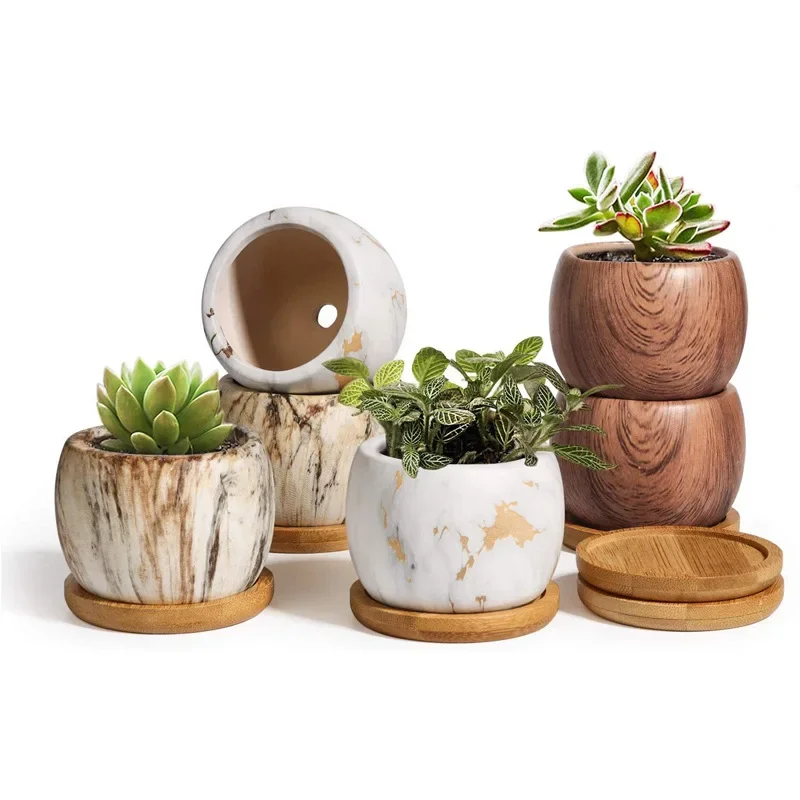
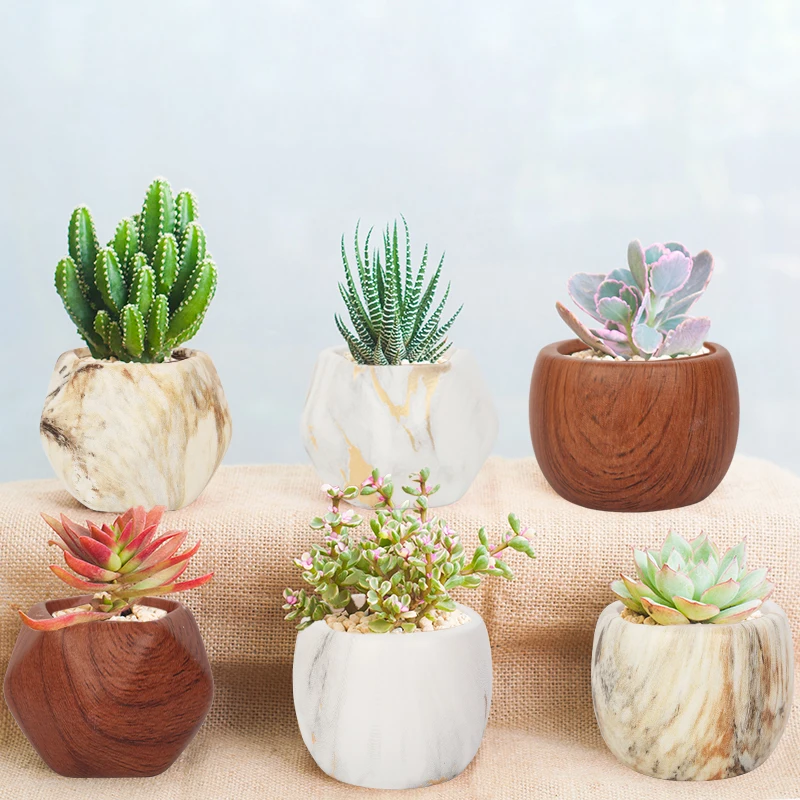
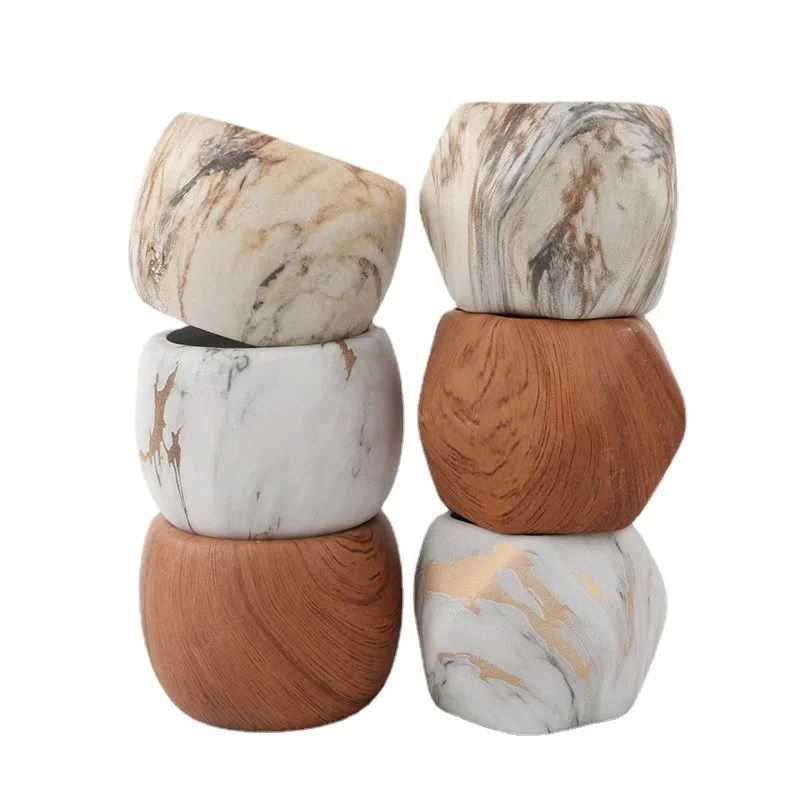
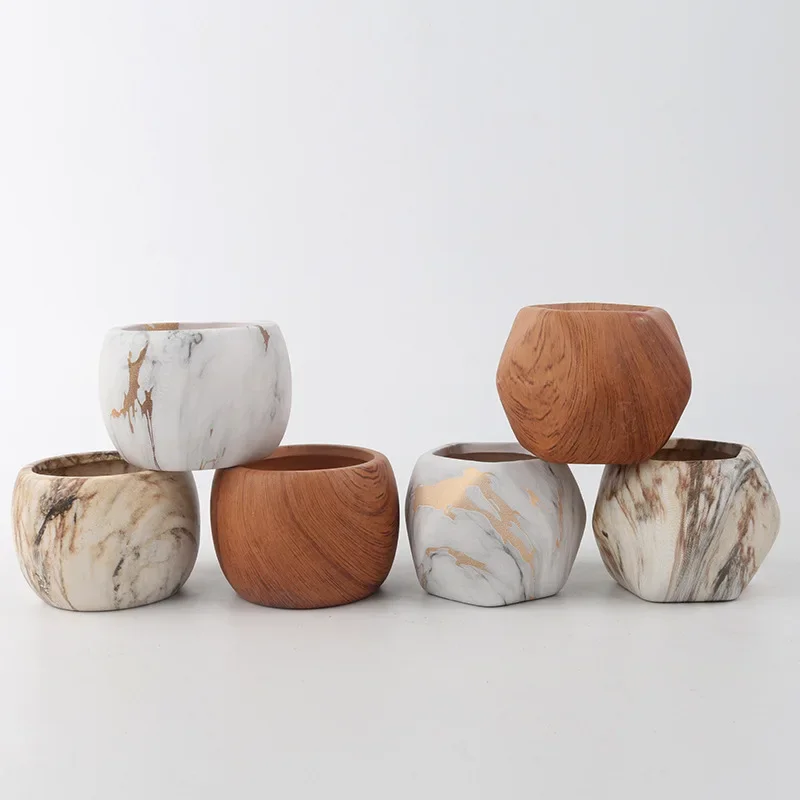
Plastic flower pots are a staple in gardens and homes, but their utilitarian appearance often leaves something to be desired. Luckily, a little creativity and some paint can turn these mundane pots into eye-catching garden accessories. This project is not only budget-friendly but also an enjoyable way to personalize your space. In this article, we’ll walk you through a comprehensive guide on how to transform plastic flower pots with paint, including the materials you’ll need, step-by-step instructions, tips for achieving the best results, and ideas for customizing your designs.
The Joy of Painting Plastic Flower Pots
Transforming plastic flower pots with paint is more than just a craft project; it’s an opportunity to add a personal touch to your gardening space. Plastic pots are practical due to their durability and lightweight nature, but they often lack aesthetic appeal. By painting them, you can create vibrant, custom pieces that reflect your style and brighten up your garden or indoor plant display.
Painting plastic flower pots is also a fantastic way to get creative and engage in a hands-on project. Whether you’re an experienced crafter or a beginner, this project is accessible and allows for a wide range of artistic expressions. From bold geometric patterns to delicate floral designs, the possibilities are endless. Moreover, this activity provides a great opportunity for relaxation and mindfulness as you focus on bringing your design ideas to life.
In addition to being a fun activity, painted flower pots can be practical as well. Customized pots can serve as great gifts, adding a personal touch to presents for friends and family. They can also be used to distinguish different plants, making it easier to identify and care for them. Overall, this project combines creativity with utility, making it a worthwhile endeavor.

Materials and Preparation: Getting Started
Before you dive into painting your plastic flower pots, it’s essential to gather all the necessary materials and prepare your workspace. Here’s a list of what you’ll need:
- Plastic Flower Pots: Choose pots that are clean and free of any residue or old paint. They should also be dry before you start painting.
- Acrylic Paint: Acrylic paint works well on plastic because of its adhesion properties and wide range of colors. You can select from various finishes, such as matte, gloss, or satin, depending on your preference.
- Primer: A plastic primer can help the paint adhere better to the pot, especially if you’re aiming for a long-lasting finish. It’s especially useful for pots with a slick or shiny surface.
- Paintbrushes and Sponges: Different sizes of brushes and sponges will help you achieve various effects and details in your design.
- Painter’s Tape: Use painter’s tape to create clean lines and prevent paint from getting onto areas you want to keep unpainted.
- Sealant: A clear acrylic sealant will protect your painted pots from the elements if they will be used outdoors.
- Drop Cloth or Newspaper: Protect your work surface from paint spills and splatters.
- Water and Soap: For cleaning brushes and sponges after use.
Preparing your workspace is just as crucial as having the right materials. Choose a well-ventilated area or work outdoors to avoid inhaling paint fumes. Lay down a drop cloth or newspaper to catch any spills, and keep your materials organized for easy access. Proper preparation will ensure that your painting process goes smoothly and that you achieve the best possible results.
Step-by-Step Instructions: Painting Your Flower Pots
- Clean the Pots: Start by thoroughly cleaning your plastic flower pots. Use soap and water to remove any dirt, dust, or residues. Allow the pots to dry completely before proceeding.
- Apply Primer: For better paint adhesion, apply a coat of plastic primer. Follow the manufacturer’s instructions for application and drying times. Primer helps to create a surface that paint can adhere to more effectively, which is especially important for pots with a glossy finish.
- Plan Your Design: Decide on the design you want to paint on your pots. You can sketch out your design on paper first or use painter’s tape to create geometric patterns. For intricate designs, consider using stencils to achieve a clean look.
- Start Painting: Apply your base color to the pot using a paintbrush or sponge. Depending on the color and type of paint, you may need to apply multiple coats. Allow each coat to dry completely before applying the next one. Be patient to ensure even coverage and a smooth finish.
- Add Details: Once your base color is dry, you can add details to your design. Use smaller brushes for intricate patterns or designs. If you’re using painter’s tape for geometric shapes, make sure to remove the tape carefully after the paint has dried to reveal clean lines.
- Seal the Pot: After your design is complete and thoroughly dry, apply a clear acrylic sealant to protect your artwork. This step is crucial if the pots will be exposed to outdoor elements. Follow the sealant’s instructions for application and drying times.
- Cure Time: Allow the pots to cure for at least 24 hours before placing them outside or adding plants. This ensures that the paint and sealant are fully set and will not smudge or peel.

Tips for Achieving the Best Results
To ensure your painted plastic flower pots turn out beautifully and last for a long time, consider the following tips:
- Choose Quality Paint: Opt for high-quality acrylic paint, which provides better coverage and durability. It’s worth investing in good paint to achieve a vibrant and long-lasting finish.
- Test on a Sample: If you’re unsure about your design or colors, test them on a small, inconspicuous area of the pot or on a sample pot first. This will help you visualize the final result and make any necessary adjustments.
- Work in Thin Layers: Apply paint in thin layers rather than thick coats. Thin layers dry more evenly and reduce the risk of drips and uneven coverage.
- Use a Sealer: Don’t skip the sealing step, especially if the pots will be used outdoors. A good sealer will protect your design from weathering and fading.
- Clean Up Promptly: Clean your brushes and tools promptly after use to prevent paint from drying on them. This will make cleanup easier and extend the life of your tools.
- Consider the Environment: If you’re painting pots for outdoor use, choose weather-resistant paints and sealants. This will ensure that your designs withstand the elements and remain vibrant over time.
Creative Ideas and Designs
The beauty of painting plastic flower pots is the freedom to express your creativity. Here are some inspiring ideas to get you started:
- Geometric Patterns: Create bold and modern geometric patterns using painter’s tape. You can use contrasting colors for a striking effect or go for a monochromatic look for a more subtle design.
- Floral Designs: Paint delicate floral designs for a classic and charming look. You can choose from various flowers and colors to match your garden’s aesthetic.
- Abstract Art: Experiment with abstract art by using sponges or brushes to create unique textures and color blends. This approach allows for spontaneity and creativity.
- Themed Pots: Create pots with themes, such as ocean-inspired designs with waves and seashells or rustic themes with earthy tones and patterns.
- Personalized Messages: Add personalized messages or quotes to your pots for a special touch. This could be a great way to commemorate an event or express your personality.
- Seasonal Decorations: Change the designs according to seasons or holidays. Paint pots with festive colors and patterns for occasions like Christmas, Halloween, or springtime.

Conclusion: Enjoying Your Customized Flower Pots
Transforming plastic flower pots with paint is a rewarding and enjoyable project that adds a personal touch to your gardening space. With the right materials, preparation, and techniques, you can create beautiful and functional pieces that enhance the aesthetic of your home or garden. Whether you choose to go bold with bright colors and geometric patterns or opt for a more subtle approach with delicate designs, painted flower pots offer endless possibilities for creativity.
This project not only provides a fun and relaxing activity but also allows you to create unique pieces that can serve as thoughtful gifts or personal decorations. By following the steps and tips outlined in this guide, you’ll be able to achieve impressive results and enjoy the satisfaction of transforming ordinary plastic pots into stunning works of art. So gather your materials, unleash your creativity, and start painting your plastic flower pots today!
