Creating your own cement flower pots is a rewarding and creative DIY project that adds a personal touch to your garden or home decor. Not only are cement flower pots durable and versatile, but they also offer a modern and industrial aesthetic. In this guide, we’ll delve into the steps and techniques needed to make beautiful and functional cement flower pots at home. Whether you’re a seasoned DIY enthusiast or a beginner, this comprehensive guide will help you achieve stunning results.
Understanding the Basics of Cement Flower Pots
Why Choose Cement for Flower Pots?
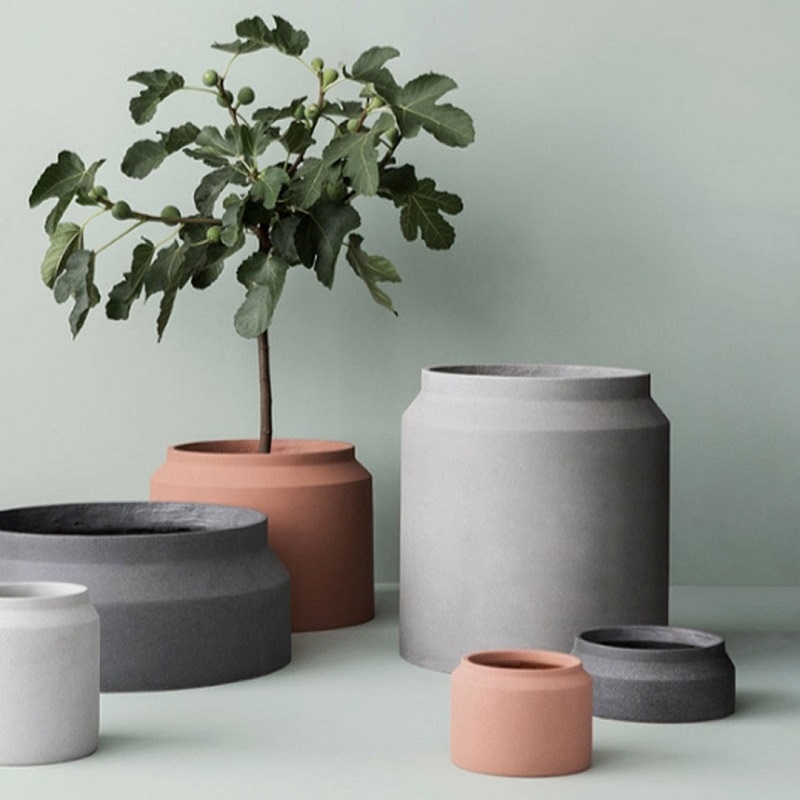
Cement flower pots are an excellent choice for gardening enthusiasts due to their durability and weather resistance. Unlike traditional clay or plastic pots, cement pots can withstand harsh environmental conditions, including extreme temperatures and heavy rainfall. Cement pots are also heavier, which provides stability for taller plants and prevents them from tipping over. Additionally, the industrial aesthetic of cement adds a modern touch to any space, making it a popular choice for contemporary home decor.
Materials and Tools Needed
To get started with making cement flower pots, you’ll need a few essential materials and tools. The primary ingredient is cement, which can be mixed with water to create the concrete mixture. You’ll also need sand and gravel to enhance the texture and strength of the cement. For the pots’ shape, you can use various molds, such as plastic containers or silicone molds. Additional tools include a mixing bucket, a trowel or spatula for mixing, a paintbrush for applying mold release, and protective gloves and a mask for safety.
Preparing Your Workspace
Setting Up a Safe and Clean Area
Before beginning your DIY project, it’s crucial to set up a clean and safe workspace. Choose a well-ventilated area to work with cement, as the dust and fumes can be harmful if inhaled. Lay down a plastic sheet or old newspaper to protect surfaces from spills and splashes. Wear protective gloves, a dust mask, and safety glasses to safeguard yourself from cement dust and wet concrete. Ensure that your workspace is equipped with all the necessary tools and materials to avoid interruptions during the project.
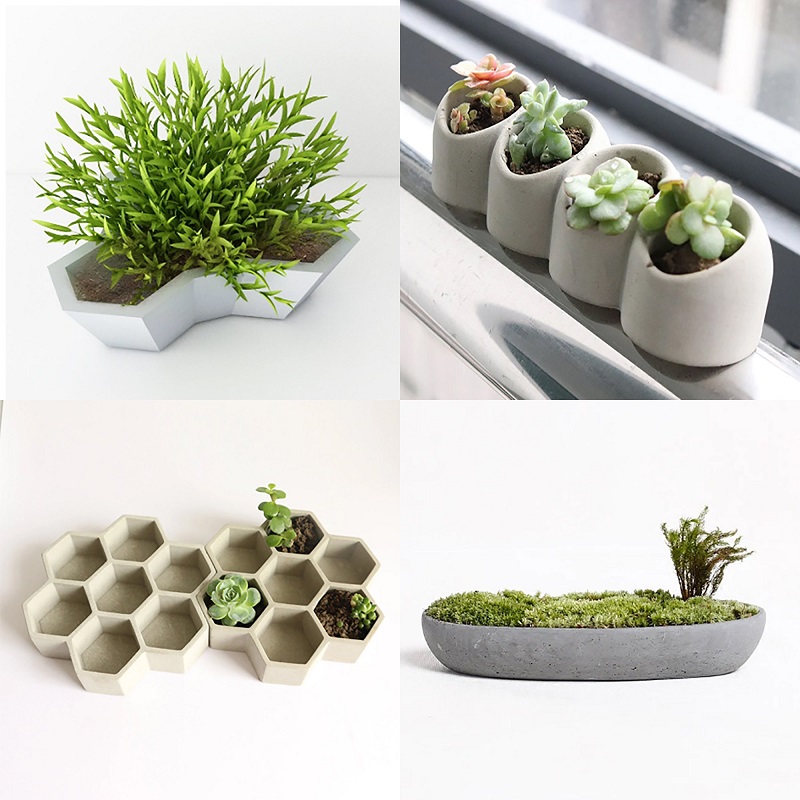
Choosing the Right Molds
Selecting the appropriate molds is a critical step in making cement flower pots. Molds can be made from a variety of materials, including plastic, silicone, and even cardboard. For a simple project, plastic containers or buckets can be used as outer molds, while smaller containers or cups can serve as inner molds to create the pot’s cavity. Silicone molds are particularly versatile and easy to remove, allowing for more intricate designs. Make sure to choose molds that are clean and free from any damage to ensure a smooth final product.
Mixing the Cement
Preparing the Cement Mixture
Mixing cement requires precision to achieve the right consistency for your flower pots. Start by combining cement, sand, and gravel in a large mixing bucket. A typical ratio is 1 part cement to 1 part sand and 1 part gravel, although you can adjust these proportions based on your desired texture and strength. Gradually add water to the dry mixture while stirring continuously with a trowel or spatula. The goal is to achieve a thick, pudding-like consistency that holds its shape but is still workable. Avoid adding too much water, as this can weaken the mixture.
Mixing Tips and Techniques
To ensure a uniform and smooth cement mixture, it’s essential to mix thoroughly. Begin by dry mixing the cement, sand, and gravel before adding water. This helps distribute the materials evenly and prevents clumping. Once the water is added, continue mixing until all the dry ingredients are fully incorporated. If you find that the mixture is too thick, you can add a small amount of water incrementally. Conversely, if it’s too runny, add a bit more cement and sand to achieve the desired consistency. Proper mixing is crucial for the strength and durability of the finished flower pots.
Creating the Flower Pots
Pouring Cement into Molds
With your cement mixture ready, it’s time to pour it into the molds. Begin by applying a mold release agent to the inside surfaces of the molds to ensure easy removal of the cement once it has dried. You can use a commercial mold release or a simple solution of cooking oil. Pour the cement mixture into the outer mold, filling it about halfway. Next, insert the inner mold, ensuring it is centered and properly positioned to create the pot’s cavity. Gently tap the molds to remove any air bubbles and ensure an even distribution of the cement.
Shaping and Smoothing
After pouring the cement and inserting the molds, it’s important to shape and smooth the surface of the flower pots. Use a trowel or spatula to smooth out the top edges and remove any excess cement. If you notice any air bubbles or imperfections, gently tap the molds or use a small brush to remove them. Allow the cement to set in the molds for at least 24 hours, or as recommended by the cement manufacturer. The curing time may vary depending on the size and thickness of the pots. Avoid moving or disturbing the molds during this period to prevent cracks or deformities.
Removing the Flower Pots from the Molds
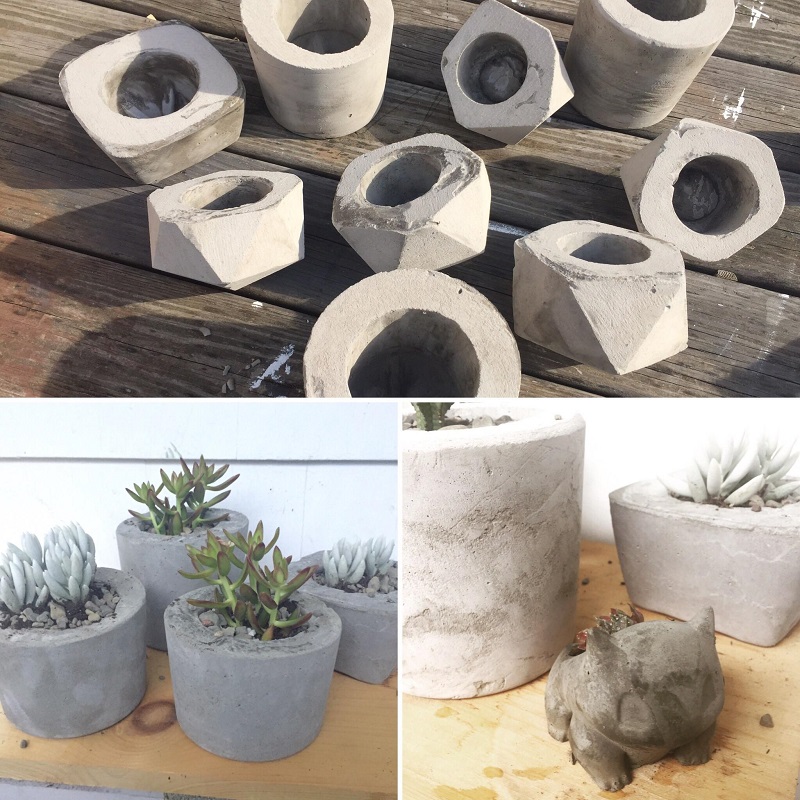
Demolding the Cement Pots
Once the cement has fully cured, it’s time to remove the flower pots from the molds. Begin by carefully peeling away the outer mold, starting from the edges and working your way inward. If you used a plastic container, you can cut it away with scissors or a utility knife. For silicone molds, gently flex and peel the mold to release the pot. If the cement pots are stuck, you can tap the mold gently or use a small amount of cooking oil to ease the release. Be patient and handle the pots with care to avoid damaging them.
Finishing Touches
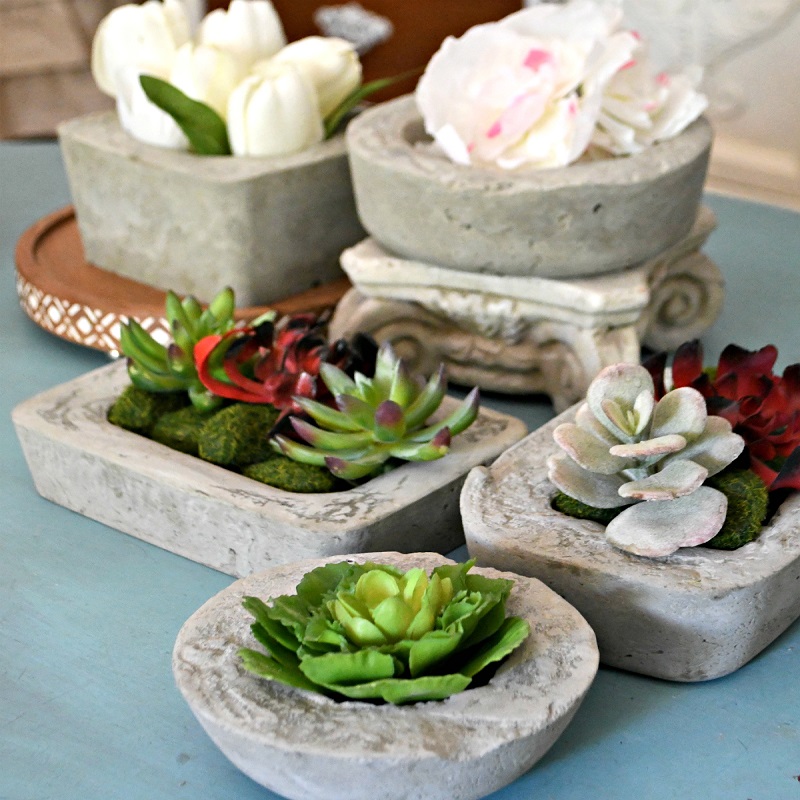
After removing the pots from the molds, you may need to clean up any rough edges or imperfections. Use sandpaper or a sanding block to smooth out any sharp edges or uneven surfaces. If you want to add a decorative finish, consider painting or sealing the pots. Concrete sealers can provide a protective layer and enhance the appearance of the cement. For a personalized touch, you can also paint the pots with acrylic paint or apply a decorative stencil. Allow any paint or sealer to dry completely before using the pots.
Caring for Cement Flower Pots
Maintaining and Cleaning
Proper care and maintenance are essential for keeping your cement flower pots in good condition. Cement is porous and can absorb moisture, which may lead to cracking or deterioration over time. To prevent this, regularly inspect the pots for any signs of damage and repair them promptly. Clean the pots with a damp cloth to remove dirt and debris, and avoid using harsh chemicals that could damage the cement. If you live in an area with extreme weather conditions, consider placing the pots in a sheltered location or using a protective coating to extend their lifespan.
Winterizing Cement Pots
In colder climates, winter weather can pose a challenge to cement flower pots. To prevent damage from freezing and thawing cycles, consider moving the pots to a sheltered area or covering them with a protective wrap. If moving the pots is not feasible, applying a concrete sealer can help protect them from moisture infiltration. Additionally, avoid placing the pots directly on frozen ground or surfaces, as this can exacerbate cracking. Taking these precautions will help ensure that your cement flower pots remain intact and beautiful throughout the winter months.
Troubleshooting Common Issues
Addressing Cracks and Chips
Cracks and chips can occasionally occur in cement flower pots due to various factors, including improper mixing or curing. If you notice minor cracks or chips, you can repair them using a concrete patching compound. Clean the affected area and apply the patching compound according to the manufacturer’s instructions. For larger cracks, you may need to use a more extensive repair method, such as reinforcing the pot with additional cement or applying a concrete repair adhesive. Allow the repairs to cure fully before using the pots again.
Handling Uneven Surfaces
Uneven surfaces in cement flower pots can result from air bubbles, improper mixing, or inconsistent pouring. To address uneven surfaces, you can use a sanding block or a grinder to smooth out the rough areas. For more significant surface irregularities, consider applying a thin layer of cement or concrete resurfacer to even out the surface. Ensure that the added layer is well blended and cured before using the pot. Proper mixing and pouring techniques can help minimize these issues in future projects.
Conclusion
Summary of Key Steps
Creating cement flower pots at home involves several key steps: selecting the right materials, preparing your workspace, mixing the cement, pouring and shaping the pots, and finishing with careful demolding and cleaning. By following these guidelines, you can achieve beautiful and durable flower pots that add a unique touch to your garden or home. Remember to maintain and care for your pots to ensure their longevity and visual appeal.