Clay flower pots add a natural, rustic charm to your garden or home décor. However, over time, they can become dirty, stained, or even develop unsightly mineral deposits. Proper cleaning and refreshing of these pots not only restore their appearance but also ensure the health of your plants by removing potential contaminants. This guide will walk you through effective methods to clean and refresh your clay flower pots, covering everything from basic cleaning to advanced restoration techniques.
Understanding Clay Pots and Their Maintenance
The Nature of Clay Pots
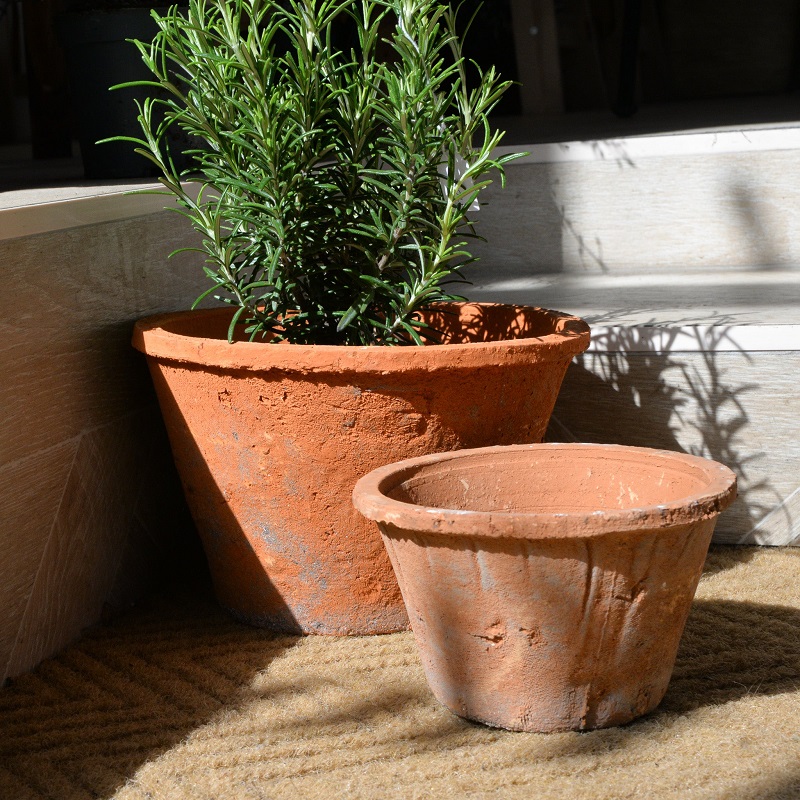
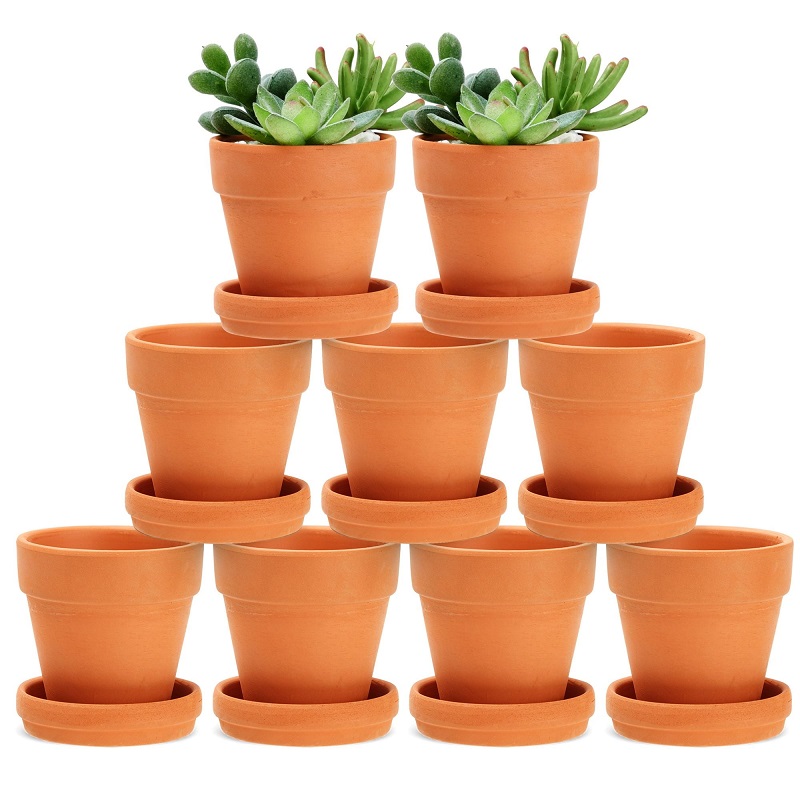
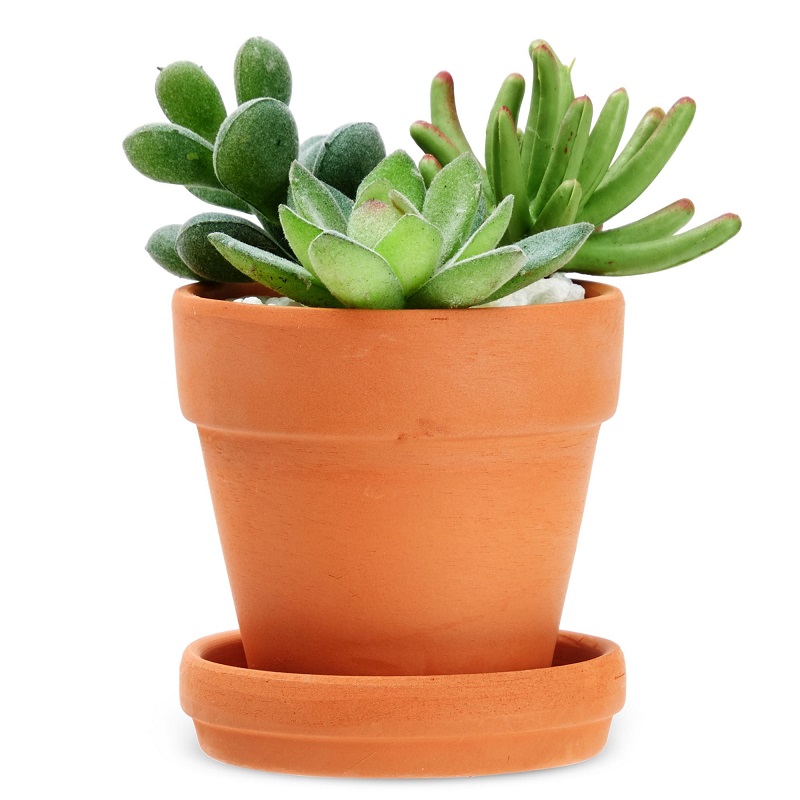
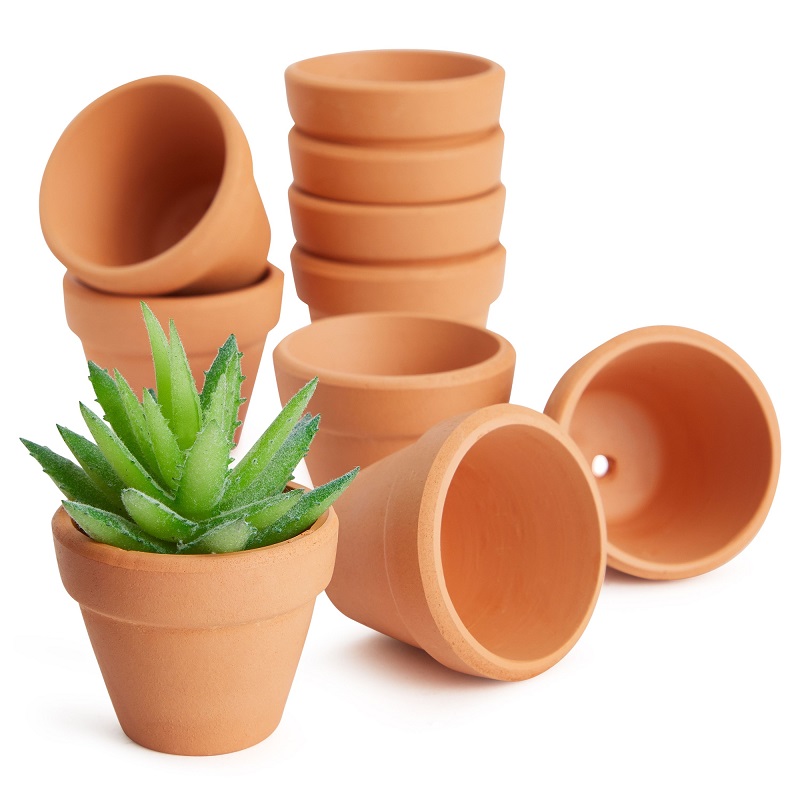
Clay flower pots are popular for their breathability and aesthetic appeal. Made from natural clay, these pots are porous, which allows for better air circulation to plant roots. However, their porous nature also means they can absorb moisture, soil, and even minerals, leading to potential buildup over time. Understanding these characteristics is essential for effective cleaning and maintenance.
Why Regular Cleaning is Essential
Regular cleaning of clay pots is crucial for several reasons. First, it helps remove dirt, algae, and mineral deposits that can affect the appearance of your pots. Second, it prevents the buildup of pathogens and fungi that could harm your plants. Finally, clean pots ensure better root health and drainage, which can lead to more vigorous plant growth.
Preparing Your Clay Pots for Cleaning
Gathering the Necessary Supplies
Before you begin cleaning your clay pots, gather the necessary supplies. You’ll need:
- Scrubbing Brush or Sponge: For removing dirt and deposits.
- Mild Soap or Vinegar: To dissolve mineral buildup and stains.
- Water: For rinsing and soaking.
- Baking Soda: For tough stains and deodorizing.
- Cloth or Towel: For drying and polishing.
Having these items ready will make the cleaning process smoother and more effective.
Removing Soil and Debris
Start by removing any soil and debris from the pot. Tap the pot gently to dislodge loose soil, and use a brush or your hands to remove any remaining dirt. For stubborn soil, you may need to soak the pot in water to loosen it. Ensure that all excess soil is removed before moving on to the next steps.
Cleaning Methods for Different Stains
Basic Cleaning with Soap and Water
For routine cleaning, a solution of mild soap and water is usually sufficient. Use a scrubbing brush or sponge to scrub the inside and outside of the pot, focusing on areas with visible stains or dirt. Rinse thoroughly with clean water to remove any soap residue. This method is effective for general cleaning and maintaining the appearance of your pots.
Removing Mineral Deposits with Vinegar
Mineral deposits, often seen as white, crusty build-ups, can be challenging to remove with just soap and water. To tackle these deposits, mix equal parts vinegar and water in a spray bottle. Spray the solution onto the affected areas and let it sit for about 15 minutes. Use a brush or sponge to scrub the deposits away, and rinse thoroughly. The acidity of vinegar helps dissolve mineral deposits without damaging the clay.
Tackling Tough Stains with Baking Soda
For particularly stubborn stains, baking soda can be a powerful ally. Create a paste by mixing baking soda with a small amount of water. Apply the paste to the stained areas and let it sit for about 30 minutes. Use a scrubbing brush to work the paste into the stain, then rinse thoroughly. Baking soda is abrasive enough to remove stains but gentle on the clay surface.
Advanced Techniques for Deep Cleaning
Soaking and Scrubbing
For a more thorough clean, especially if your pots are heavily soiled, soaking them can be highly effective. Fill a large container with water and add a small amount of mild detergent. Submerge the pots in the solution and let them soak for several hours or overnight. After soaking, use a brush to scrub away any remaining dirt or deposits. Rinse the pots well and allow them to dry completely before reusing.
Using Commercial Cleaners
If natural cleaning methods are not effective, consider using commercial cleaners specifically designed for clay pots. These products often contain stronger cleaning agents that can remove tough stains and mineral deposits. Follow the manufacturer’s instructions carefully to avoid damaging the clay. Always rinse the pots thoroughly after using commercial cleaners to ensure no residue remains.
Refreshing the Appearance of Clay Pots
Polishing and Buffing
Once your clay pots are clean, you can refresh their appearance by polishing them. Use a clean cloth or towel to buff the surface of the pot, which can enhance its natural sheen. For a glossy finish, you can apply a small amount of olive oil or mineral oil to the pot and buff it gently. This step not only improves the appearance but also helps to condition the clay.
Repainting or Sealing
If your clay pots are still looking dull or worn out, consider repainting or sealing them. Use outdoor acrylic paint for a fresh look, and apply a clear sealer to protect the paint and enhance durability. Ensure the pot is completely dry and clean before applying paint or sealer. This method is particularly useful for decorative pots that need a new lease on life.
Preventing Future Buildup
Proper Drainage and Soil Management
To prevent future buildup and staining, ensure your pots have proper drainage. Use pots with drainage holes or add gravel or broken pottery shards to the bottom of the pot to improve drainage. Additionally, use well-draining potting soil to reduce the chances of soil and mineral buildup.
Regular Maintenance
Incorporate regular maintenance into your gardening routine to keep your clay pots in good condition. Clean your pots periodically to prevent the accumulation of dirt and stains. Check for any signs of damage or wear and address them promptly to extend the life of your pots.
Dealing with Cracks and Chips
Identifying and Assessing Damage
Cracks and chips in clay pots can compromise their integrity and lead to further damage. Carefully inspect your pots for any visible cracks or chips. Small hairline cracks may be superficial, but larger cracks can affect the pot’s functionality. Assess the extent of the damage to determine the best course of action.
Repairing Cracks and Chips
For minor cracks, you can use a clay pot repair kit or waterproof adhesive. Clean the affected area thoroughly, apply the adhesive according to the instructions, and let it dry completely before using the pot again. For larger cracks or significant damage, consider re-potting your plants into a new pot to ensure their health and safety.
Seasonal Care Tips
Winter Storage
During winter, clay pots can become brittle due to freezing temperatures. To prevent damage, store your pots in a sheltered location or indoors. If outdoor storage is necessary, insulate the pots with protective materials like burlap or foam to shield them from the cold.
Summer Maintenance
In the summer, clay pots can dry out quickly, affecting soil moisture levels. Monitor the moisture in your pots regularly and water your plants as needed. Additionally, consider using a pot saucer to catch excess water and prevent staining of surfaces underneath.
Conclusion
Cleaning and refreshing clay flower pots is a simple yet effective way to maintain their beauty and functionality. By understanding the nature of clay pots and employing the right cleaning techniques, you can ensure that your pots remain in excellent condition for years to come. Regular maintenance and proper care not only enhance the appearance of your pots but also contribute to the overall health and well-being of your plants.