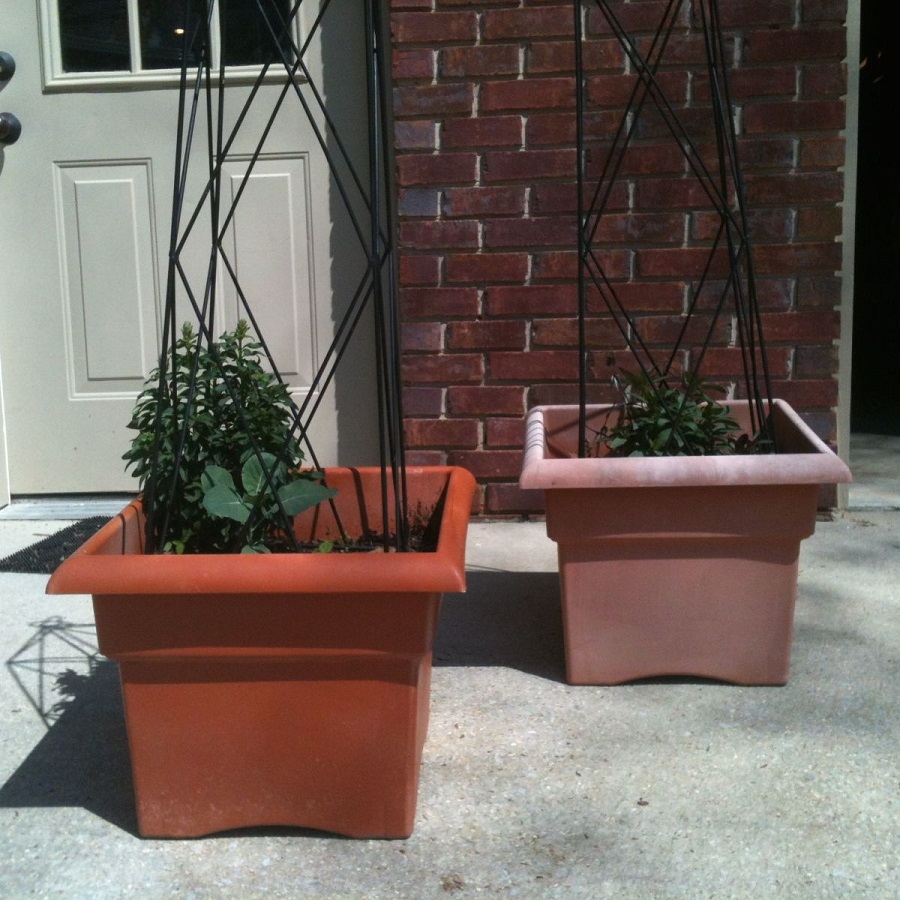
Spray painting plastic flower pots can breathe new life into your garden decor, allowing you to customize your planters to match any style or theme. The process may seem straightforward, but achieving a professional finish requires attention to detail and proper technique. This comprehensive guide will walk you through everything you need to know, from preparation to finishing touches, ensuring your plastic flower pots look fabulous and last for years to come.
Preparing Your Plastic Flower Pots
Cleaning the Pots
Before you start painting, it’s crucial to prepare your plastic flower pots properly. Begin by thoroughly cleaning the pots to remove any dirt, grime, or residues. Use a mild detergent mixed with water and a soft sponge to scrub the surface. Pay attention to any stubborn spots or stains, as these can affect the paint’s adhesion. Once cleaned, rinse the pots with clean water and allow them to dry completely. This step is vital because any leftover dirt or moisture can cause the paint to peel or bubble.
Sanding the Surface
While plastic is a smooth surface, sanding it lightly can improve paint adhesion. Use fine-grit sandpaper to gently scuff the surface of the pots. This doesn’t mean you need to sand aggressively; a light sanding will create tiny grooves that help the primer and paint adhere better. Be sure to wipe away any dust or debris created from sanding with a clean cloth or tack cloth. Proper surface preparation is key to achieving a smooth and long-lasting finish.
Choosing the Right Spray Paint
Selecting the Paint Type
Choosing the right spray paint is essential for achieving the desired finish on your plastic flower pots. Opt for a paint specifically designed for plastic surfaces or one labeled as “all-surface” paint. These paints have special formulations that adhere well to plastic and offer durability. Acrylic-based spray paints are a popular choice due to their quick-drying properties and wide range of colors. Be sure to read the label to ensure compatibility with plastic and check for any additional features like UV protection.
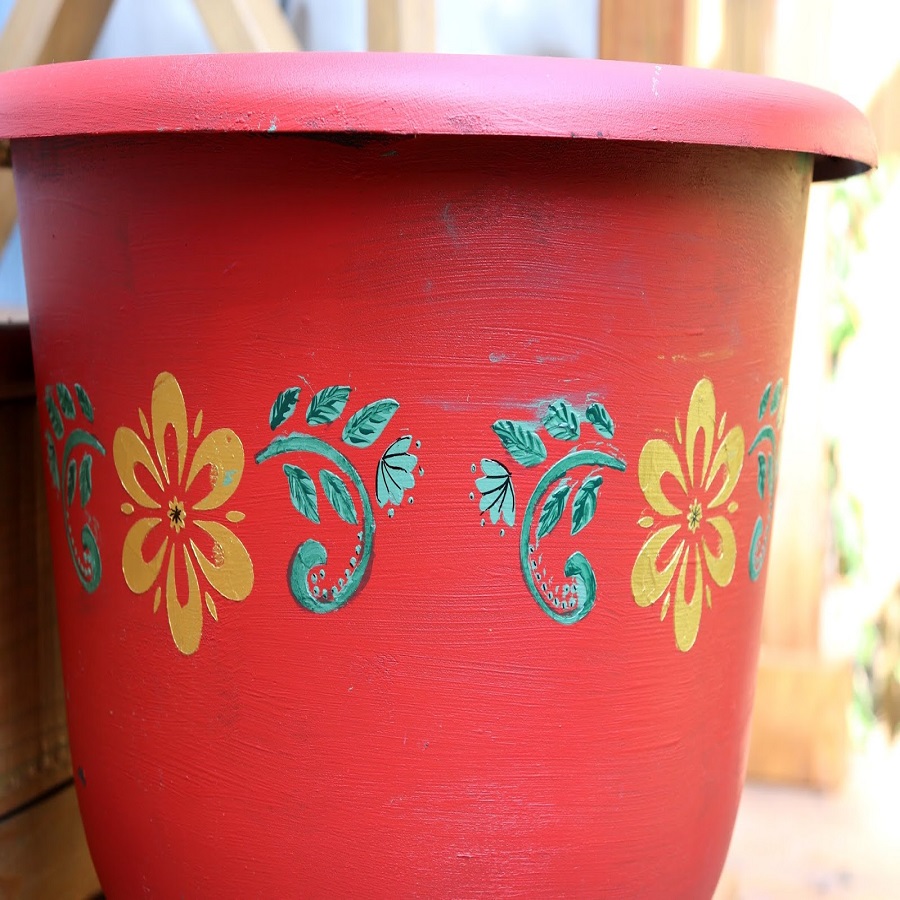
Considering the Finish
Spray paint comes in various finishes, including matte, satin, and gloss. The finish you choose will affect the final look of your flower pots. Matte finishes provide a non-reflective, smooth look that is perfect for a subtle appearance. Satin finishes offer a bit of sheen and a soft luster, while gloss finishes create a shiny, reflective surface that stands out. Consider the style of your garden and personal preference when selecting the finish. Keep in mind that gloss finishes may highlight imperfections more than matte or satin finishes.
Applying Primer for Better Adhesion
The Role of Primer
Using a primer is a crucial step when painting plastic flower pots. Primer helps create a uniform surface and enhances the paint’s adhesion. It also helps in covering up any imperfections on the plastic and can improve the durability of the paint job. Choose a primer that is specifically designed for plastic surfaces. Applying a primer will not only make the paint adhere better but also provide a more even and professional-looking finish.
How to Apply Primer
Apply the primer in a well-ventilated area, ideally outdoors or in a space with good airflow. Shake the primer can thoroughly before use and spray a light, even coat over the entire surface of the pot. Hold the can about 6 to 12 inches away from the pot to avoid drips and runs. Allow the primer to dry according to the manufacturer’s instructions before proceeding to paint. This step is crucial for ensuring that the paint bonds properly to the plastic.
Painting Techniques for a Smooth Finish
Preparing the Paint
Before you start painting, it’s important to prepare your spray paint. Shake the can vigorously for about one to two minutes to ensure the paint is well-mixed. This helps prevent any clumps or uneven color distribution. If the paint is too thick, you can also adjust the nozzle for a finer mist. Always test the spray on a piece of cardboard or scrap paper to check the flow and adjust if necessary. Proper paint preparation will help you achieve a smoother and more consistent finish.
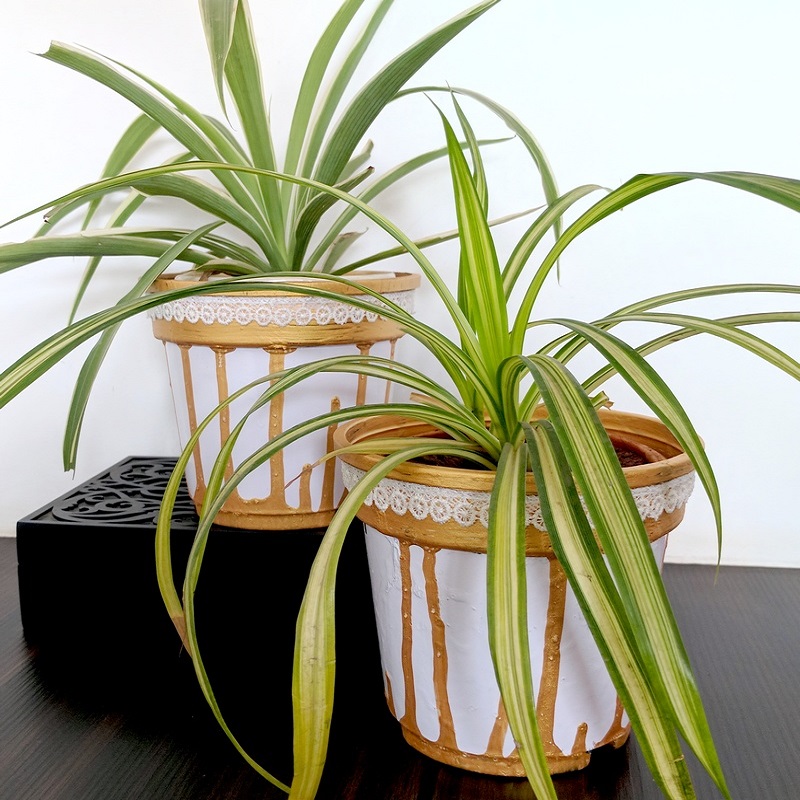
Applying the Paint
When applying the spray paint, use long, sweeping motions to ensure an even coat. Start spraying off the edge of the pot and move across the surface in a steady motion. This technique helps avoid drips and streaks. Apply multiple thin coats rather than one thick coat, allowing each coat to dry before applying the next. This approach ensures better coverage and a more even finish. Keep the spray can moving to prevent over-spraying any one area. Be patient and let each layer dry completely before handling the pot.
Handling and Curing the Painted Pots
Drying Time and Curing
Once you have finished painting, it’s important to let the flower pots dry and cure properly. Most spray paints dry to the touch within 30 minutes to an hour, but full curing can take up to 24 hours. During this time, keep the pots in a dry, dust-free area to prevent any debris from sticking to the surface. Avoid touching or moving the pots until they are fully cured to prevent smudging or damage. Proper curing ensures that the paint adheres well and provides long-lasting durability.
Handling the Painted Pots
After the pots have fully cured, handle them with care. Avoid placing them in areas where they might get scratched or damaged. If you need to move them, do so gently to avoid chipping or peeling the paint. For outdoor use, keep in mind that exposure to harsh weather conditions can affect the paint over time. If the paint starts to deteriorate, consider touching up any affected areas to maintain the appearance of your flower pots.
Protecting Your Painted Flower Pots
Applying a Clear Sealer
To extend the life of your painted flower pots and protect them from the elements, consider applying a clear sealer. A clear acrylic sealer will provide an additional layer of protection against UV rays, rain, and other environmental factors. Spray the sealer in thin, even coats over the painted surface, following the manufacturer’s instructions for drying times and application. This step helps to maintain the vibrancy of the paint and prevents fading or peeling over time.
Regular Maintenance
Even with a clear sealer, it’s important to perform regular maintenance on your painted flower pots. Clean them periodically with a mild soap and water solution to remove any dirt or grime that may accumulate. Avoid abrasive cleaners or scrubbing tools that can damage the paint. Inspect the pots regularly for any signs of wear or damage, and address any issues promptly to keep them looking their best. Regular care will help ensure that your painted flower pots remain beautiful and functional for many seasons.
Conclusion
Recap of Key Points
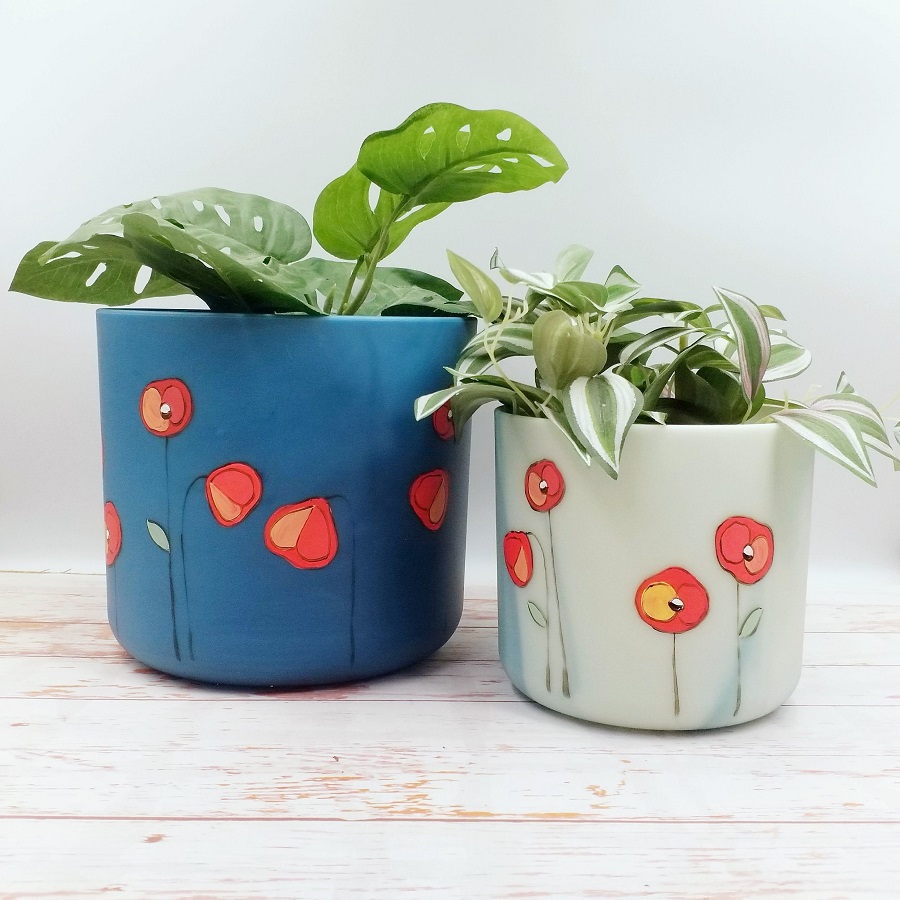
Spray painting plastic flower pots is a fantastic way to customize your garden decor and add a personal touch to your outdoor space. By following these tips and techniques, you can achieve a professional-looking finish that enhances the beauty of your pots. Remember to thoroughly clean and prepare the pots, choose the right paint and primer, and apply the paint with proper techniques for a smooth and durable finish. Protect your painted pots with a clear sealer and maintain them regularly to ensure long-lasting results.
Final Thoughts
With the right preparation and techniques, spray painting plastic flower pots can be a rewarding DIY project that transforms your garden. Embrace your creativity and experiment with different colors, finishes, and designs to create unique planters that reflect your personal style. Whether you’re sprucing up your garden or preparing for a special event, these tips will help you achieve a stunning and enduring look for your plastic flower pots. Enjoy the process and take pride in your beautifully customized garden decor.