Planting flower seeds in pots is a gratifying hobby that allows you to enjoy beautiful blooms, even if you have limited space. Whether you’re an experienced gardener or a beginner, this step-by-step guide will walk you through the process of successfully planting flower seeds in pots, ensuring that your efforts result in vibrant, healthy flowers. Below, we’ll cover everything from choosing the right seeds and pots to nurturing your plants as they grow.
Choosing the Right Seeds
Understanding Your Climate and Season
Before you begin planting, it’s essential to choose flower seeds that are suitable for your local climate and the current season. Different flowers thrive in different conditions, so researching the optimal growing conditions for your chosen seeds is crucial. Consider factors such as temperature, sunlight, and humidity. For instance, if you live in a region with hot summers, opt for heat-tolerant varieties like marigolds or zinnias. Conversely, in cooler climates, pansies and violas may be more appropriate.
Selecting Seeds Based on Pot Size
The size of your pots can also influence the type of seeds you choose. Larger pots can accommodate bigger plants, such as sunflowers or cosmos, which require more space for root development. On the other hand, smaller pots are ideal for compact plants like petunias or lobelias. Ensure that the seeds you select are appropriate for the pot size you plan to use, as this will affect their growth and overall health.
Preparing Your Pots
Choosing the Right Pot Material
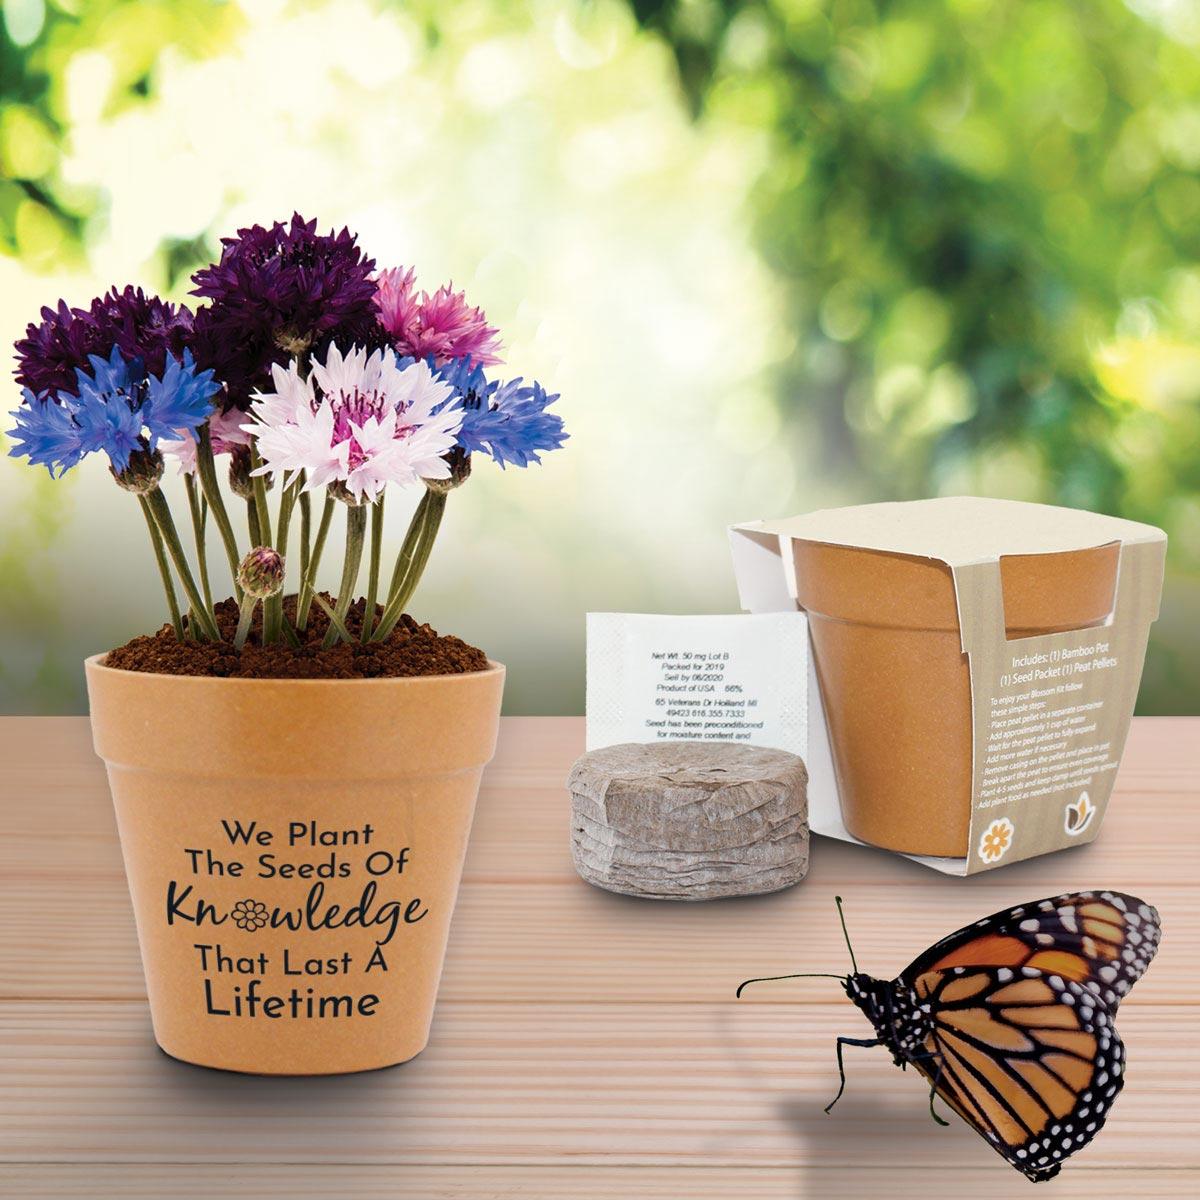
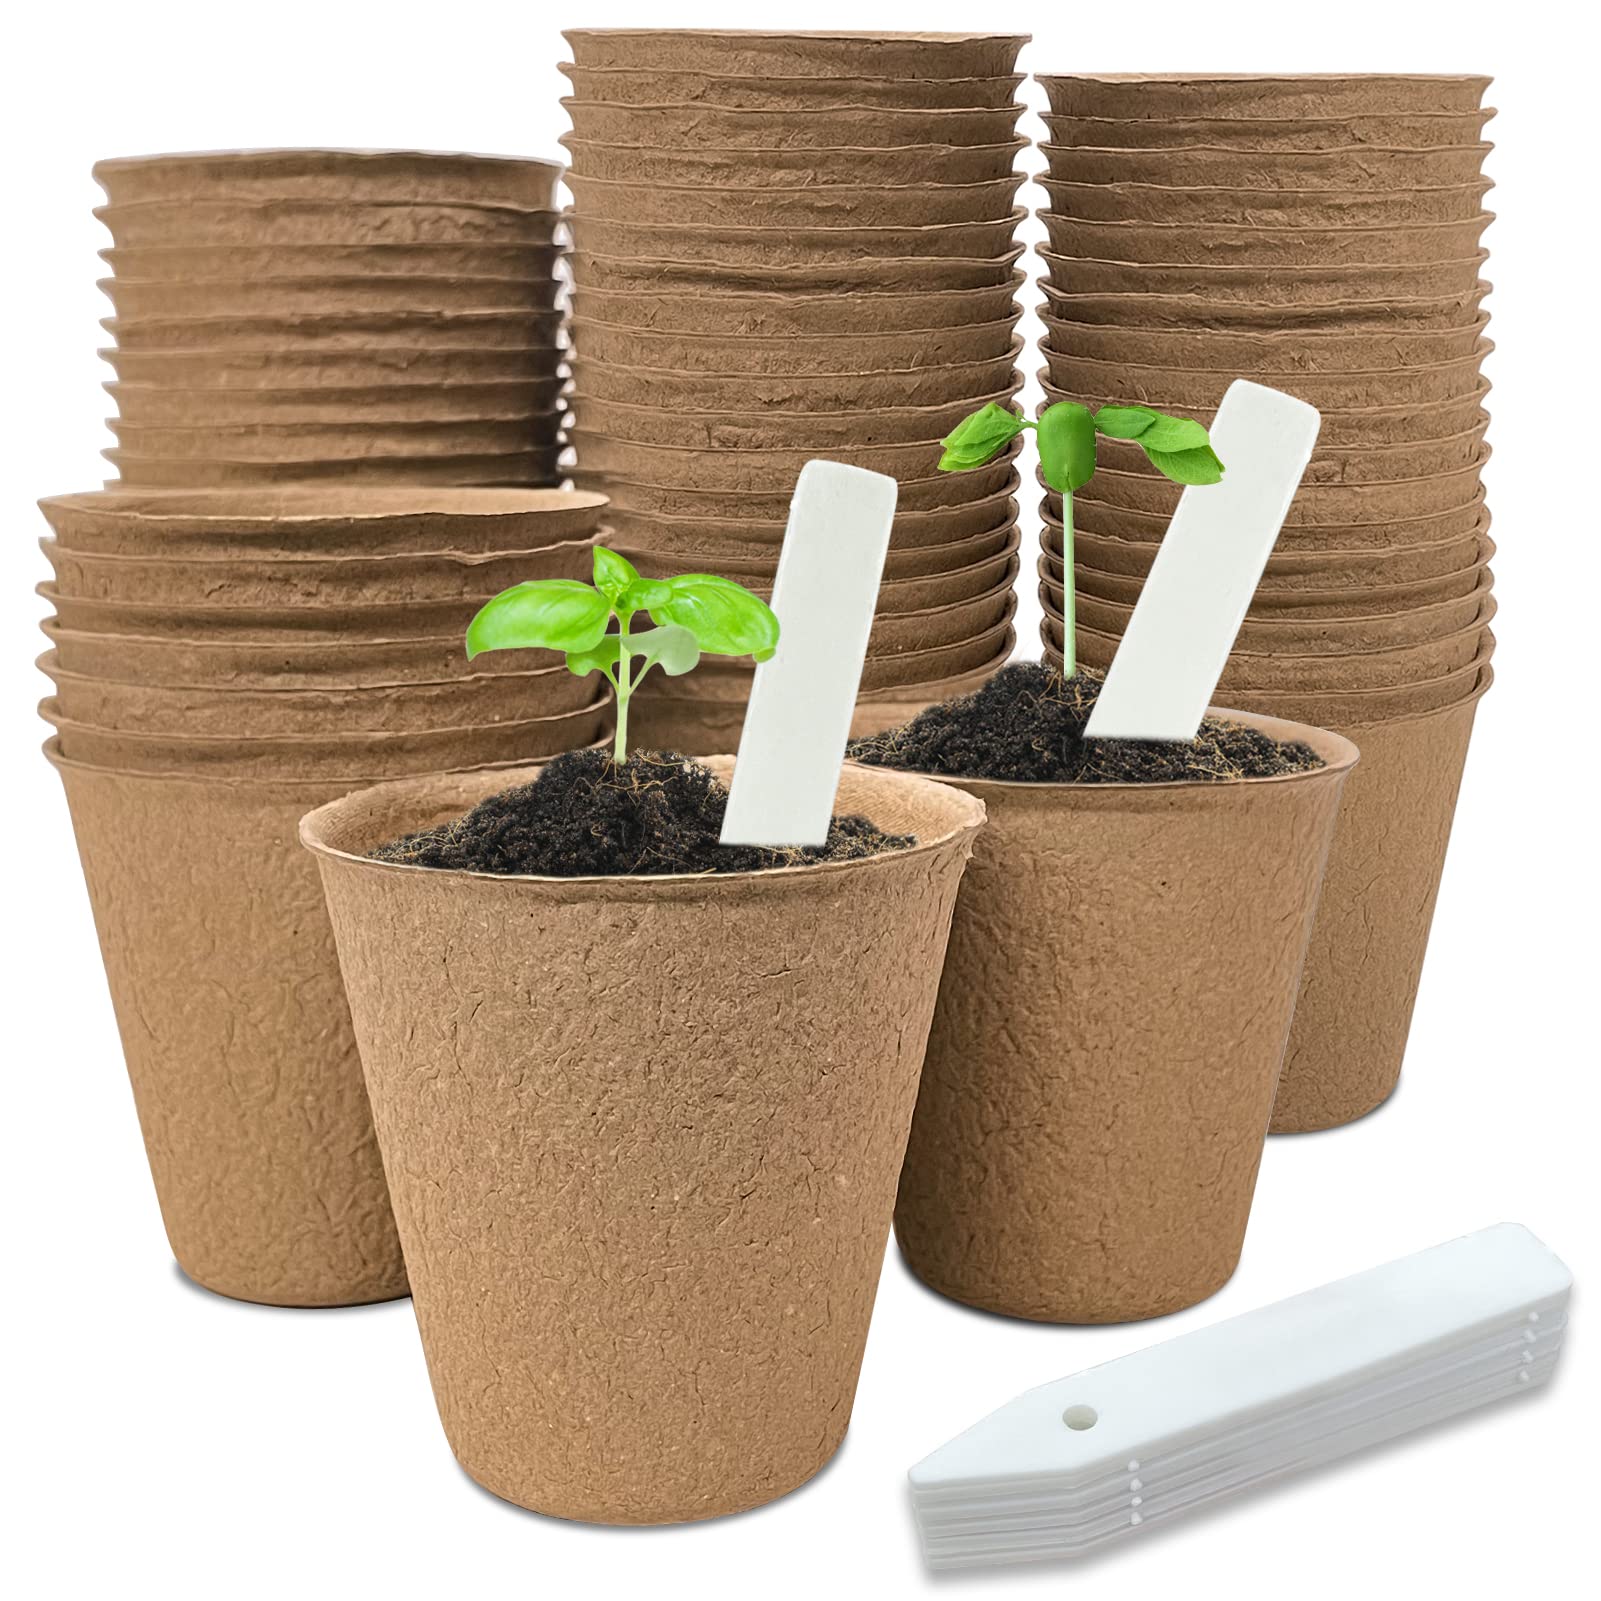
Selecting the right pot material is essential for the successful growth of your flower seeds. Pots come in various materials, including plastic, ceramic, and terracotta. Plastic pots are lightweight, retain moisture well, and are often the most affordable option. Ceramic and terracotta pots, while aesthetically pleasing, can dry out more quickly and may require more frequent watering. Ensure that the pots you choose have drainage holes to prevent waterlogging, which can lead to root rot.
Preparing Pots for Planting
Once you’ve selected your pots, it’s time to prepare them for planting. Start by cleaning the pots thoroughly to remove any residue or pathogens that could harm your seeds. Next, fill the pots with a high-quality seed-starting mix. This mix is specially formulated to provide the right balance of drainage and moisture retention, crucial for seed germination. Avoid using garden soil, as it may be too dense and can harbor diseases.
Sowing the Seeds
Following Seed Packet Instructions
Each type of flower seed has specific requirements for sowing, which are usually detailed on the seed packet. Follow these instructions carefully regarding the depth and spacing of the seeds. Generally, seeds should be sown at a depth equal to two to three times their size. For example, tiny seeds may only need to be lightly pressed into the soil surface, while larger seeds may need to be planted deeper.
Planting Techniques and Tips
When sowing seeds, it’s helpful to use a small tool or your fingers to create shallow furrows or holes in the soil. Gently place the seeds in these depressions, spacing them according to the recommendations on the packet. After sowing, cover the seeds with a thin layer of soil or vermiculite, depending on the seed type. Lightly water the pots to settle the soil and provide moisture for germination. Be careful not to overwater, as excessive moisture can cause seeds to rot.
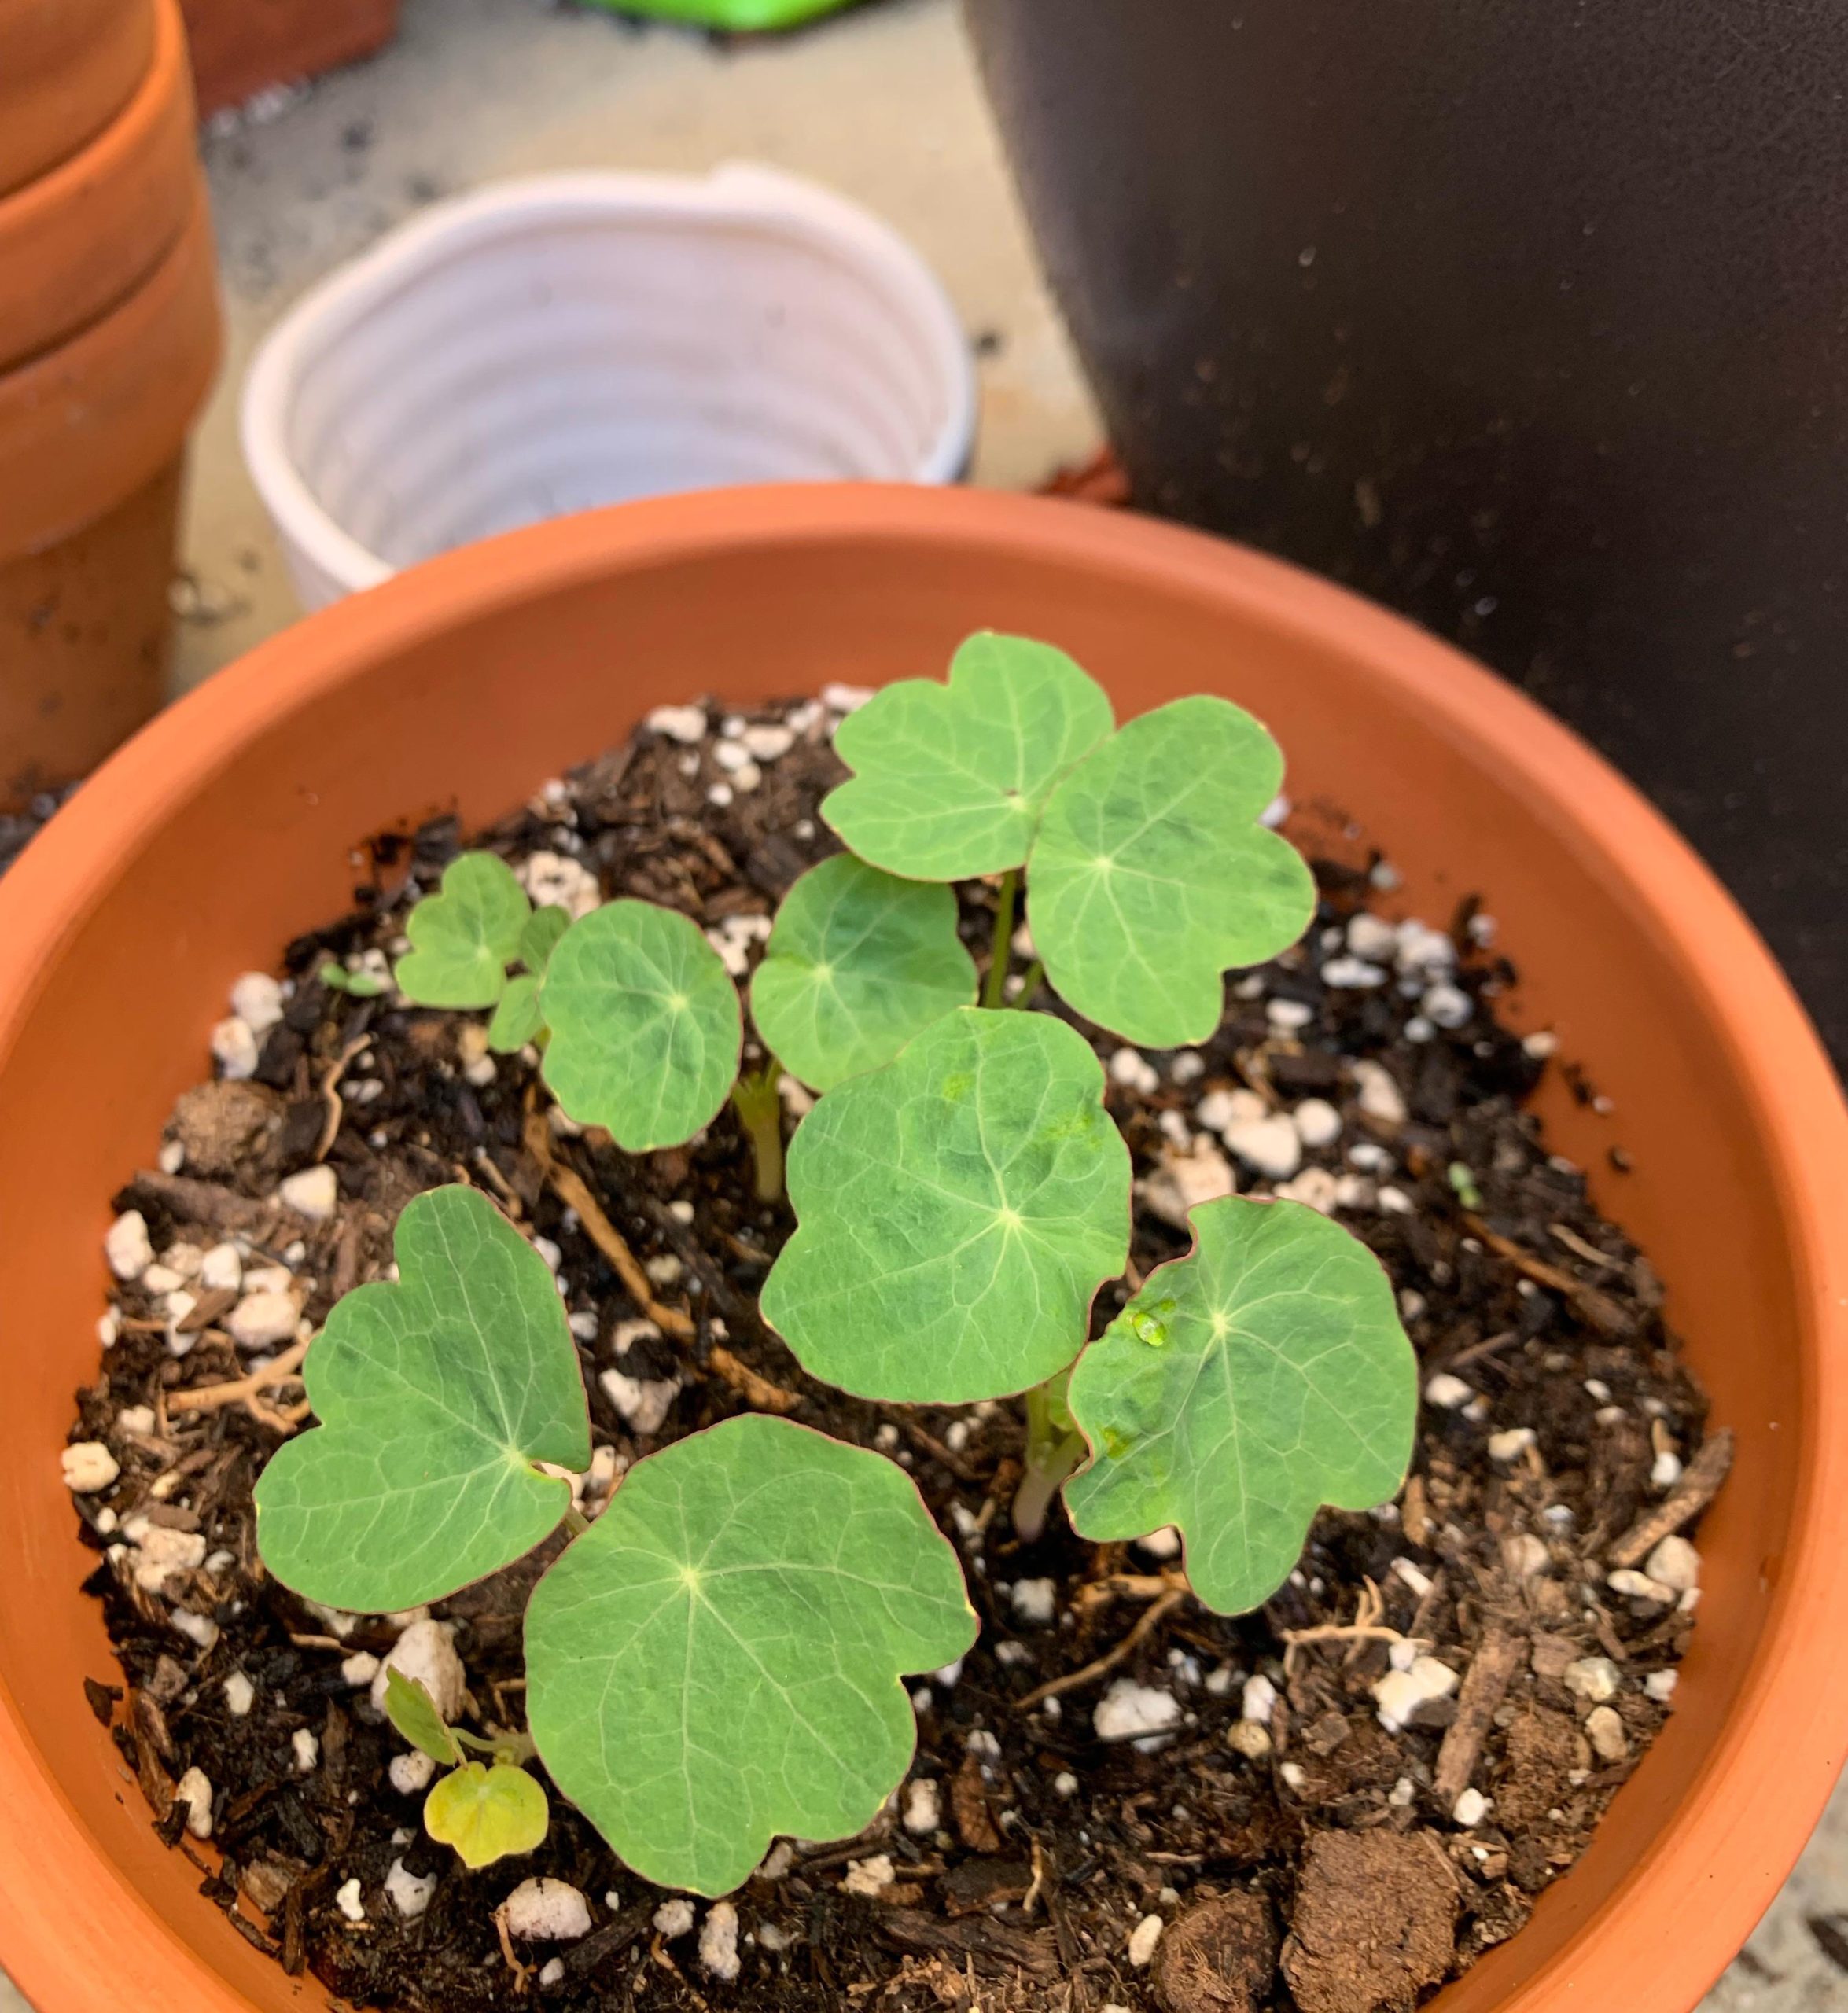
Caring for Seedlings
Providing Adequate Light
Once the seeds have germinated, it’s important to provide adequate light to the seedlings. Most flower seedlings require bright, indirect light to grow strong and healthy. If natural light is insufficient, consider using fluorescent or LED grow lights to supplement. Position the lights close to the seedlings, but not too close to prevent overheating. As the seedlings grow, gradually adjust the light distance to accommodate their increasing height.
Watering and Fertilizing
Maintaining the right moisture level is crucial for seedling health. Water the pots regularly to keep the soil evenly moist, but avoid waterlogging. Use a gentle watering method, such as a watering can with a fine rose or a spray bottle, to prevent disturbing the delicate seedlings. Once the seedlings develop their first set of true leaves, you can begin fertilizing them with a diluted, balanced liquid fertilizer. Follow the manufacturer’s instructions to avoid over-fertilization, which can harm young plants.
Transplanting Seedlings
Timing and Conditions for Transplanting
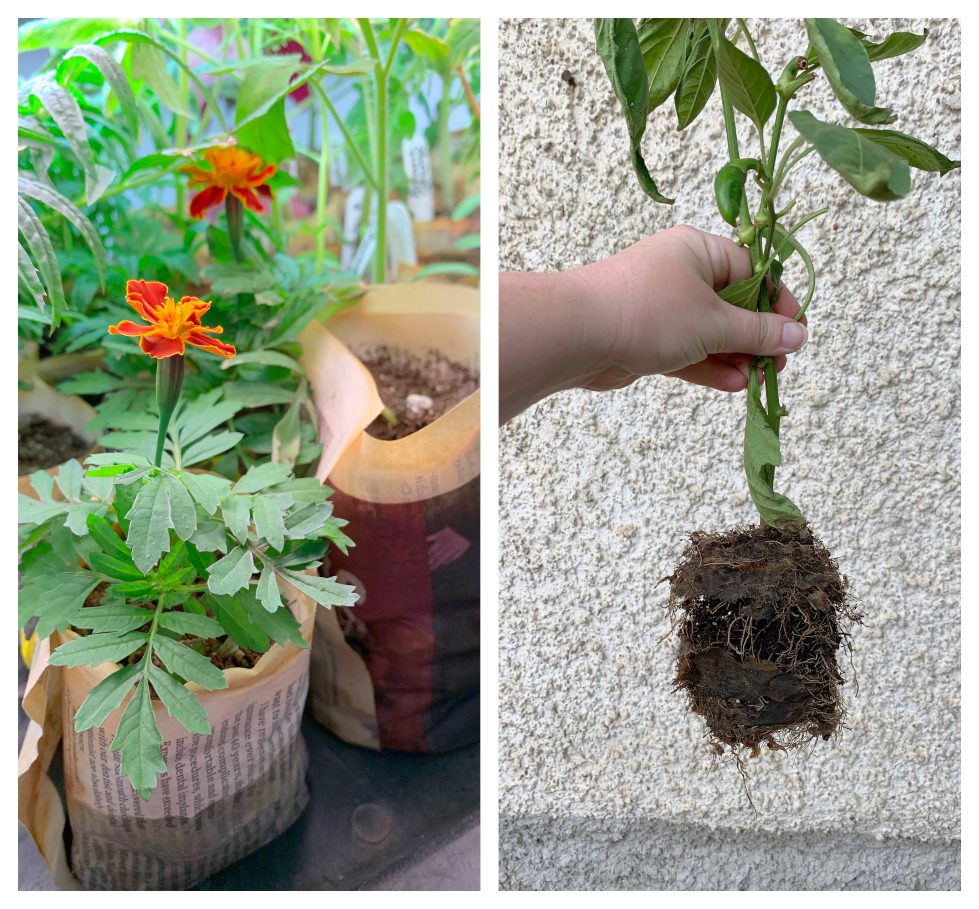
Transplanting seedlings from pots to larger containers or outdoor gardens requires careful timing and preparation. Wait until the seedlings have developed strong roots and are large enough to handle. For outdoor transplantation, ensure that the risk of frost has passed and that the soil temperature is suitable for your flowers. Gradually acclimate the seedlings to outdoor conditions by placing them outside for increasing periods over several days, a process known as hardening off.
Preparing for Transplantation
Before transplanting, prepare the new location by enriching the soil with compost or other organic matter to improve drainage and fertility. For container transplantation, choose a pot that is one size larger than the current one to allow room for root growth. Carefully remove the seedlings from their current pots, taking care not to damage the roots. Gently place them in the new pot or garden bed, and water thoroughly to help them establish in their new environment.
Troubleshooting Common Issues
Dealing with Pests and Diseases
Flower seedlings can be susceptible to pests and diseases, which can affect their growth and overall health. Common pests include aphids, spider mites, and fungus gnats. Regularly inspect your seedlings for signs of infestation, such as discolored or damaged leaves. If pests are detected, treat them with appropriate methods, such as insecticidal soap or neem oil. Diseases like damping-off can cause seedlings to wilt or collapse; ensure proper drainage and avoid overwatering to prevent such issues.
Addressing Growth Problems
If your seedlings are not growing as expected, several factors could be at play. Inadequate light, improper watering, or poor soil conditions can all hinder seedling development. Check that your seedlings are receiving the right amount of light and adjust as needed. Ensure that the soil remains consistently moist but not waterlogged. Additionally, consider testing the soil for nutrient levels and pH, and amend it as necessary to support healthy growth.
Enjoying Your Blooms
Caring for Mature Plants
Once your seedlings have grown into mature plants, continue to provide them with the care they need to thrive. This includes regular watering, occasional fertilizing, and ensuring they receive sufficient light. For outdoor plants, monitor them for signs of stress or disease and address any issues promptly. Deadhead spent blooms to encourage more flowering and keep the plants looking their best.
Harvesting and Saving Seeds
If you’re interested in saving seeds for future planting, wait until the flowers have fully matured and the seed pods are dry. Gently collect the seeds and store them in a cool, dry place in labeled containers. Proper seed storage ensures that they remain viable for future planting. Enjoy the satisfaction of growing flowers from seeds you’ve saved and continue to expand your gardening skills.
By following this comprehensive guide, you can successfully plant flower seeds in pots and enjoy a colorful and thriving garden. From choosing the right seeds and preparing pots to nurturing seedlings and addressing common issues, each step is crucial to ensuring that your floral endeavor is a blooming success.