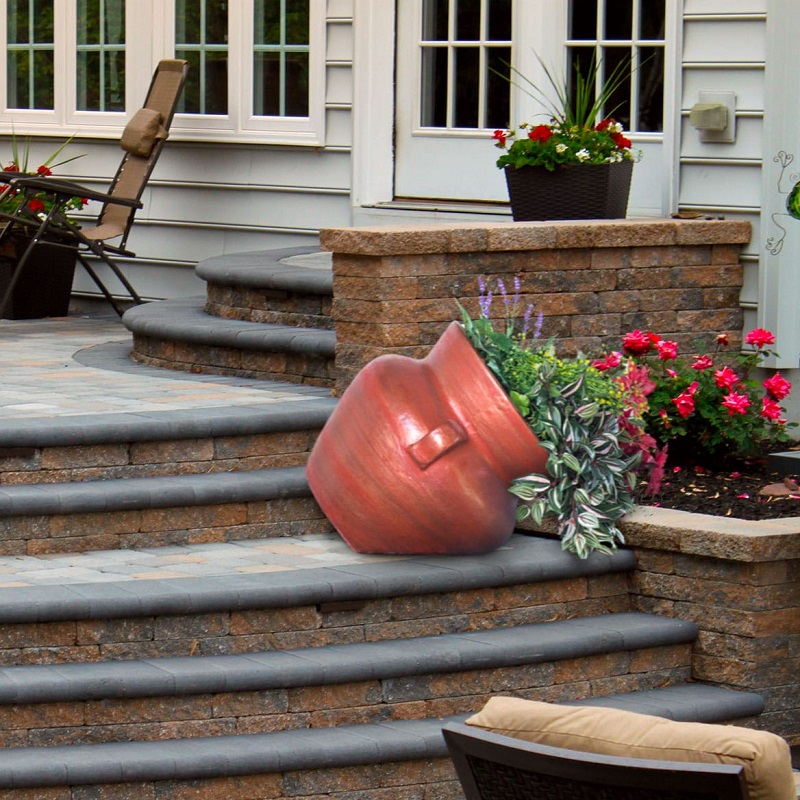
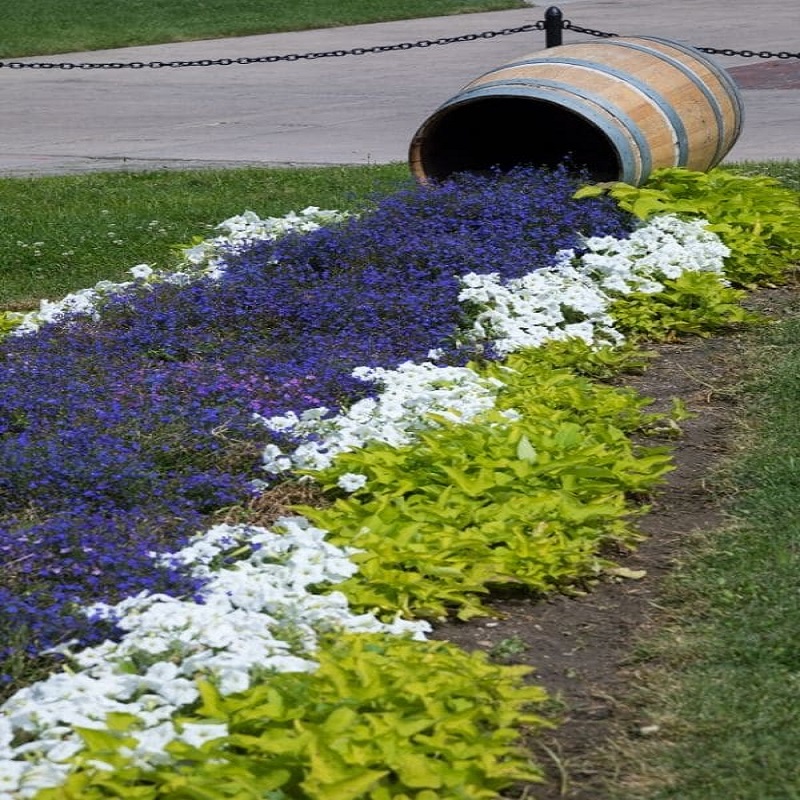
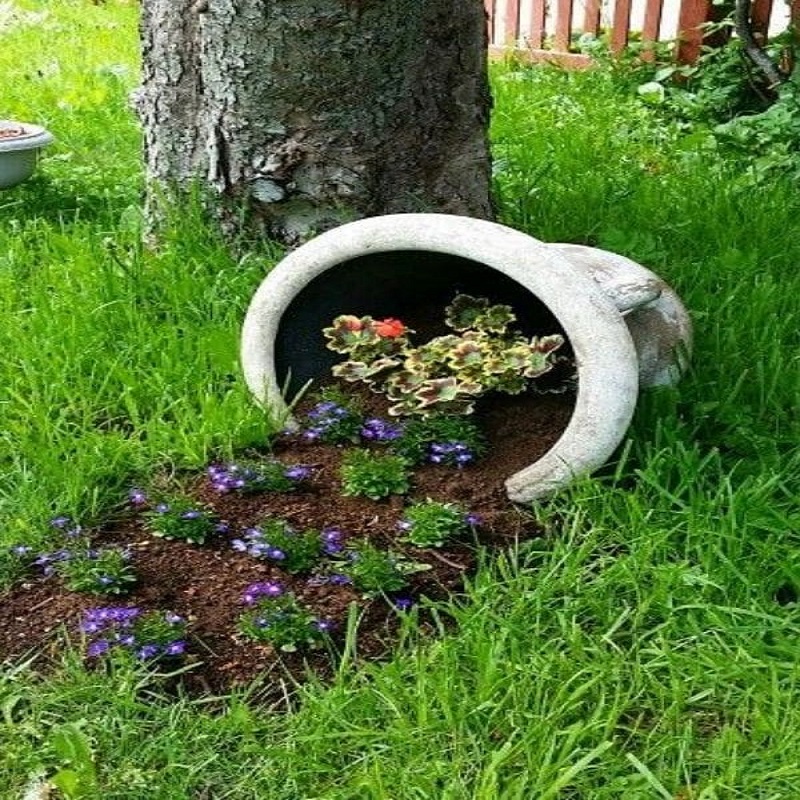
When it comes to gardening, one of the most common mishaps is dealing with spilled or tilted flower pots. Whether caused by an accidental bump, strong winds, or curious pets, these incidents can be frustrating. However, with the right knowledge and techniques, you can restore your plants and pots to their former glory. This guide will provide you with comprehensive tips and tricks to handle these situations effectively.
Understanding the Impact of Spilled and Tilted Flower Pots
The Immediate Effects on Plants
When a flower pot spills, it can be distressing for both the gardener and the plants involved. The immediate impact on the plants can vary significantly depending on the type of plant and the extent of the spill. For many plants, being uprooted from their soil can cause shock, especially if their roots are exposed for an extended period. This shock can lead to wilting, leaf drop, or even death if not addressed quickly. Additionally, if soil spills out, it can deprive the roots of nutrients and moisture they need to thrive.
Soil Composition and Structure
Another important aspect to consider is the soil composition and structure. Different types of potting mixes have varying capacities for moisture retention and drainage. If a pot spills, the specific mix used can impact how quickly the soil dries out or becomes compacted. For instance, a mix rich in peat moss may hold moisture longer than a more granular mix, potentially affecting how quickly you can restore the plant. Understanding the soil’s properties can guide you in deciding how to replant or adjust care after a spill.

Steps to Take Immediately After a Spill
Assessing the Damage
When you encounter a spilled flower pot, the first step is to assess the damage. Carefully examine the plant and its roots. If the roots are mostly intact and the plant appears to be in decent condition, you may be able to salvage it with some simple steps. Conversely, if the roots are severely damaged or the plant is broken, you may need to consider more drastic measures, such as propagation or replanting.
Cleaning Up the Area
After assessing the damage, it’s crucial to clean up the area. This includes gathering spilled soil, removing any broken pot pieces, and cleaning up any debris around the plant. Make sure to use gloves to protect your hands, especially if there are sharp edges from a broken pot. A clean workspace not only helps you focus but also prevents any hazards to pets or children who might play in the area.
Restoring the Plant: Replanting Techniques
Preparing the Potting Mix
Once you’ve cleaned up the area, the next step is to prepare a suitable potting mix for replanting. Depending on the type of plant, you may want to create a custom blend to meet its specific needs. For instance, succulent and cactus mixes typically require more drainage, while tropical plants may need a more moisture-retentive soil. If you’re unsure, consider using a high-quality pre-made potting mix that caters to the specific type of plant you are dealing with.
Choosing the Right Container
If the original pot is broken or damaged, it’s essential to choose a new container that suits the plant’s needs. Consider the size and drainage capabilities of the new pot. A pot that is too small may restrict root growth, while one that is too large can lead to waterlogged soil. Ensure that the new pot has adequate drainage holes to allow excess water to escape, preventing root rot.
Techniques for Replanting Spilled Plants
Gently Handling the Roots
When it comes time to replant, handle the roots gently to minimize additional stress on the plant. If the roots are compacted or tangled, carefully tease them apart to promote healthy growth. It’s essential to avoid excessive pulling or breaking, as damaged roots can hinder the plant’s ability to absorb nutrients and water.
Positioning the Plant Correctly
As you place the plant back into its pot, ensure that it is positioned at the correct depth. The top of the root ball should be level with the soil surface to prevent the plant from becoming too buried, which can suffocate it. Fill in any gaps with your prepared potting mix, gently pressing down to eliminate air pockets without compacting the soil too much.

Caring for Your Replanted Flower Pot
Watering After Replanting
After replanting, it’s vital to water the plant thoroughly to help settle the soil around the roots. However, be careful not to overwater, as this can lead to root rot, especially if the plant was previously stressed. Allow the top inch of soil to dry out before watering again, ensuring that the plant receives adequate moisture without becoming waterlogged.
Monitoring for Signs of Stress
Following replanting, keep a close eye on the plant for signs of stress. This can include wilting, yellowing leaves, or stunted growth. If you notice these symptoms, consider adjusting your care routine. It might involve changing watering frequency, adjusting light exposure, or even re-evaluating the potting mix. Timely intervention can often make the difference in a plant’s recovery.
Prevention Strategies for Future Incidents
Securing Flower Pots
To prevent future spills or tilting incidents, consider securing your flower pots. This can be achieved by placing heavier stones at the bottom of pots or using pot feet to elevate them slightly. If you’re gardening in an area prone to strong winds, consider using larger, heavier pots that are less likely to tip over. Additionally, placing pots in sheltered areas can help minimize risk.
Choosing the Right Location
Another proactive measure is to evaluate the placement of your flower pots. Avoid high-traffic areas where they might get bumped or knocked over. Consider using plant stands or shelves for smaller pots, keeping them out of reach of pets and children. Additionally, if you live in an area with severe weather conditions, it may be worth bringing pots indoors during storms or strong winds.
The Role of Mulching in Flower Pot Care
Benefits of Mulching
Mulching is an effective technique that can help maintain soil moisture, suppress weeds, and regulate soil temperature. When dealing with flower pots, adding a layer of mulch can help stabilize the soil and prevent it from spilling out during minor disturbances. Organic mulches, such as shredded bark or straw, can also improve soil structure as they decompose.
How to Apply Mulch
To apply mulch, simply spread a layer of your chosen material over the soil surface in your pots, ensuring it does not cover the base of the plant. A thickness of about one to two inches is typically sufficient. Be sure to monitor moisture levels beneath the mulch, as it can affect how quickly the soil dries out. Adjust your watering routine accordingly to accommodate this added layer.

Addressing Tilted Flower Pots: Tips and Tricks
Identifying the Cause of Tilting
Tilted flower pots can often go unnoticed until the plant shows signs of distress. The first step in addressing a tilted pot is to identify the cause. Common reasons include uneven ground, root overgrowth, or even pests undermining the soil structure. Understanding the underlying issue will help you decide on the best course of action to correct the tilt.
Straightening and Stabilizing the Plant
To correct a tilted flower pot, gently straighten the plant while supporting the base. If the roots have become crowded, consider replanting in a larger container. After straightening, add soil to stabilize the plant and ensure it is firmly anchored. Regularly check on the plant to ensure it remains upright, especially after watering, when soil may shift.
Long-Term Care and Maintenance
Regular Inspections
Once you’ve addressed spills or tilting, establishing a routine of regular inspections is essential. Check the stability of your pots, assess plant health, and monitor for any signs of pests or disease. This proactive approach allows you to catch potential issues early, preventing larger problems down the road.
Adjusting Care as Needed
As the seasons change, your plants’ care needs may also shift. Be prepared to adjust your watering, fertilizing, and light exposure based on seasonal changes. This adaptability will help ensure your plants continue to thrive, even after experiencing a setback from a spill or tilt.
Conclusion: Embracing Resilience in Gardening
Gardening is a journey filled with challenges and rewards, and dealing with spilled and tilted flower pots is just one of many hurdles you may encounter. By understanding the impacts, taking immediate action, and implementing preventive measures, you can not only restore your plants but also enhance your overall gardening experience. Embrace the resilience of nature, and remember that with every setback comes an opportunity for growth and learning. Happy gardening!
