Choosing the Right Supplies
To kick-start your flower pots painted project, the appropriate supplies are crucial. Begin with a degreaser, such as Krud Kutter or TSP, to ensure a clean surface. Grime and dirt can hinder paint adherence. A tack cloth will further clean and prepare the pot for primer application.
Preparing Your Flower Pots
Each flower pot must be thoroughly cleaned using the degreaser. Follow this step by wiping with a tack cloth to remove any remaining dust particles. It’s important that your pot is spotless for the next steps.
Selecting the Best Paints and Primers
Kilz primer or an adhesion primer is excellent for a strong foundation. It will support the paint, improving durability and vibrancy. For the paint, consider Valspar’s brushed rose spray paint or alternative acrylic craft paint suitable for the pot’s material.
Important Tools for a Perfect Finish
Invest in quality brushes or a reliable spray paint brand to avoid uneven coats. A clear acrylic sealer will protect your paint job, especially for pots used indoors. A primer such as Kilz aids in achieving a smoother base for the paint to adhere to.
Prepping the Flower Pot for Painting
Before diving into painting, prep work on the flower pot is vital. It sets the foundation for a paint job that’s not only beautiful but also long-lasting.
Cleaning and Drying Tips
Begin with cleaning your pot thoroughly. A degreaser like Krud Kutter or TSP works best. It strips away dirt that can stop paint from sticking. After degreasing, wipe the pot down with a tack cloth. This grabs any leftover dust. Make sure the pot is completely dry before moving to the next step. Water can ruin the primer and paint’s ability to bond.
Sanding for Better Adhesion
For glossy surfaces, sanding is key. It creates texture for the primer to latch onto. Use fine-grit sandpaper and lightly scuff the surface. No need to overdo it; a soft rub across the surface is enough. Clean off the sanding debris before applying primer.
Applying Primer Effectively
Now, for the primer. Kilz or an adhesion primer will create a base that your paint can stick to. Shake the can well for about a minute. This makes sure the thick primer mixes well. Spray on one or two coats and wait for each coat to dry. If the primer feels rough, lightly sand it again for a smooth finish. This step ensures that the pot is ready for a fresh coat of paint with great adhesion.
Painting Techniques for Flower Pots
Now that your pot is primed, it’s time to bring it to life with color.
Spray Painting for a Smooth Finish
Spray painting is ideal for a sleek look. Be sure to cover evenly. Spray in bursts to avoid drips. Let each coat dry fully before adding another. This approach works well for uniform coverage and quick application. Remember to protect your surroundings from overspray.
Using Acrylic Craft Paints
Acrylic paints offer versatility. Choose a brush or sponge for application. You can mix hues for custom colors. Apply in thin, even layers and allow for complete drying. Acrylics are perfect for hands-on detail work and artistic designs.
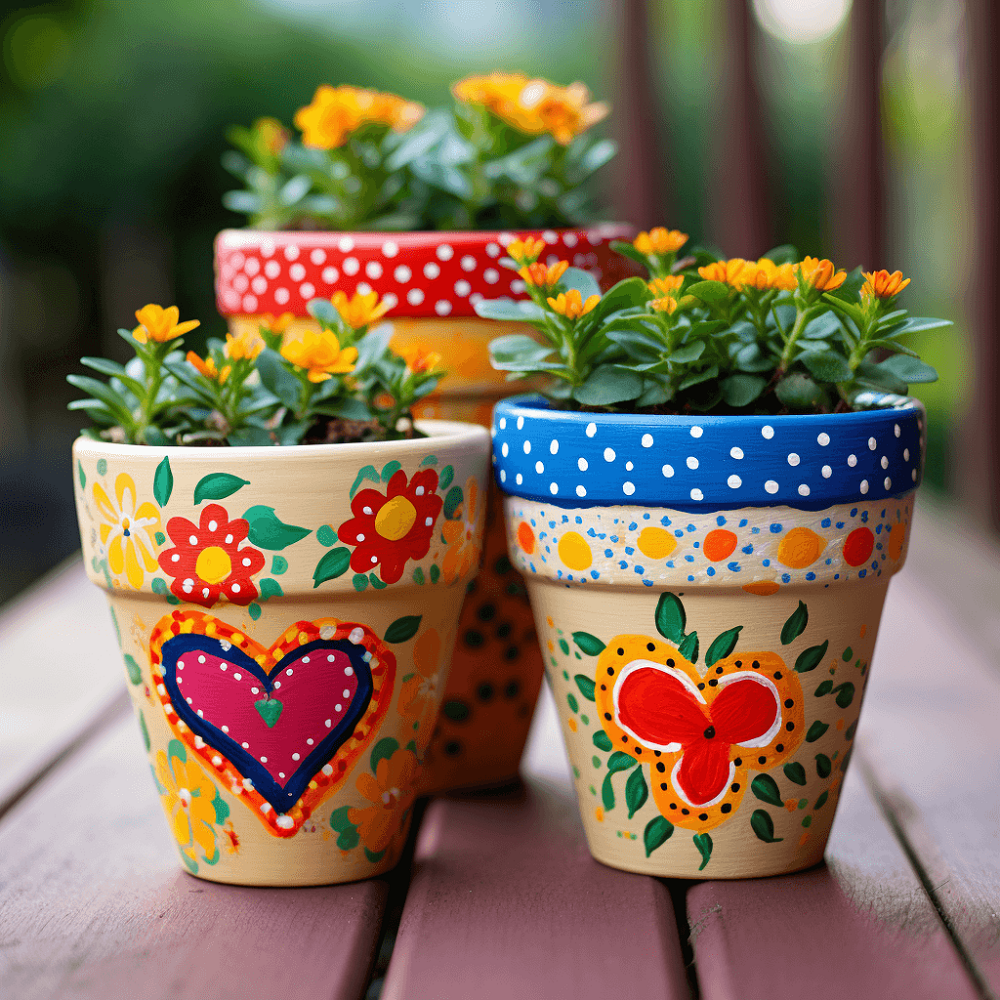
Adding Personal Touches with Stencils
Enhance your pot with stencil designs. Secure the stencil before you start. Use a stippling technique for crisp edges. Choose contrasting colors for a pop of interest. Stencils can turn a simple pot into a statement piece.
Sealing for Durability
Sealing your painted flower pots is essential for preserving their beauty. A sealant will protect the paint from water damage, sun exposure, and scratches. Without sealing, the paint may chip or fade quickly, especially if you use the pot outdoors.
Choosing the Correct Sealer
When selecting a sealer, look for a clear acrylic product designed for use on painted surfaces. The sealer should be compatible with the type of paint you used. For instance, if you used acrylic craft paint, an acrylic sealer is appropriate. Always read the label to ensure suitability and the best protection for your pot.
Indoor Versus Outdoor Sealers
Indoor sealers provide protection against light wear and tear. They are ideal for pots that stay indoors and have less exposure to harsh conditions. Outdoor sealers, on the other hand, are tougher. They are made to withstand rain, snow, and UV rays. Choose an outdoor sealer if your pot will live outside.
Application Tips for Long-lasting Results
Apply the sealer in a well-ventilated area to ensure safety. Use even, thin coats for the best coverage. Let each coat dry thoroughly before applying the next. Avoid rushing this process for long-lasting durability. Check the manufacturer’s recommendations for drying times to ensure the best outcome.
By carefully selecting and applying a sealer, your painted flower pots will retain their vibrancy and character for years to come.
Tips for Specific Types of Flower Pots
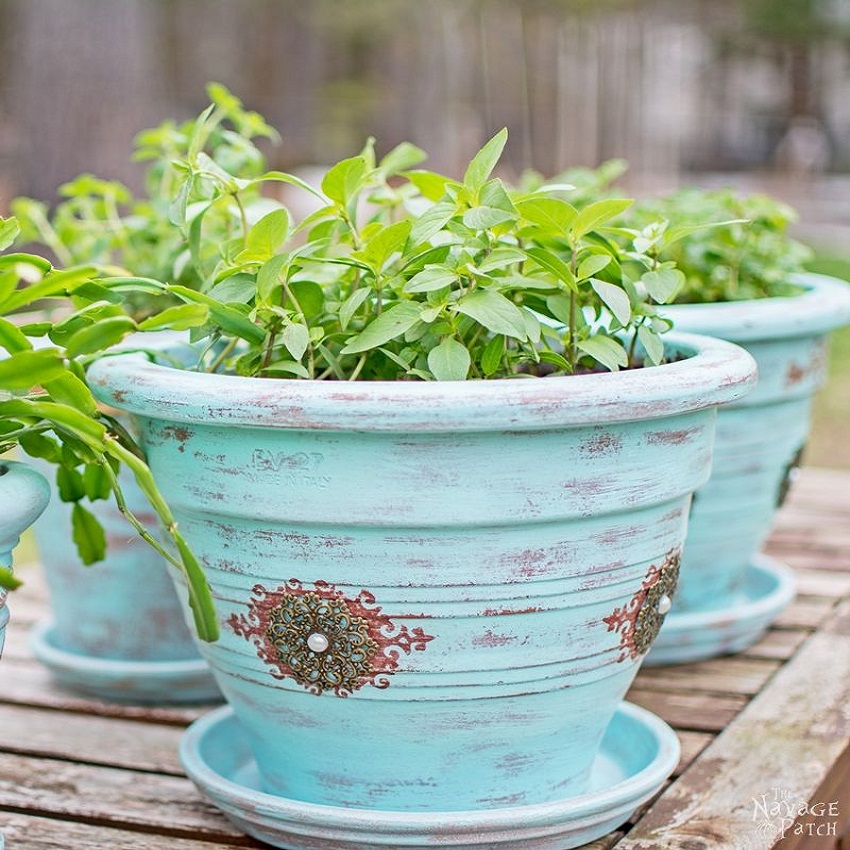
Painting Terracotta and Clay Pots
Terracotta and clay pots need special attention before painting. Use a sealer on both the inside and out to control moisture absorption. A clean, dry pot is key. Apply a generous layer of primer that is compatible with terracotta. After priming, go ahead with paint. If planning to keep the pot outside, opt for a paint and sealer that are both outdoor-rated.
Techniques for Cement and Concrete Pots
Concrete pots require a concrete-specific primer due to their porosity. Always clean the pot thoroughly and ensure it is dry before starting. Apply the primer and then paint in even layers. Let each coat dry before adding the next. Finish by sealing the pot with a suitable concrete or outdoor sealer to withstand elements.
Advice for Painting Pots for Outdoor Use
For pots used outdoors, choose paint and sealer labeled for exterior use. They offer extra protection against weather and UV damage. Remember, terracotta and clay pots are prone to cracking in freezing temperatures. Consider using plastic or faux concrete pots for cold climates. Follow the same cleaning, priming, painting, and sealing process for durability.
Caring for Your Painted Flower Pots
Caring for painted flower pots ensures they stay vibrant and intact for longer. Proper maintenance differs slightly between indoor and outdoor pots.
Maintaining Indoor Painted Pot
Indoor painted pots face fewer elements but still need care. Here are simple steps:
- Dust regularly to keep the surface clean.
- Avoid direct sunlight to prevent fading.
- Keep away from high moisture to avoid paint peeling.
- Use saucers to protect from water damage.
- Wipe spills quickly to prevent stains.
- Refrain from using harsh chemicals when cleaning.
Caring for indoor painted pots is about gentle maintenance and avoiding excess moisture and sunlight.
Protecting Outdoor Painted Pots from the Elements
Outdoor pots require more robust care due to exposure:
- Use outdoor sealer for weather protection.
- Place in areas safe from extreme weather.
- Bring inside during severe or freezing conditions.
- Reapply sealer annually for continued protection.
- Check often for chips or cracks.
Regular checks and protective measures shield outdoor pots from weather damage.
When to Repaint or Touch-Up
Knowing when to repaint or touch-up is crucial:
- Repaint when you see significant color fading.
- Touch-up areas that have small chips or scratches.
- Consider a fresh coat when changing outdoor décor.
- Perform touch-ups during seasonal pot cleaning.
Repainting or touching up keeps your pots looking fresh and new. Regular inspection helps catch issues early.
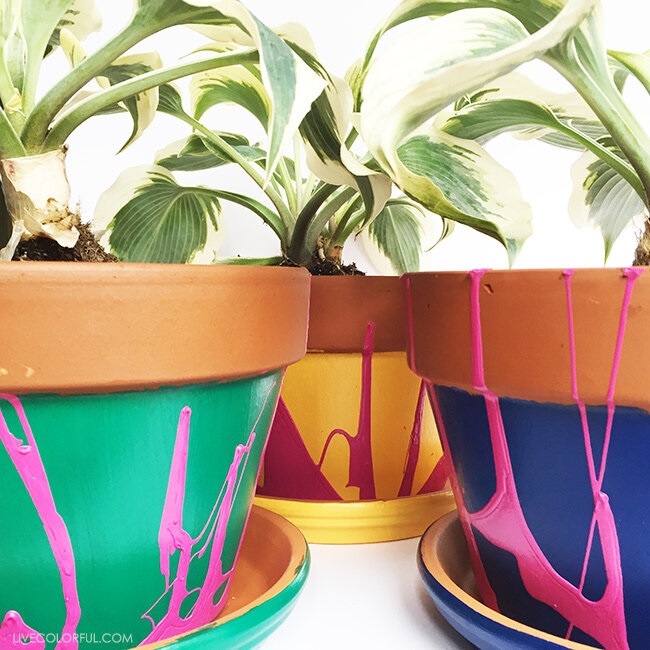
Showcase of Finished Projects
Celebrating the completion of a project is always exciting. Let’s showcase finished painted flower pots.
Displaying Your Painted Flower Pot
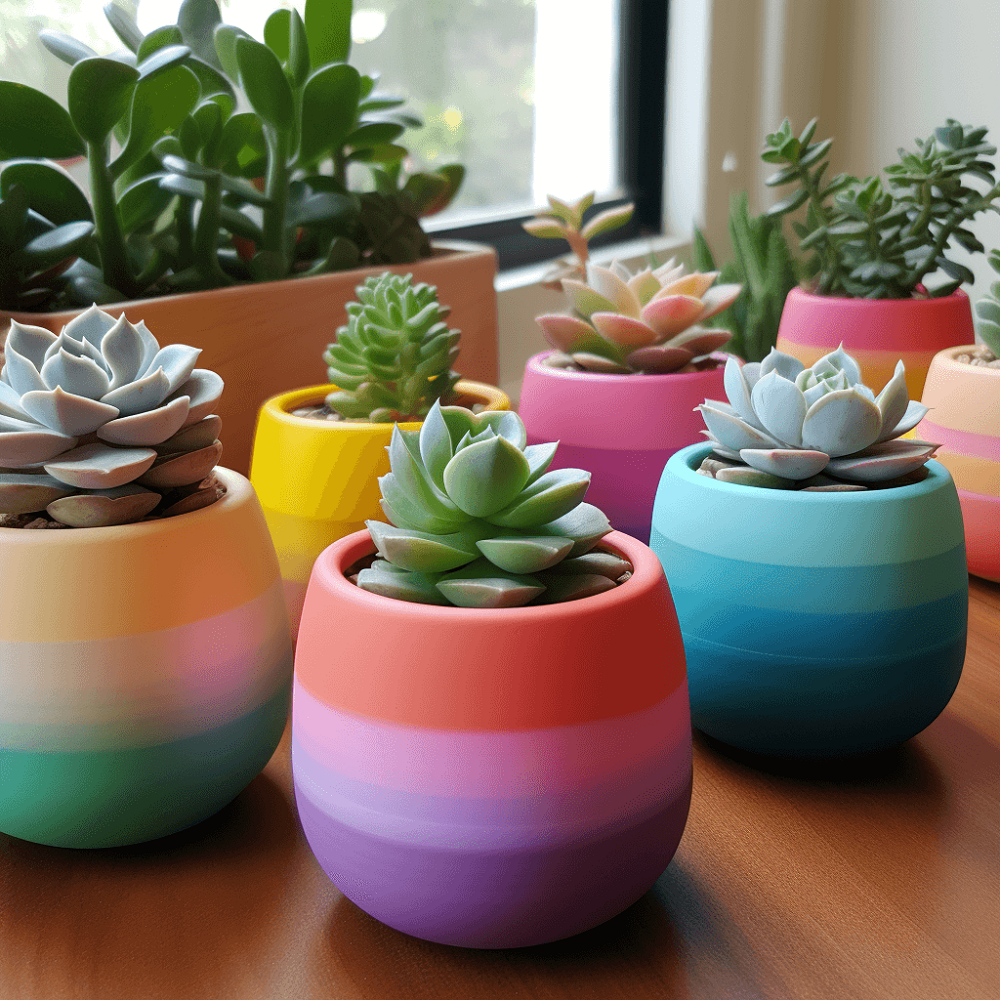
Display your pot where it enhances your decor. Place it on a mantel, shelf or patio table. Make sure it gets the right light and temperature for the plant. Use a stand or holder to elevate its visibility. Grouping painted pots creates a more dramatic effect.
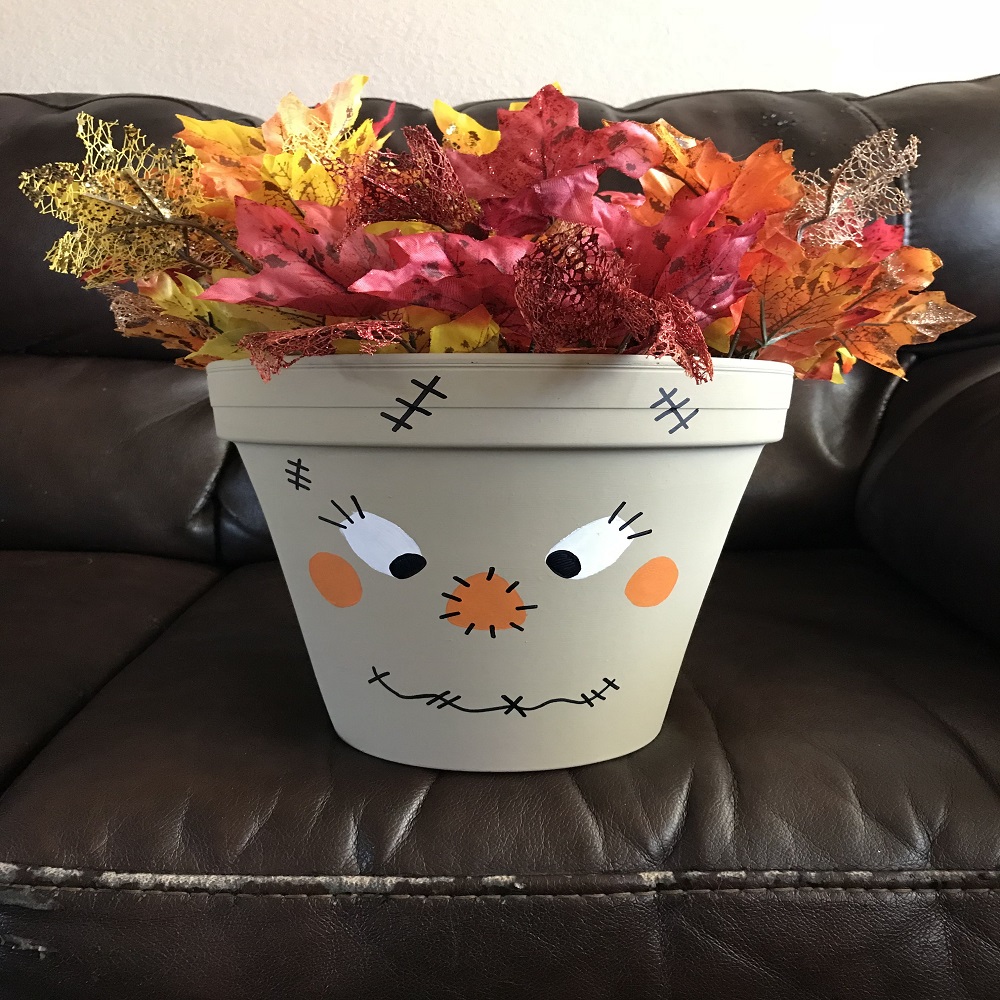
Consider season and setting. A spring look might invite pastel colors. In winter, deeper tones complement the mood. Highlight seasonal plants in your painted pot for additional flair.
Safety and practicality matter too. For heavy pots, pick a sturdy spot. If indoors, ensure saucers are beneath to catch excess water. This keeps surfaces clean and protects the paint job.
Turn functional items into art. A beautifully painted pot bridges the gap between utility and decoration. Your pot embodies both the beauty of the plant and your personal creativity. Celebrate this combination in your chosen display location.
Inspiration for Future Painting Projects
Let every finished project fuel your next idea. Browse social media, gardening forums or public gardens for inspiration. Attend craft shows, or visit art galleries. Inspiration is limitless.
Mix different painting techniques or experiment with color palettes. Consider themes or patterns that reflect your personal style. Try painting different pot sizes or shapes for variety.
Remember the joy you had in creating. It’s not just about the final result, but the process of making something unique. Let that joy be contagious and share your projects with friends or through a blog.
Innovation never stops. Keep learning, exploring and creating. Your next masterpiece awaits in a simple pot, ready to be transformed.
Painted flower pots add a pop of color and a personal touch to any space. They reflect your creativity and can be a great conversation starter. Take pride in showcasing your painted flower pots and let them inspire your future endeavors.