Getting Started with Plastic Pot Painting
Transforming your garden can begin with the simple step of painting plastic flower pots. This project can spark creativity and give a new lease of life to the space. Whether you are fresh to craft or a seasoned DIY’er, this activity is accessible and full of potential. Let’s walk through the basics to kickstart your plastic pot painting project.
Choosing the Right Materials for Your Project
The success of painting plastic flower pots hinges on selecting the proper materials. Choose paints that adhere well to plastic surfaces. Acrylics or spray paints designed for plastic work well. You will also need paintbrushes or sponges for application. Posca pens or sharpies offer a way to add detailed designs. For a durable finish, especially for outdoor pots, consider using a sealant.
Preparing Your Plastic Pots for Painting
Preparation is key for the paint to stick and last. Start with a clean surface. Wash pots with soapy water to remove dirt and grime. Dry them completely. Light sanding may be necessary to create a surface that paint can grip. Wipe down the sanded pots to remove sanding dust. With your pots primed, you’re ready to unleash your creativity and begin transforming your garden. Remember, preparation and the right materials are the foundations for painting plastic flower pots.
Innovative Design Ideas for Your Flower Pots
Let’s explore exciting ways to spruce up your garden with painted pots. Fresh designs can make a big impact.
Trendy Black and White Patterns
Black and white designs are classic yet modern. They give a sophisticated look to your garden. Start with a clean white base. Use tape to create bold geometric shapes or stripes. Paint the exposed parts black. This contrast offers a striking visual.
Achieving a Cement Look with Paint
Create lightweight pots that mimic cement. Use textured spray paint in shades of gray. Apply multiple coats for depth. Add touches of green or white for an aged effect. This makes your plastic pot resemble stone.
Adding Texture for a Unique Finish
Texture brings pots to life. Use stucco or sand-textured paints for a rugged look. Layering different colors adds dimension. Try sponging for a softer, varied finish. Textured pots add interest to any garden setting.
Step-by-Step Guide to Painting Your Plastic Pots
Let’s dive into the process of revitalizing your garden with a step-by-step guide to painting plastic flower pots.
Cleaning and Sanding Techniques
First, clean the pots. Scrub with soapy water to remove dirt. Dry them well. Lightly sand the surface for better paint adherence. Brush off the dust.
Base Coating and Color Layering
Apply a base coat. Choose a weather-resistant paint for longevity. Once dry, layer with your choice of colors. Apply evenly for a professional look.
Adding Details with Stencils or Freehand
Get creative with stencils or freehand designs. Use tape for straight lines or shapes. Try pens for intricate patterns. Let your imagination lead the way.
Tips for Making Your Painted Pots Last
Ensuring the longevity of your painted pots is crucial, especially when they are meant to adorn your garden year-round. Here are some tips to ensure that your artwork withstands the test of time and the elements.
Selecting Durable Paints for Outdoor Use
When painting plastic flower pots, choose paints specifically designed for outdoor use. These paints resist fading from the sun and can handle varying weather conditions. Look for labels that mention ‘UV-resistant’, ‘weatherproof’, or ‘for exterior use’. Also, consider using a sealant after painting to add an extra layer of protection.
Protecting Your Pots from the Elements
To safeguard your painted pots, position them in sheltered areas to reduce exposure to rain and direct sunlight. In extreme weather, consider moving them indoors. You might also apply a clear topcoat to seal the paint against moisture and UV rays. Reapplying the sealant every few years can help maintain the vibrant colors and details of your designs.
By following these simple but effective measures, your painted plastic flower pots will remain a vivid and charming part of your garden for seasons to come.
Fun Projects for Family Craft Time
Gardening crafts offer a fun way for families to connect and create. Painting plastic flower pots is a perfect activity. It’s simple, creative, and everyone can join in. Let’s look at some ideas to make craft time a blast.
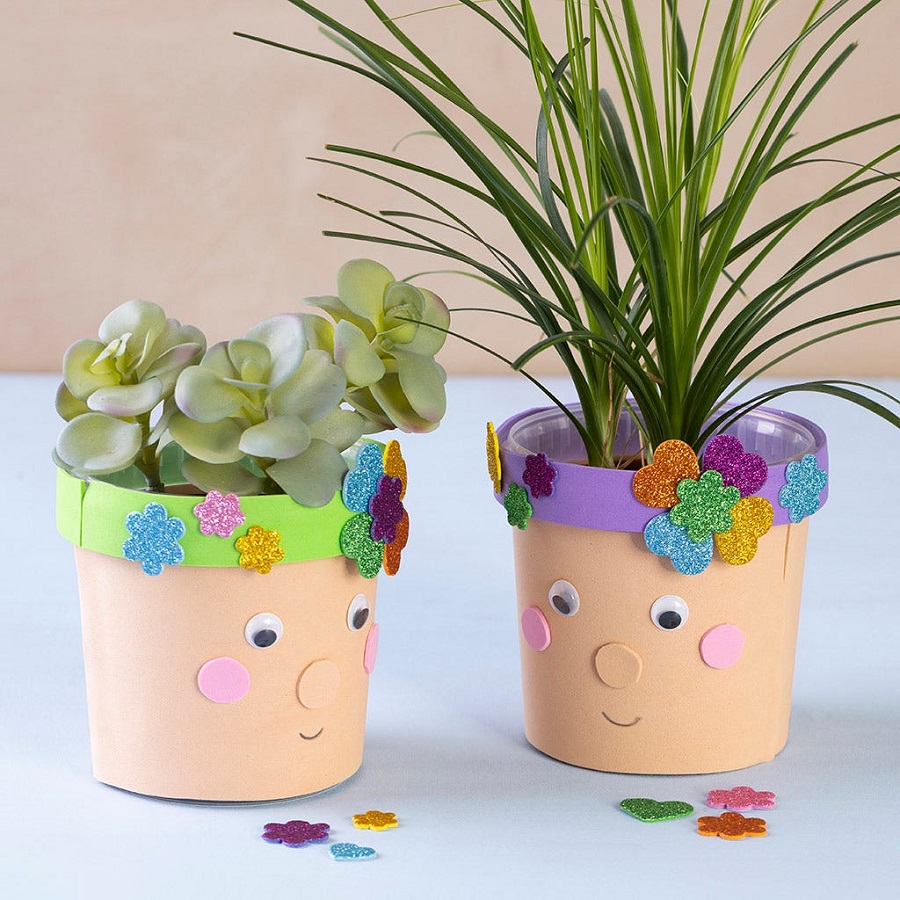
Kid-Friendly Designs for Garden Pots
Creating kid-friendly designs starts with easy patterns. Try spots, swirls, or handprints with bright colors. Use stencils for shapes like stars, moons, or animals. Kids can also stick on stickers as paint guides. Once dry, peel them off for a neat design. Remember to choose non-toxic paints for safety.
Engaging the Family in Home Gardening Crafts
Involve each family member in painting a pot design. It’s a fun way to show off each person’s style in the garden. Set up a painting station with all the supplies. Have a variety of brushes, sponges, and colors ready. Work on a group project, like a pot for a family tree or herb garden. Share laughs and enjoy quality time as everyone’s creativity shines.
Upcycling Ideas: Reviving Old Plastic Pots
Old plastic flower pots often end up neglected or thrown out. But with a little creativity, these can become the highlights of your garden decor. Upcycling is not only cost-effective but also an eco-friendly way to give a new purpose to what once were eyesores. Here are some inspiring ideas to turn those outdated pots into works of art.
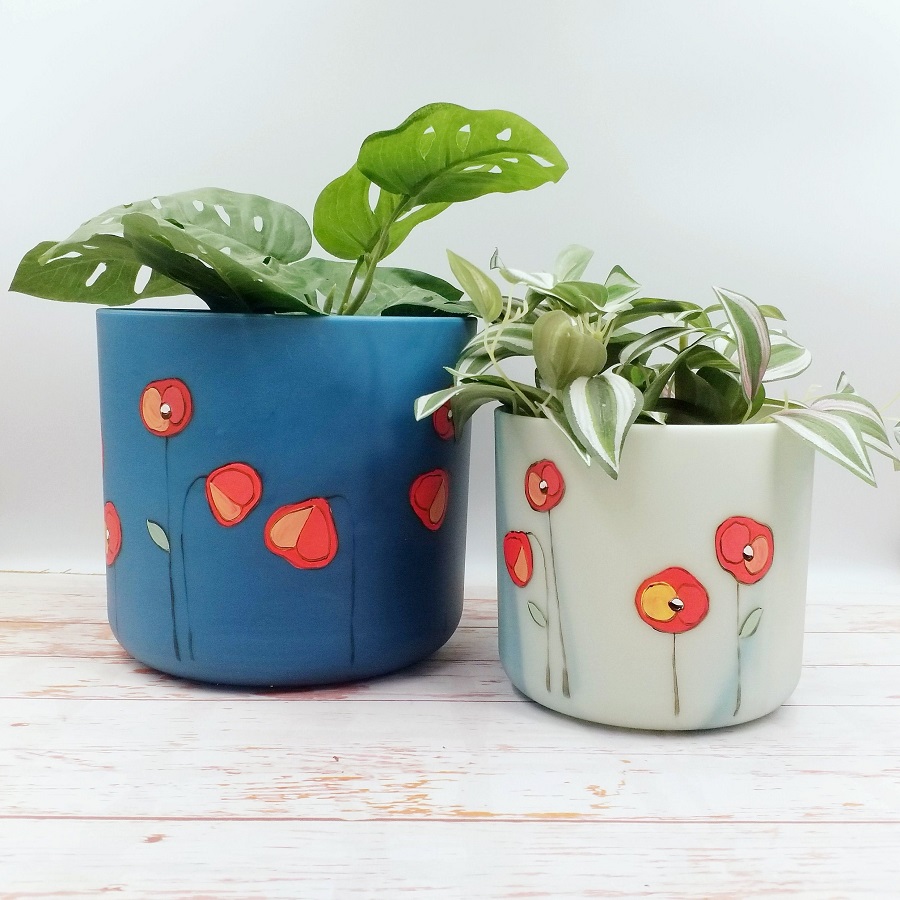
Turning Eyesores into Art
With painting plastic flower pots ideas, your imagination is the limit. Start by picking a theme for your design. Maybe you want to celebrate the seasons, or perhaps go with abstract shapes. Use bright, bold colors to make the pots stand out. Patterns like polka dots or chevron stripes can add a playful touch. Transforming a pot can be simple, like creating a mosaic look with small painted stones glued onto the pot. Don’t forget to seal your work to protect it from the elements.
Sustainable Crafting with Recycled Materials
Upcycling is a great way to be kind to the environment. Take your plastic pot painting project up a notch by incorporating recycled materials. Bits of fabric, old buttons, or even broken CDs can be used to decorate pots. Instead of throwing away old toys, glue them to your pots and paint over them for a fun and funky look. Use what you have around the house. This approach is not only sustainable but also helps in reducing waste. And the results are unique pots that will draw everyone’s attention in your garden.
More Upcycling Ideas for Plastic Pots
Herb Garden Tower
Stack a few old plastic pots to create a vertical herb garden. Drill or poke drainage holes in each pot and secure them together using dowels or stakes. Fill them with potting soil and your favorite herbs. This not only saves space but also brings a touch of greenery to your kitchen or balcony.
Bird Feeder
Transform an old plastic pot into a charming bird feeder. Cut a hole in the side for birds to access seeds, then fill the bottom with birdseed. Hang the pot from a tree branch using twine or wire. You can also paint and decorate the feeder to attract more feathered friends.
Garden Lanterns
Create beautiful lanterns using your plastic pots. Paint them in bright colors and add a string of solar fairy lights inside. Place them around your garden or patio for a warm and inviting ambiance at night. Ensure to make small holes for ventilation to avoid moisture buildup.