Introduction to DIY Flower Pot Painting
Revitalizing your home decor can be as simple as adding a touch of color to your plant pots. DIY flower pot painting unlocks unlimited creative potential and allows you to tailor your decor to reflect your unique style. Whether you’re prepping a cozy indoor space with vibrant flora or designing an outdoor oasis, painting flower pots is an enjoyable and cost-effective project. In this guide, we’ll explore the necessary steps and helpful tips to ensure your painted pots look fabulous and last. From choosing the right materials to sealing the finished product, this will be your go-to resource for transforming basic pots into eye-catching home accents. Let’s dive into the artist within us and start with what you’ll need for your flower pot project.
Materials Needed for Your Flower Pot Project
Before you start your DIY adventure to paint flower pots, make sure you have the right supplies on hand. Gathering all your materials beforehand ensures a smooth painting process. Here’s what you’ll need for your flower pot painting project:
- Degreaser: Products like Krud Kutter or TSP are ideal for ensuring a clean surface free of dirt and oils.
- Tack Cloth: This will help you pick up any remaining dust after cleaning.
- Primer: A quality primer, such as Kilz, improves paint adhesion and provides a neutral base. It’s especially important for glossy surfaces.
- Paint: Depending on your preference and the pot’s intended use, you can choose spray paint for a smooth finish or acrylic craft paint for a hand-painted look.
- Paintbrushes (if using acrylic paint): Select brushes suitable for the type of paint you’re using.
- Clear Acrylic Sealer: This is crucial for protecting your finished paint job, especially if the pot will be used outdoors.
- Fine Sandpaper (optional): This can rough up a glossy surface and help primer and paint stick better.
Remember, if your pots will live outside, opt for outdoor-specific paint and sealer to withstand the elements. With these materials, you’re set to move on to the next steps of cleaning and priming your pots for a successful painting experience.

Preparing Your Flower Pot for Painting
To start, prepping your flower pot is vital for a lasting finish. Here’s how to ensure your pot is ready for a new coat of paint.
Step 1: Thorough Cleaning
First, clean the pot with a degreaser like Krud Kutter or TSP. This removes oils, dirt, and grime. Wipe the pot with a tack cloth to pick up any dust left behind.
Step 2: Applying Primer for Better Adhesion
Next, apply a quality primer such as Kilz. This step is crucial, especially for glossy surfaces. It helps paint stick to the pot and lays a base for the color. Shake the primer well before applying. Use one or two coats, letting each dry before the next. For a unique texture, you can lightly sand after priming, or skip sanding for a smoother finish.
Painting Your Flower Pot
Once your flower pot is clean and primed, it’s time to bring it to life with color. Choosing the right paint and applying it carefully will ensure a stunning outcome. Follow these steps for a flawless finish.
Step 3: Choosing Colors and Paint Types
Select a color that complements your decor or garden design. For smooth, even coverage, spray paint is a great option. Alternatively, for a more textured look, consider using acrylic craft paint with a brush. Whichever you choose, make sure it suits the pot’s final location—indoors or outdoors.
Step 4: Applying the Paint
Start painting with light, even strokes to avoid drips. Apply multiple thin layers, allowing each to dry fully before the next. This will help you achieve an even coat without any unsightly bumps or lumps. If you want to add designs, now’s the time—use stencils or painter’s tape to create patterns. Remember to paint both the inside and outside if necessary, especially if the pot will hold soil directly. Otherwise, just painting the exterior should suffice.
Stay patient between each coat; rushing may result in a subpar finish. Once you’re happy with the color, allow the paint to dry completely before moving on to the final protective seal.
Sealing Your Flower Pot for Durability
Step 5: Protecting the Paint Job
Once your flower pot has vibrant coats of paint, it’s essential to seal it. This step protects the paint from water, dirt, and sun damage. It adds durability, especially for outdoor pots. Use a clear acrylic sealer for this.
- Choose the right sealer. Make sure it’s suitable for the type of paint and the pot’s location.
- Apply the sealer evenly. Use a clean brush or a spray. Cover all painted areas.
- Let it dry completely. Follow the sealer’s instructions for drying time.
By sealing your pot, you’re adding a protective layer. This keeps the paint fresh and the pot looking great for years. Seal both the inside and outside if the pot will be in direct contact with soil. For indoor pots, just seal the outside. Remember to work in a well-ventilated area. Allow the sealer to cure before using the pot. With a sealed and cured pot, your flowers have a stunning, durable home.

Tips for Indoor Flower Pot Painting
When painting flower pots for indoor use, think about your plants’ needs. Here’s how to make your painted pots perfect for any room:
- Choose the right paint: Use acrylic paint for a rich, opaque finish. It dries fast and comes in many colors.
- Protect from moisture: If you mist your plants often, pick waterproof paints and sealers. This stops mold growth and paint damage.
- Avoid heavy handling: Painted pots can chip. Place them where they won’t get bumped or moved often.
- Complement your decor: Match pot colors with your room for a unified look. Light colors make small spaces feel bigger.
By considering these tips, you can ensure your indoor painted flower pots look great and stay functional.
Tips for Outdoor Flower Pot Painting
When painting flower pots for outdoor environments, several extra steps are needed to ensure longevity and resilience against the elements. Here’s how to adapt the DIY process for optimal outdoor use:
- Use outdoor paints and sealers: Pick products specifically designed to resist weather changes, moisture, and sun. They’ll protect your painted pots from fading and water damage.
- Apply a strong primer: A robust primer grips onto outdoor pots better and creates a durable foundation for paint layers. This reduces flaking and peeling.
- Opt for UV-resistant sealer: Sealants with UV protection prevent colors from fading in sunlight. They ensure the vibrancy of your paint job lasts longer outdoors.
- Consider the pot material: If using clay or terracotta pots, be aware they might crack in freezing temperatures. Plastic or faux concrete pots are more resistant to cold weather.
- Prepare pot for exposure: Anticipate that your pot will face rain, sunshine, and possibly snow. Apply several coats of sealer to fully safeguard the paint.
By following these tips, your outdoor painted flower pots will maintain their beauty and structure through various weather conditions, giving your outdoor space a consistent splash of color year-round.
Special Considerations for Cement/Concrete Flower Pots
When you decide to painted flower pots made from cement or concrete, remember their unique traits. Because these materials are extremely porous, they require extra attention before and during the painting process. Here’s what to do to ensure the best outcome.
- Use a concrete-specific primer: Start with a primer designed for concrete to prevent paint from being absorbed too quickly and to achieve even coverage.
- Select the appropriate paint: After the primer, apply a paint suitable for concrete. Concrete tends to soak up paint, so pick a type that’s formulated to bond well with masonry surfaces.
- Apply sealer carefully: Once painted, seal the pot inside and out with a concrete or masonry sealer. This is crucial for durability as cement can degrade when exposed to water and soil without proper sealing.
- Plan for weight and placement: Cement pots are heavy, so decide where they will go before painting. Moving them while the paint is drying can cause smudges or chips.
By considering these points, you’ll ensure that your cement or concrete painted flower pots stand out and stay well-preserved, regardless of whether they’re indoors or outdoors.
Special Considerations for Clay/Terracotta Flower Pots
Clay and terracotta pots are popular for their natural beauty and breathable quality, which is beneficial for plant health. However, when deciding to paint these types of pots, there are several factors to consider to ensure the paint job not only looks good but also does not harm the pot’s ability to aid in plant growth.
- Surface preparation is key: Since terracotta is quite porous, it’s essential to seal the pot properly before painting. This helps prevent moisture from seeping in and disrupting the adhesion of paint.
- Choose the right sealer: A clay pot sealer should be applied both inside and out. Sealing on the inside is particularly crucial to maintain the terracotta’s breathability for plant health.
- Mind the texture: If you prefer to keep some of the pot’s natural texture visible, use a light hand when applying the primer and paint. Or, for a smooth finish, use fine sandpaper to even out the surface.
- Consider paint effects on plants: Be aware that sealing and painting may alter how moisture interacts with the soil. Select paint that won’t harm your plants if they were previously thriving in an unsealed terracotta pot.
- Keep original terracotta aesthetics: If you want to preserve the classic look of your pots, you may opt to paint only specific sections or use a color scheme that mimics the natural clay color.
- Inspect the pot post-painting: After painting and sealing, check the pots often to make sure the paint hasn’t compromised their functionality, especially if you’re growing sensitive plants that prefer a porous home.
By respecting these considerations, you can successfully customize your clay and terracotta flower pots with paint without losing their functional benefits. This ensures that your creative efforts enhance, rather than detract from, the health of your potted plants.

Finished Project Showcase: Painted Flower Pots
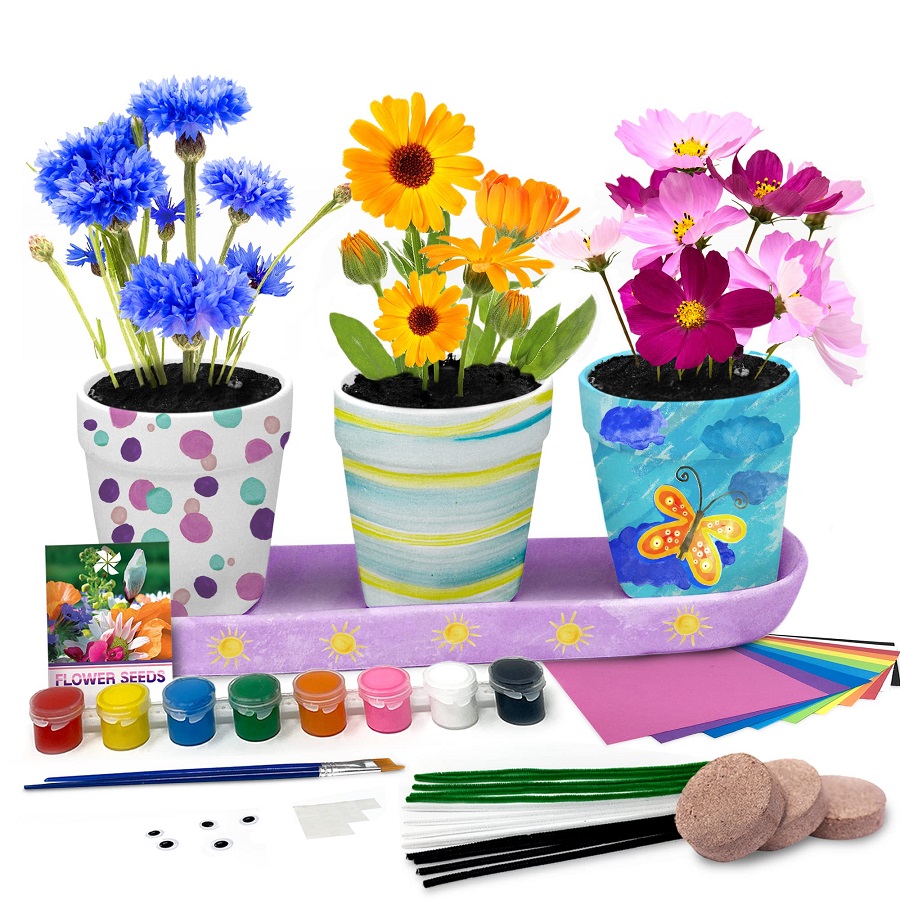
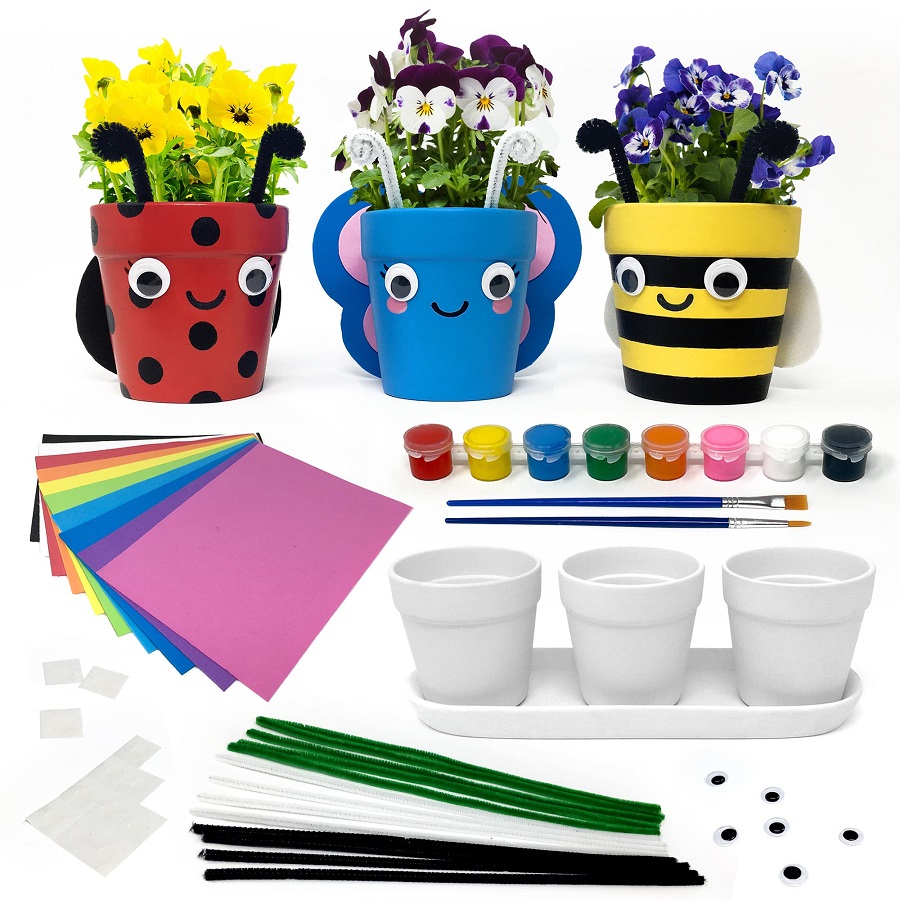
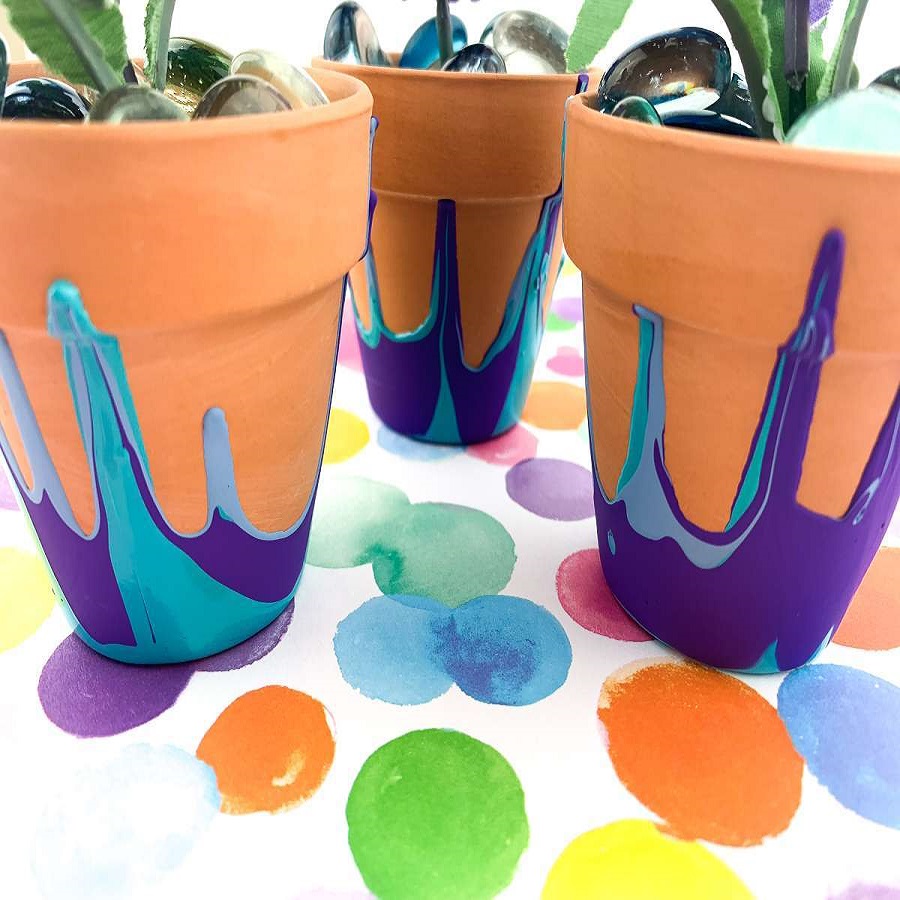
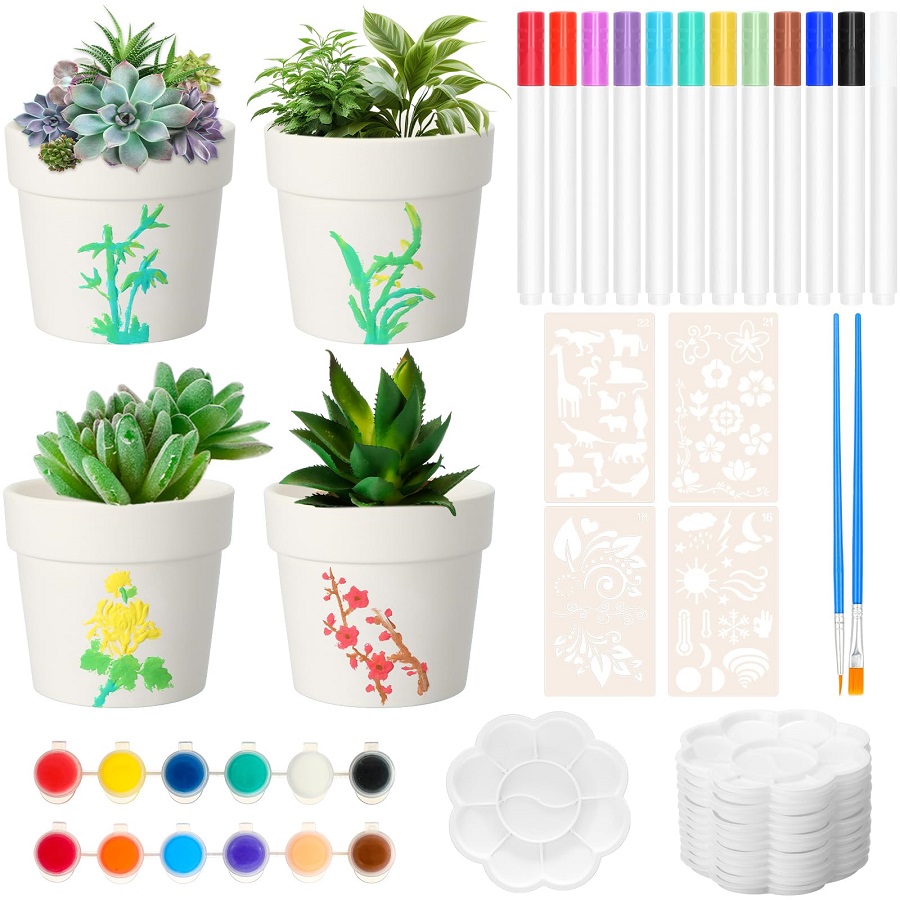
With our step-by-step guide complete, let’s celebrate the fruits of our labor. The finished painted flower pots truly reflect your personal style and creative flair. From bright and bold patterns to elegant, minimal designs, these pots enhance any space they occupy. Here’s a closer look at the results of our flower pot painting project.
- Varied Colors and Effects: See how different color choices transform the look of the pots. Using spray paint yields a sleek, uniform coat, while brush strokes add character.
- Indoor Display: Notice how the indoor pots complement home decor. They brighten living areas and make plants stand out. Remember, light colors can make small spaces feel airy and larger.
- Outdoor Aesthetics: The outdoor pots showcase durability. They stand up to weather and still look fresh. Patterns and stencils add eye-catching detail to garden settings.
- Concrete Pot Durability: Painted concrete pots maintain their sturdy feel while offering a decorative touch. Sealing them inside and out extends their life span.
- Terracotta’s Warmth: Notice how painting terracotta pots changes their appearance. Yet, they can still maintain their rustic charm with the right hues and sealing methods.
Every painted pot in this showcase serves as inspiration for your next DIY venture. Remember, the process is just as rewarding as the end result. So, get creative and let your garden or living space bloom with personality.
