Introduction to Painting Plastic Flower Pots
Painting plastic flower pots is a simple and fun way to add color and personality to your garden or home. It’s an excellent project for anyone looking to repurpose old plastic pots or just wanting a creative outlet. This DIY activity not only breathes new life into your plant containers but also allows you to explore your artistic side.
Before diving into the painting process, it’s important to understand that not all paints adhere well to plastic surfaces. Choosing the right type of paint and preparing the pots properly is crucial for achieving durable and attractive results. Throughout this guide, we’ll explore the materials you need, the preparation steps, and different painting methods, including using acrylics and spray paints. Whether you’re aiming for a subtle, elegant look or bold patterns, painting plastic flower pots offers endless possibilities.
This activity is also a fantastic way to involve children and turn it into a fun family crafting day. With the right approaches and a little bit of patience, you’ll have beautifully painted pots that are sure to enhance any space they occupy.

Materials Needed for the Best Results
To ensure your painted plastic flower pots look great and last long, you’ll need the right materials. Here’s a simple list to get you started:
- Plastic flower pots: Gather all sizes and shapes, depending on your project’s needs.
- Acrylic paints: Choose waterproof paints if the pots will be outdoors.
- Paint brushes: Get a variety of sizes for different detail work.
- Sandpaper: Fine-grit, to roughen the surface of the pots for better paint adhesion.
- Primer: Optional, to prepare the pots and make the colors pop.
- Sealant: A clear, protective top coat to shield your paintwork from the elements.
- Paint palette or mixing tray: For blending colors and holding paint.
- Water and cloth: For cleaning brushes and potential spills.
These materials will set the stage for your plastic pot painting project. Ensure all pots are clean, dry, and sanded before you begin painting to increase the longevity of your artwork.
Preparing Your Plastic Pots for Painting
Proper preparation is key to successful painting of plastic flower pots. Here’s how you get your pots ready:
- Clean the pots thoroughly: Any dirt or grime can prevent paint from adhering correctly. Use soapy water to wash, then rinse and allow them to dry completely.
- Sand the surface: Lightly sand the pots with fine-grit sandpaper. This roughens them up for better paint attachment.
- Wipe down after sanding: Remove sanding dust with a damp cloth. Make sure pots are dry before painting.
- Apply a primer (optional): Priming creates a good base for the paint. It’s not a must, but it helps in achieving more vibrant colors.
By following these simple steps, you create the ideal surface for your creative designs. With your pots primed and ready, the fun part of painting can begin.
Step-by-Step: Painting Pots with Acrylic Paint
Painting plastic flower pots with acrylic paint is easy and fun. Here’s a simple guide to help you get started.
- Choose Your Paint and Brushes: Select waterproof acrylic paints and various brush sizes. This helps achieve different effects and details on your pots.
- Sketch Your Design: Before painting, plan your design. Lightly sketch it on the pot with a pencil. This makes the painting process smoother.
- Start Painting: Apply the first coat of paint. Follow your design or use your creativity as you go. Allow the paint to dry completely.
- Add Details: Once the base layer is dry, add any finer details or additional colors. Use smaller brushes for precision.
- Apply a Second Coat (if needed): For more vibrant colors, a second coat may be necessary. Make sure the first coat is dry before applying the next.
- Let it Dry: Ensure all paint layers are dry. This might take several hours.
By following these steps, you can transform plain plastic pots into vibrant, decorative elements for your garden or home.
Creative Design Ideas for Your Painted Pots
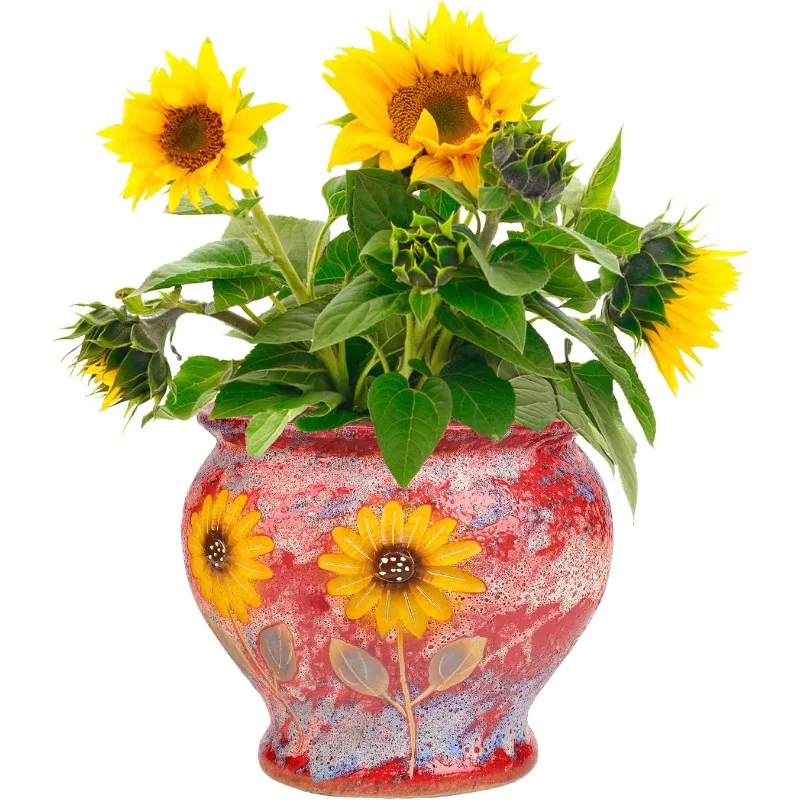
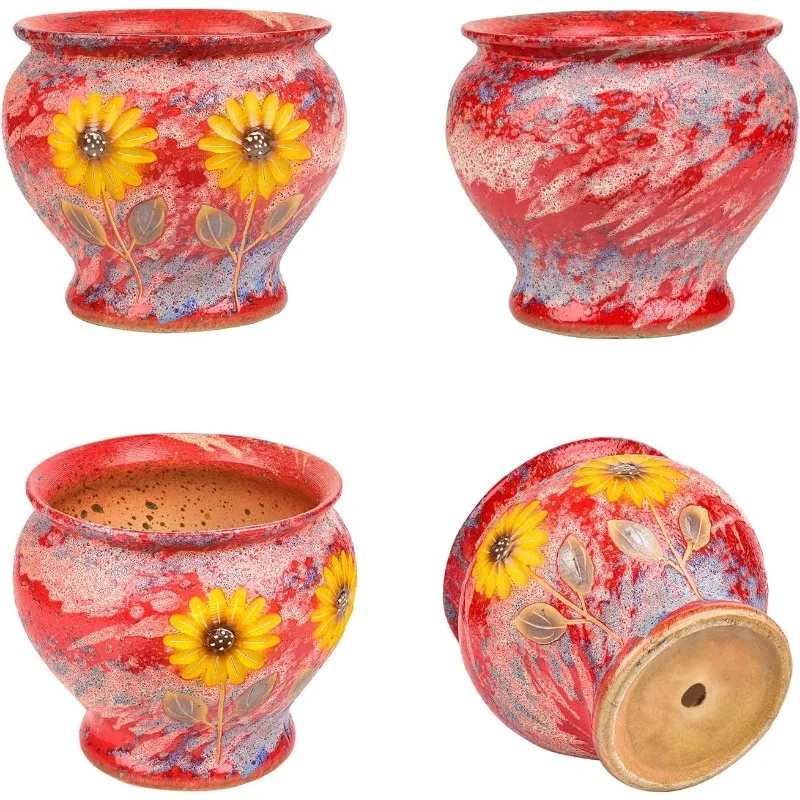
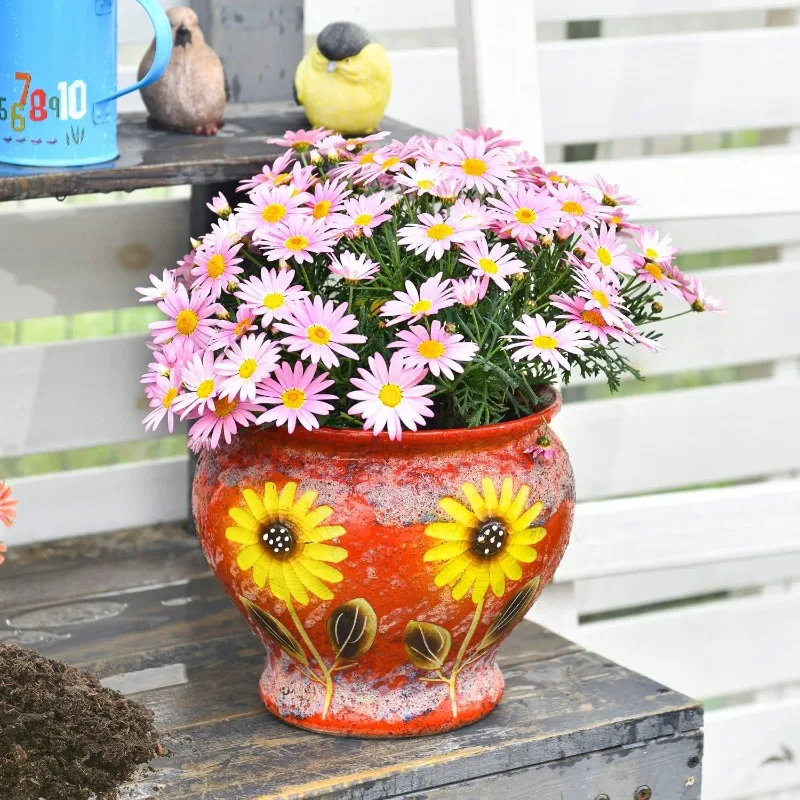
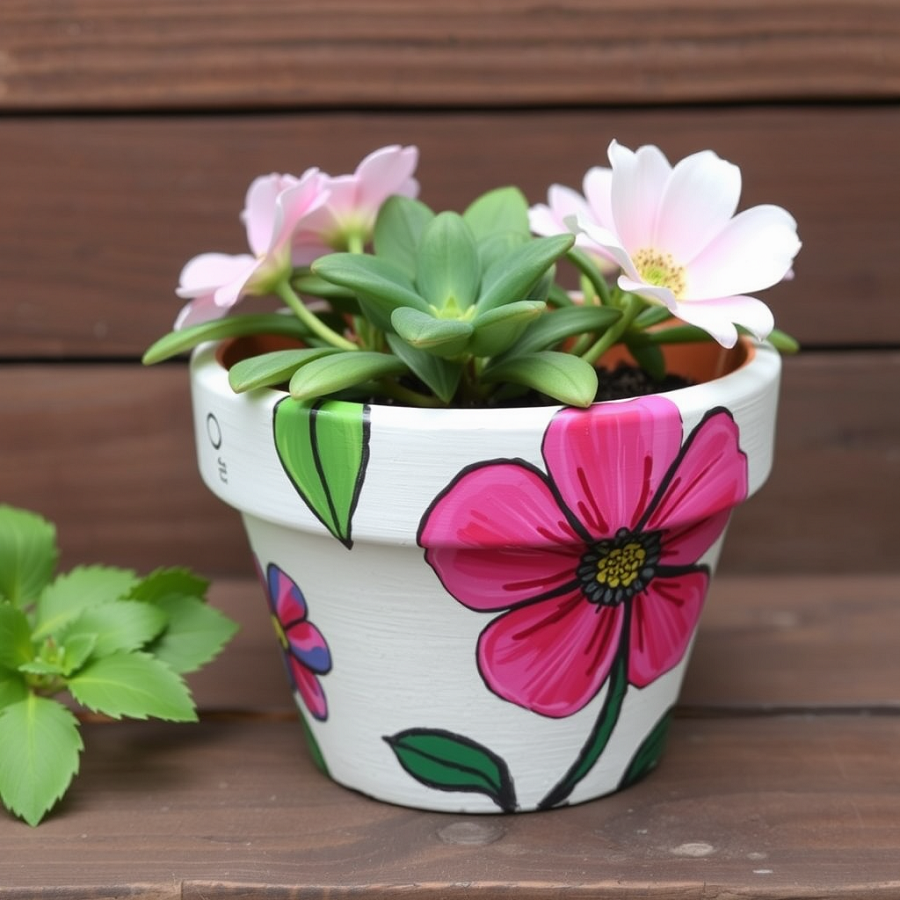
Transform your garden with creative designs on your plastic flower pots. Drawing inspiration from nature or abstract art can make each pot a masterpiece.
- Nature-Inspired Themes: Think about designs like leaves, flowers, or birds. These add a natural feel to your space. Consider using stencils for more intricate designs.
- Geometric Patterns: Use tape to create sharp lines and geometric shapes. This style fits well in modern decor settings.
- Polka Dots and Stripes: Simple yet stylish, polka dots and stripes never go out of style. They are easy to paint even for beginners.
- Characters and Cartoon Themes: Great for kids’ gardens or family spaces. Paint popular cartoon characters or cute animals on the pots.
- Ombre Effect: Blend two or more colors to create a fading effect. This can be very striking and is quite easy to achieve.
- Textured Looks: Use a sponge instead of a brush to dab on paint and create a textured look.
Remember to let your creativity flow. Each pot is a blank canvas waiting for your personal touch. Enjoy transforming your garden with these painted pots!

Step-by-Step: Using Spray Paint for Quick Results
Using spray paint can expedite the process of painting plastic flower pots. This method is not only faster but also provides a smooth, even coat. Here’s a quick step-by-step guide to using spray paint effectively:
- Gather Materials: You will need spray paint suitable for plastic, fine-grit sandpaper, a face mask, and a spacious area to work in.
- Prepare the Pots: Clean the pots with soapy water. Sand them lightly to remove gloss. Ensure pots are dry.
- Protect Your Space: Lay down newspapers or plastic sheets. Work in a well-ventilated area or outdoors.
- Apply Primer (Optional): Use a primer designed for plastic. This improves paint adhesion and coverage.
- Start Spray Painting: Shake the can well. Hold it about six to eight inches from the pot. Spray in a steady back-and-forth motion. Apply a thin coat.
- Let it Dry: Allow the first coat to dry completely. This could take 20-30 minutes.
- Apply Second Coat: For deeper color and better coverage, apply a second coat. Ensure the first is entirely dry.
- Dry and Inspect: Once fully dry, check for any missed spots or uneven areas. Touch up as needed.
- Seal the Paint: After the final coats, apply a clear sealant. This protects your paint from weather and water.
By following these steps, your painted plastic flower pots will have a professional finish. They will be ready to add color and charm to your garden quickly and efficiently.
Sealing and Protecting Your Painted Flower Pots
Once you have completed painting your plastic flower pots, it is important to seal and protect them. This ensures your artwork withstands the elements outdoors, or the water from your plants indoors.
To seal your painted flower pots effectively, follow these steps:
- Choose the Right Sealant: Look for a clear sealant designed for outdoor use. This will give your pots the most protection.
- Apply the Sealant: Once your paint is fully dry, apply a thin layer of sealant. You can use a brush or a spray-on version.
- Cover All Areas: Make sure to cover the entire painted area. This includes the bottom if it has paint.
- Let it Dry: Allow the sealant to completely dry. Follow the manufacturer’s instructions for drying times.
- Add Additional Coats: For extra protection, add one or two more coats of sealant.
- Dry Between Coats: Let each coat dry fully before adding the next.
After sealing, your painted plastic flower pots are ready for use. They will now have a layer of protection from rain, sun and soil moisture.
Remember to handle the pots gently as the paint cures. Some paints and sealants can take a few days to fully harden. Once cured, your pots will be more durable and ready to showcase your plants.

Tips for Maintaining Your Painted Pots Over Time
Keeping your painted plastic flower pots looking fresh requires some care. Here are easy tips to help:
- Keep Them Out of Harsh Sunlight: Direct sun can fade the paint. Place them in shaded areas.
- Avoid Scratches and Chips: Be gentle when moving pots. Rough handling can damage the paint.
- Clean Gently: Use a soft, damp cloth to wipe your pots. Harsh cleaners can strip paint.
- Refresh the Sealant: Reapply sealant yearly. It helps protect the paint from weathering.
- Touch-Up as Needed: If you notice flaking or chipping, touch up the paint. Do it before resealing.
- Protect from Frost: If possible, move pots indoors during frost. It prevents paint from cracking.
- Drainage Care: Ensure water drains well to stop moisture damage. Check the pot’s drainage holes.
By using these maintenance tips, your painted flower pots will stay vibrant for seasons to come.
