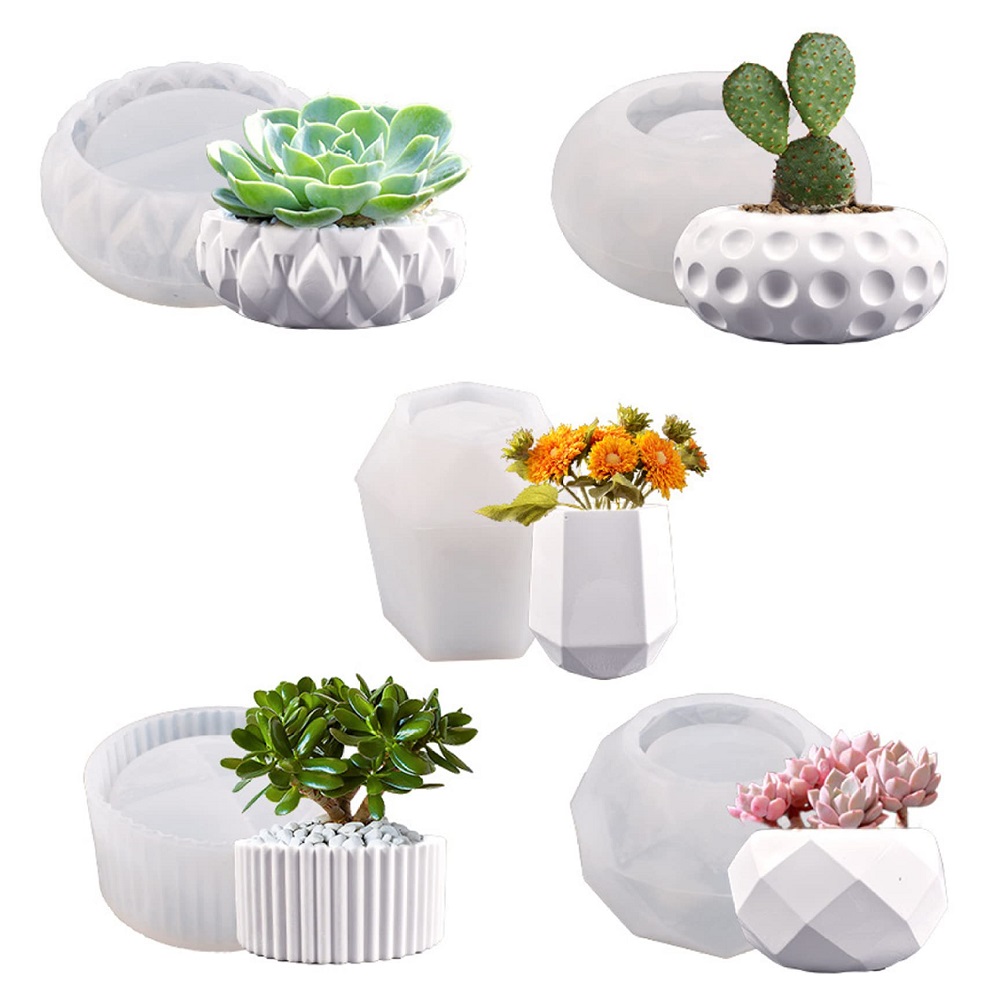
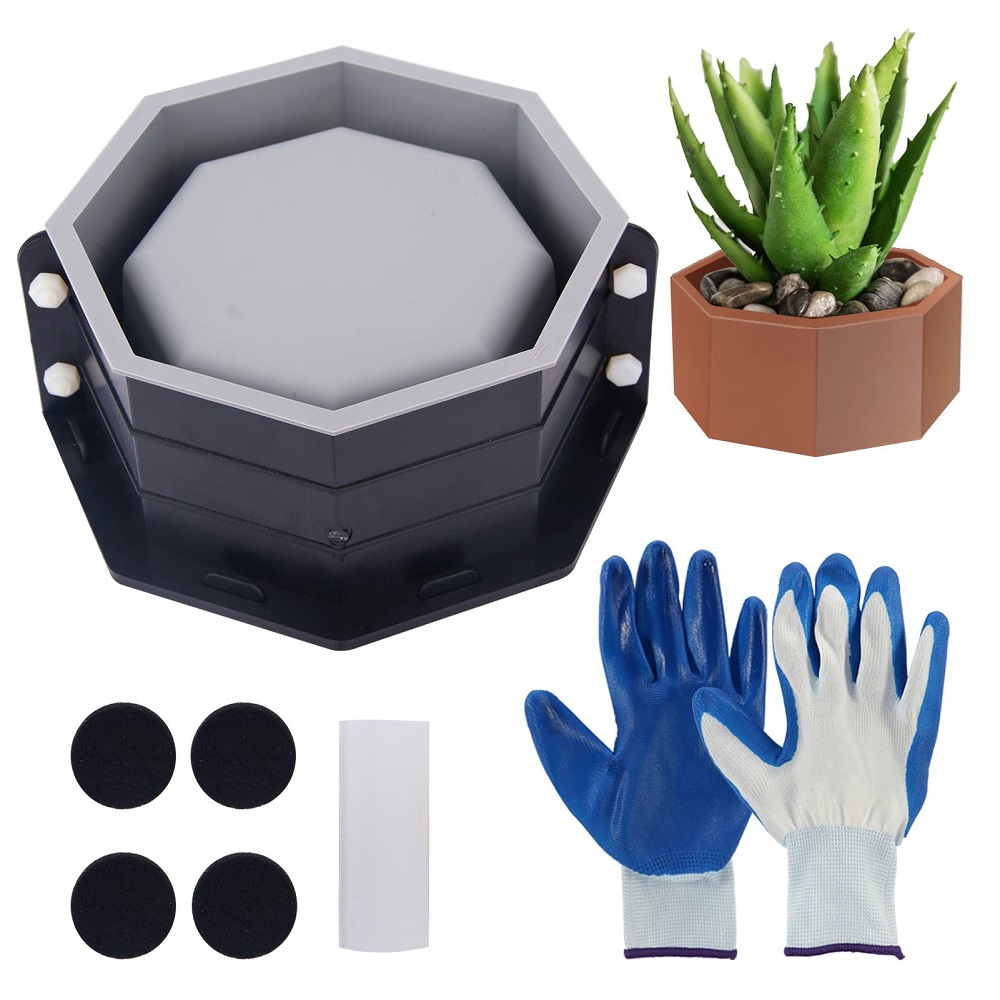
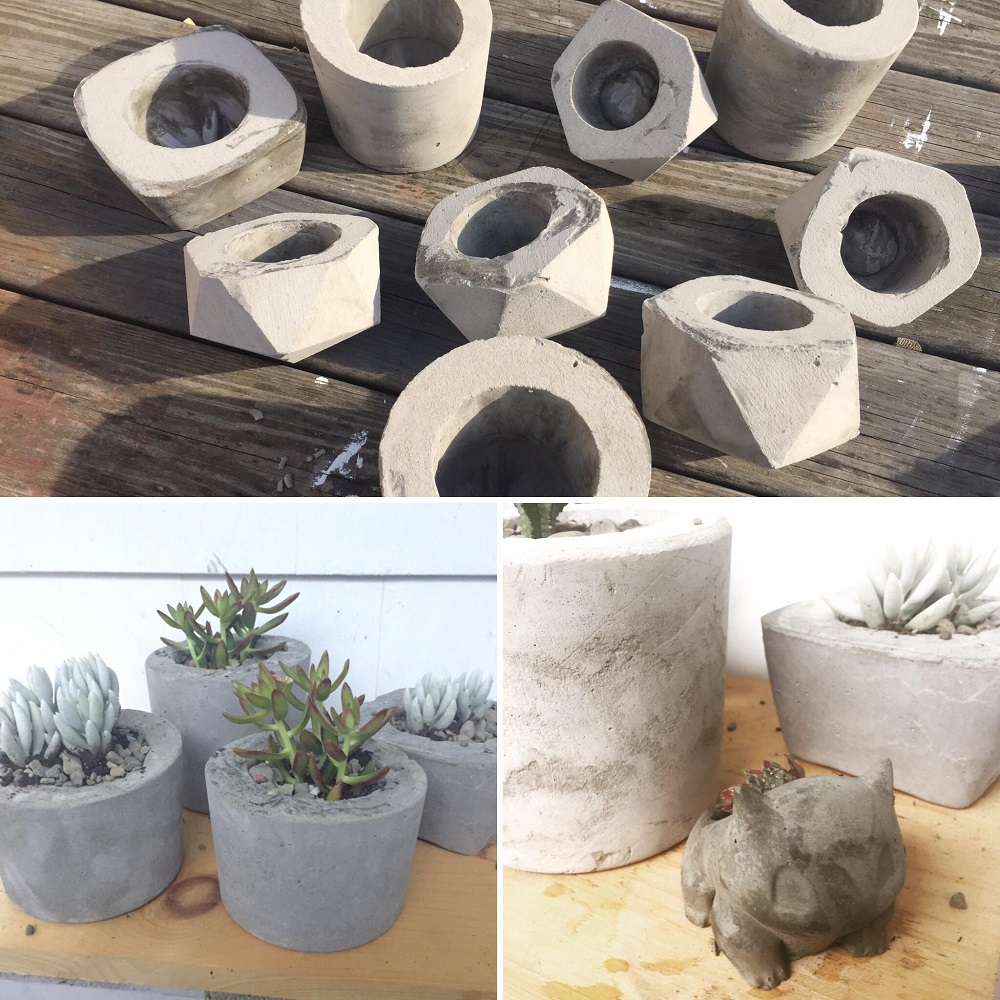
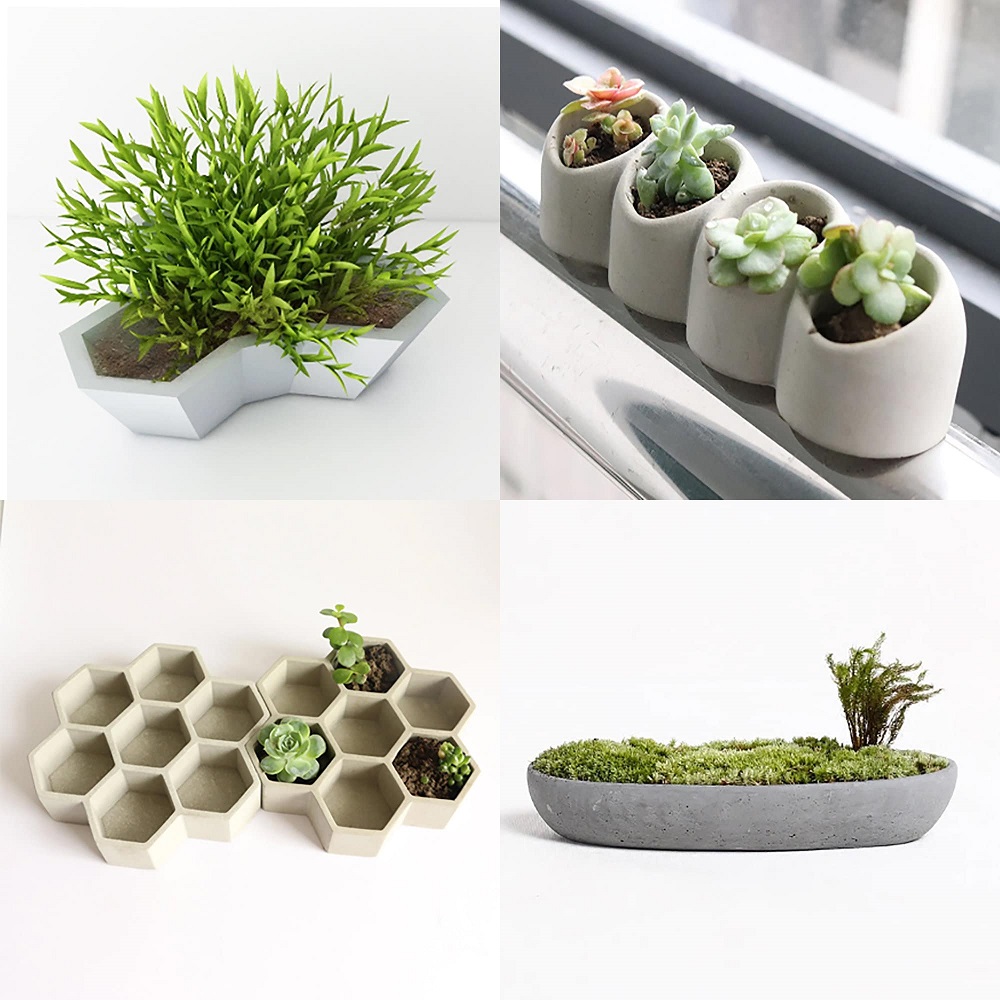
Creating your own cement flower pots can be a fun and rewarding project that enhances both your home and garden decor. With a little creativity and some basic materials, you can make stylish, durable pots that add a modern, industrial flair to any space. Whether you are looking to customize your outdoor garden or brighten up your living room, cement flower pots are an excellent option. In this guide, we’ll walk you through the process of making your own DIY cement flower pots step by step, from gathering supplies to finishing touches. Let’s get started!
Why DIY Cement Flower Pots?
A Unique and Personalized Touch
When you choose to make your own cement flower pots, you gain the ability to create something truly unique. Pre-made flower pots are often mass-produced and lack individuality. By making your own, you can tailor the size, shape, texture, and color to match your specific style and needs. You can add custom finishes, like painting or decorative designs, to make them even more personal. Whether you prefer a minimalist, sleek look or a bold, textured design, DIY cement pots allow you to let your creativity shine.
Durability and Versatility
Cement flower pots are incredibly durable and can withstand outdoor conditions, making them perfect for both indoor and outdoor plants. Unlike plastic or ceramic pots that might crack or fade over time, cement pots are sturdy, resistant to the elements, and have a timeless appeal. They can withstand rain, sunlight, and even frost in colder climates, making them ideal for gardening in all seasons. Cement also retains moisture better than other materials, which is great for certain plants that require consistent soil moisture.
Eco-Friendly and Cost-Effective
Making your own flower pots can also be more cost-effective than buying high-end designer pots. In addition, using cement allows you to repurpose materials you already have at home, making this a more sustainable and eco-friendly option. You can use recycled items for molds or even incorporate leftover cement from other projects. This means that not only are you saving money, but you’re also reducing waste and supporting an eco-conscious lifestyle.

Materials Needed to Make DIY Cement Flower Pots
Basic Supplies
To make DIY cement flower pots, you’ll need some basic supplies. Most of the materials are inexpensive and readily available at hardware or craft stores. Here is a list of what you’ll need:
- Cement: Choose quick-setting cement or concrete mix. You’ll need one or two bags, depending on the number and size of the pots you want to create.
- Water: You’ll need clean water to mix with the cement.
- Molds: You can use plastic containers, bowls, or any other mold that fits the size and shape of the pot you want. For larger pots, consider using old buckets or plastic storage bins.
- Plastic Sheeting or Wax Paper: This is used to line your molds, ensuring the cement doesn’t stick and can be easily removed.
- Stirring Stick: You’ll need something to mix the cement thoroughly with water.
- Rubber Gloves: Cement can be rough on your hands, so make sure to protect your skin with gloves.
- Paint and Brushes (optional): If you want to personalize your pot with color, you’ll need acrylic paint or spray paint.
- Sandpaper (optional): For smoothing out rough edges after the cement has dried.
These are the basic supplies you’ll need for creating simple cement flower pots. However, as you progress with your DIY journey, you may choose to add extra decorative elements or finishes to enhance the final product.
Optional Decorative Supplies
If you want to take your flower pots a step further, consider adding these optional supplies for additional texture and decoration:
- Mosaic Tiles: For a colorful, artistic effect, mosaic tiles can be adhered to the outside of the pot.
- Stencils: These can help you create intricate patterns or designs on the surface of your pots.
- Metallic Finishes: Gold, silver, or copper paint can give your cement pots a more luxe, high-end look.
- Rope or Twine: Wrapping your cement pot with rope or twine can add a rustic, boho-chic vibe to your design.
Tools for Finishing Touches
Once your cement flower pot is fully cured and ready to use, you might want to smooth out any rough edges or add a polished finish. Here are a few tools that will help with the finishing touches:
- Sandpaper or a Sanding Block: Smooth out any rough or jagged edges for a polished finish.
- Sealer: To make your pots last longer, apply a sealer that protects the cement from moisture and staining.
- Small Brushes: If you plan on painting or adding intricate designs, small detail brushes will help with precision.
Step-by-Step Instructions for Making Cement Flower Pots
Step 1: Prepare the Molds
Before you start mixing your cement, it’s essential to prepare your molds. Choose two containers: one that will serve as the outer mold (larger) and one that will serve as the inner mold (smaller). The space between the two molds will form the walls of your flower pot.
To ensure easy removal later, line both the outer and inner molds with plastic sheeting, wax paper, or oil. This will prevent the cement from sticking to the molds, making it easier to remove once the pot is dry.
If you’re using plastic containers, cut the containers as needed to fit your desired shape. Alternatively, you can also use a single mold for a simpler design, but the outer shape will likely be less uniform in this case.
Step 2: Mix the Cement
Once your molds are ready, it’s time to mix the cement. Follow the instructions on the cement package for the proper water-to-cement ratio, as this may vary slightly depending on the brand you use. Generally, you’ll want to aim for a thick, but pourable consistency.
In a large mixing container, pour the cement powder and slowly add the required amount of water. Use a stirring stick to combine the ingredients, ensuring there are no dry patches. Stir the mixture until it reaches the desired consistency.
Tip: If the cement mixture is too runny, it will not hold its shape in the mold. If it’s too thick, it may be difficult to work with. Aim for a smooth, peanut butter-like consistency.

Step 3: Pour the Cement into the Molds
With your cement mixture ready, it’s time to start pouring. Begin by filling the outer mold with the cement mixture, pressing it down gently to eliminate any air bubbles. Once the outer mold is about halfway full, position the smaller inner mold in the center. Ensure there is enough space between the two molds to create the walls of the flower pot.
If you prefer a thicker wall, you can add more cement to the outer mold. Be sure to check that the inner mold is centered and stays in place as you add more cement around it.
Step 4: Let the Cement Set
Allow the cement to set for at least 24 hours in a dry, well-ventilated area. The curing time may vary depending on the size of the pot and the type of cement you use. However, be patient—rushing this step can lead to cracks or improper curing.
After the first 24 hours, check to see if the cement has hardened. If it’s still soft, give it more time to cure. Avoid moving or disturbing the molds during this process, as this can affect the shape of the pot.
Step 5: Remove the Molds
Once the cement has fully cured, it’s time to remove the molds. Carefully peel away the outer mold and the plastic lining. For the inner mold, gently tap or wiggle it free, ensuring you don’t damage the edges of the flower pot.
At this point, your DIY cement flower pot should be sturdy and solid, ready for finishing touches!
Customizing Your Cement Flower Pots
Smoothing and Polishing
Even if you like the rustic, raw look of cement, you may want to smooth out rough edges for a more refined appearance. Using sandpaper, gently rub down any rough or jagged areas on the surface. Be sure to wear a mask to avoid inhaling the fine dust.
If you want a sleek, polished look, consider applying a cement sealer. This helps protect the surface and gives your pot a more finished appearance. Make sure to apply the sealer according to the manufacturer’s instructions.
Painting and Decorating
Now comes the fun part—customizing your cement flower pots! You can use spray paint, acrylic paint, or even chalk paint to give your pot a new look. Whether you want to create a minimalist design with matte colors or go all out with bold, vibrant hues, the choice is yours.
For extra creativity, try using stencils to create geometric shapes, stripes, or floral patterns on the surface. Mosaic tiles, beads, or small stones can also be added for texture and personality.
Sealing for Protection
Once your decorations are dry, apply a coat of sealer to protect both the paint and the cement. This is especially important if your pots will be exposed to the elements, as the sealer will prevent the cement from absorbing water and potentially cracking.

Final Thoughts: Show Off Your DIY Cement Flower Pots
Making your own cement flower pots is an enjoyable and practical DIY project that allows you to express your creativity while crafting durable, stylish planters. Whether you use them indoors or outdoors, these personalized pots will add a chic and unique touch to your home or garden. From choosing the right molds to adding decorative details, you have endless possibilities for customizing your cement flower pots.
Once your project is complete, place your new pots around your home or garden, fill them with your favorite plants, and enjoy the sense of accomplishment and beauty you’ve created.
