Creating a beautiful garden space does not solely rely on the plants and flowers you choose; decorative elements play a significant role in enhancing the overall aesthetic. One such element is painted clay flower pots. These pots not only serve as homes for your beloved plants but can also be transformed into vibrant pieces of art that add personality and flair to your garden. In this comprehensive guide, “Transforming Your Garden: A Step-by-Step Guide to Painting Clay Flower Pots,” we will walk you through the necessary steps, tools, and creative ideas that will help you transform ordinary clay flower pots into vivid expressions of your unique style.
Understanding the Canvas: Selecting the Right Clay Pots
The Benefits of Choosing Clay Pots
Before we dive into the transformative process, it’s essential to understand why clay pots make an excellent choice for painting and gardening. Clay pots have several advantages: they are porous, which allows for excellent drainage and air circulation, reducing the risk of root rot. Clay’s natural aesthetic blends seamlessly into garden environments, and its earthy tones often complement vibrant plant colors beautifully. Furthermore, they are available in various sizes and shapes, giving you endless possibilities to showcase your creativity.
Choosing the Right Size and Shape
When selecting clay pots for your painting project, consider the dimensions and shape that will best suit your garden layout. Larger pots can serve as focal points in your garden, while smaller pots are great for patio or indoor arrangements. Explore various shapes, such as traditional round pots, tall cylindrical ones, or whimsical animal-shaped pots, which can add charm and character to your garden. Make sure to take into account the plants you wish to house in these pots, as they’ll need adequate space to thrive. Ultimately, the right choice will allow your painted pots to shine while providing a comfortable home for your plants.

Gathering Your Materials: Painting Essentials
Tools Needed for Painting
To embark on your painting adventure, gather your materials in advance to ensure a smooth process. Essential tools include: high-quality acrylic paint, paintbrushes of various sizes, a sponge for texture, and a fine-tipped paint marker for detailing. Additionally, you might consider using painter’s tape to achieve clean lines, and stencils for more complexity in your design. It’s helpful to have a palette and a water container for rinsing brushes on hand. Lastly, protect your workspace with newspapers or a plastic sheet for easy cleanup after your artistic endeavor.
Painting Supplies: Which Options Are Best?
When it comes to paint, it’s crucial to select the right type for durability against the elements. Outdoor acrylic paints are specifically formulated for outdoor use, providing a robust finish that resists fading and chipping. While chalk paint offers a cozy, matte finish perfect for farmhouse aesthetics, it may require a sealer for added durability. Select colors that resonate with your personal style, while considering how they will complement your plants. Lastly, don’t overlook the importance of protective gear – gloves, aprons, and mask filters can help safeguard against paint fumes and stains.
Preparing Your Pots: The Important First Step
Cleaning Clay Pots Properly
Before transforming your pots into masterpieces, ensure they are clean and ready for the canvas. Start by removing any dust or dirt that may have accumulated on the surface. If your pots have been used before, they might have residual soil or plant matter. Rinse them thoroughly with warm water and, if necessary, use a mild detergent. For stubborn residue, scrub gently with a sponge. Let your pots dry completely in the sun, as moisture can hinder paint adhesion.
Priming for Success
Once your pots are clean and dry, applying a suitable primer is an excellent next step. Primer enhances paint adhesion and ensures an even application, especially if you’re working with bright colors over a darker base. Choose a water-based outdoor primer for this purpose, and apply a thin coat with a brush or roller. Allow the primer to dry before moving on to the paint. This preliminary step sets the stage for a professional finish, prolonging the life of your created artwork while enhancing the vibrancy of your chosen colors.
Designing Your Vision: Creative Ideas to Inspire
Picking the Perfect Design
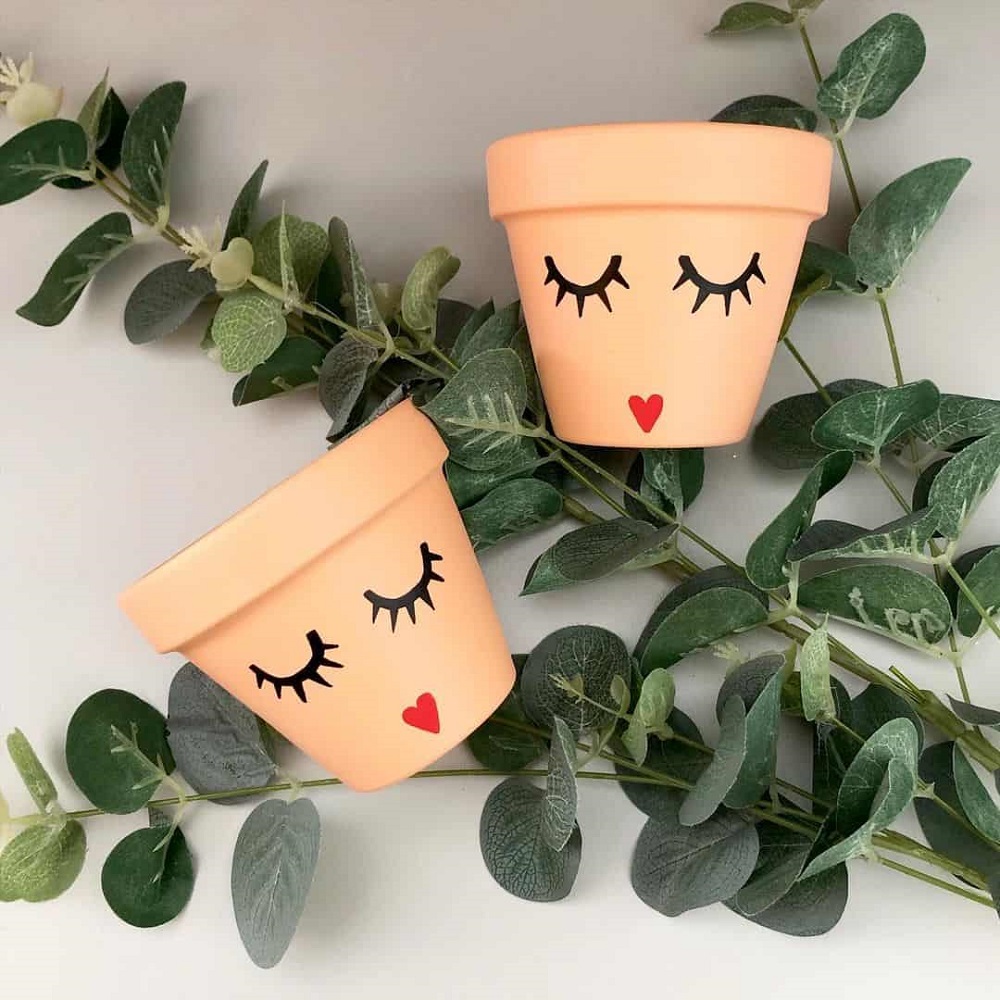
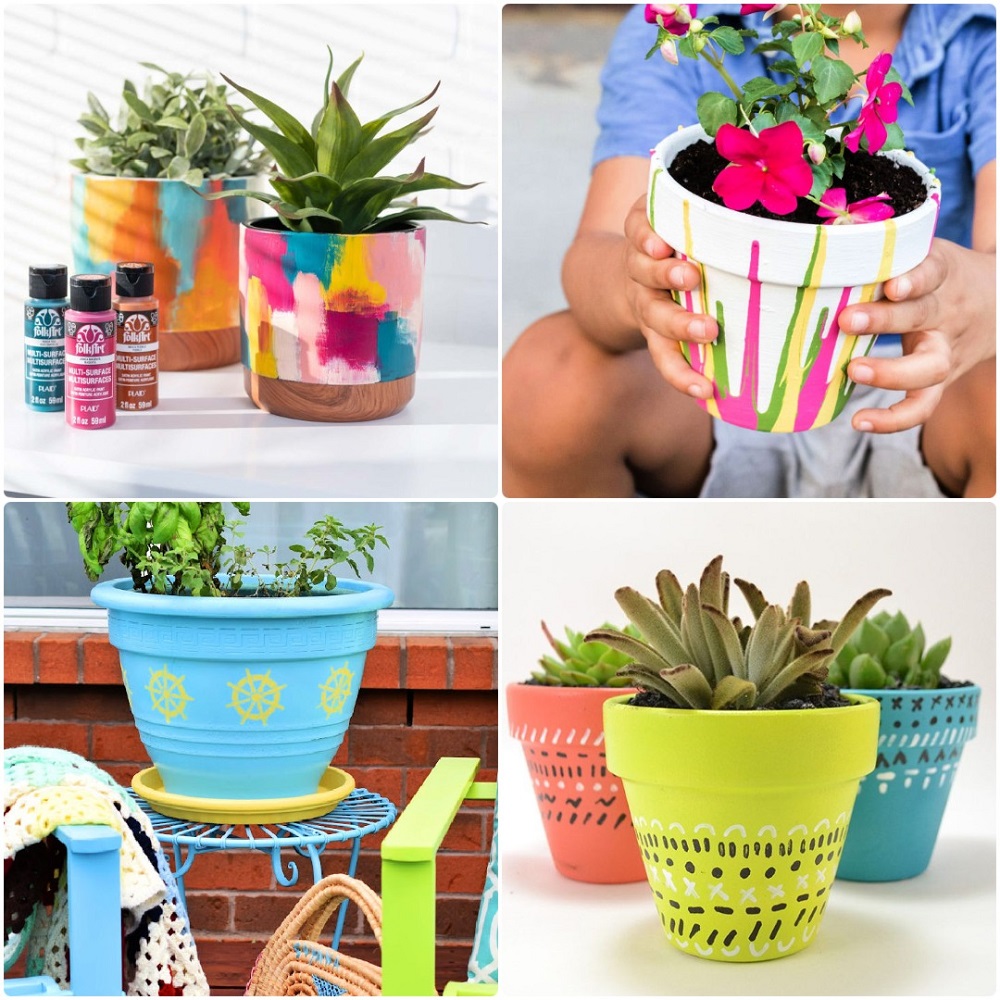
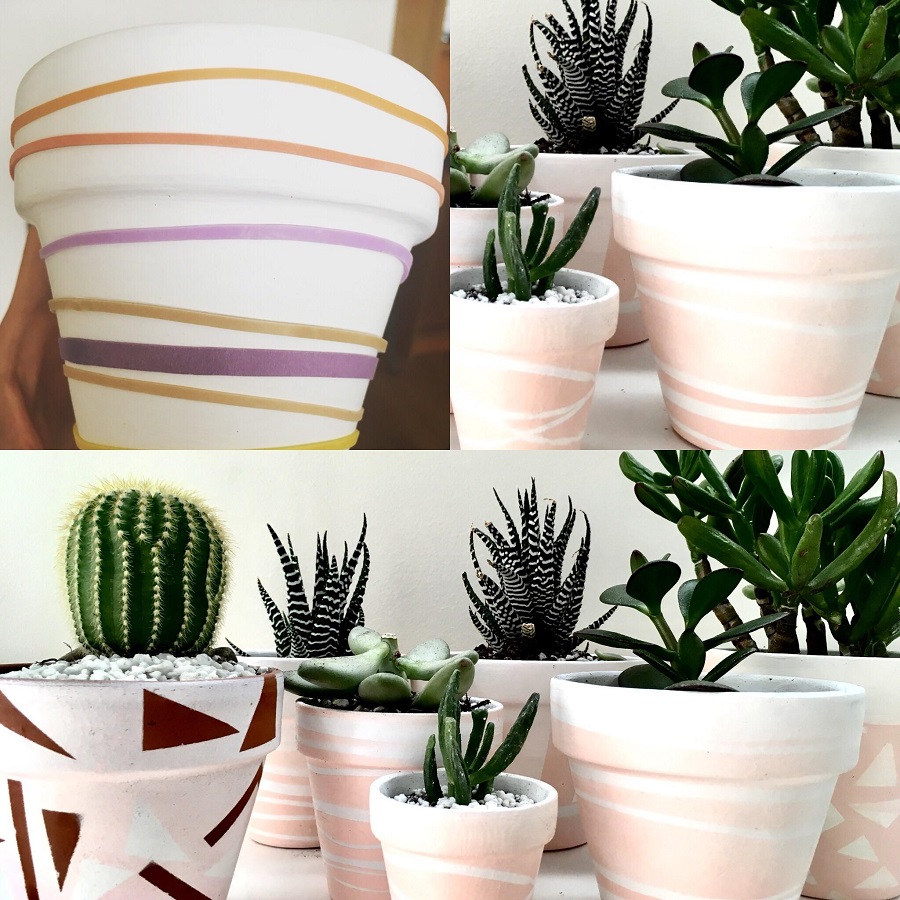
The design process is where your imagination can flourish! Consider your garden’s overall theme and choose colors and motifs that resonate with your personal style. Some popular options include geometric patterns, floral designs, or even playful animal figures. You can also opt for a more abstract design that incorporates various colors and shapes. To help visualize your ideas, consider sketching your concept on paper or using digital design tools, which can help you plan the overall look before applying paint to your pots.
Utilizing Techniques to Enhance Aesthetic Appeal
Experimenting with different painting techniques can add depth and interest to your pots. For instance, sponging can create unique textures, while distressing techniques can lend an attractive rustic appearance. You may also want to try dip-dyeing, where you dip the top portion of the pot in paint for a beautiful gradient effect. Paint pouring can offer a more avant-garde look by creating marbled or swirled effects. Each of these techniques can help transform your pots into artistic creations that reflect your personality and style.

Painting Your Pots: Step-by-Step Process
Applying Base and Detail Layers
Now that you’ve chosen your design and gathered materials, it’s time to unleash your creativity. Begin by applying your base color using a large paintbrush or foam roller, ensuring even coverage. Depending on your desired look, one or two coats may be necessary, allowing adequate drying time between applications. Once the base is dry, switch to smaller brushes for detailing, using fine tips to create patterns or designs. Work slowly and carefully, as precision can take time, but the results will be well worth the effort!
Allowing Time to Dry and Curing the Paint
Patience is key in this process. After you’ve completed your painting, you will need to allow your pots to dry completely before moving them. Depending on the layers of paint applied and the conditions (like humidity and temperature), drying times can vary. It’s best to wait at least 24 hours before applying a sealant. Once the paint has dried thoroughly, a protective sealant will enhance durability and shine, ensuring that your artwork withstands the elements outside and in. Choose a spray sealant specifically designed for outdoor use, applying it according to the manufacturer’s instructions.
Adding the Final Touch: Planting and Decorating
Selecting the Right Plants for Your Pots
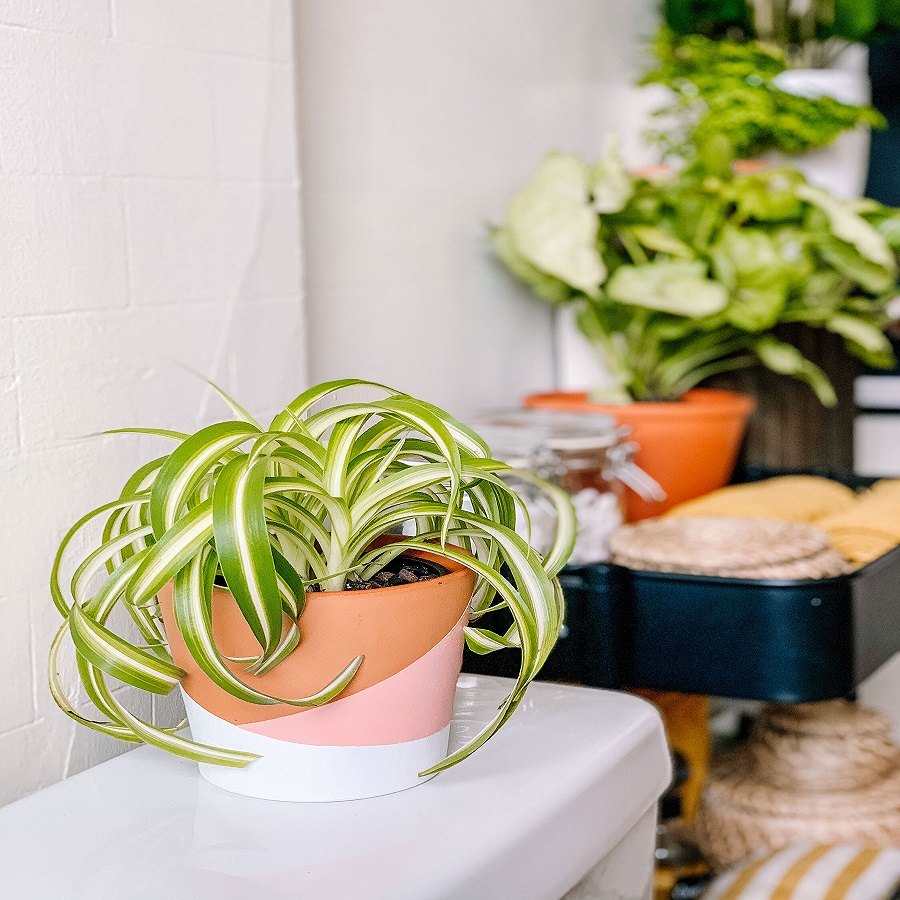
With your pots now transformed into works of art, the final step is to choose the plants that will dwell within them. Consider selecting plants that not only complement the colors you’ve used but also have a similar light and watering needs. Succulents, decorative herbs, and vibrant annuals can all thrive in these enhanced clay pots, bringing vibrant life to your garden space. Pay attention to the pot’s size in relation to your plant choices; larger plants will require more substantial pots to accommodate root growth.
Displaying Your Art: Arrangement Tips
Now that you are ready to display your beautifully painted pots, consider arrangements that enhance their artistic qualities. Group pots of varying sizes and heights together for a dynamic visual appeal. Create a layer effect by placing taller pots at the back and shorter ones in front. Arrange your painted pots strategically in your garden, on a patio, or even inside your home as decor pieces. The goal is to highlight the unique artistry of your pots while showcasing the life they contain. Don’t hesitate to experiment with different placements until you find a combination that works for your space.

Caring for Your Painted Pots: Maintenance Tips
Seasonal Care Guidelines
To ensure that your painted pots remain vibrant and functional over time, it’s essential to practice proper care and maintenance. Start by periodically wiping down the exterior with a damp cloth to remove dirt and debris. Regular checks can help prevent damage to your painted surfaces due to environmental factors like rain and sun fading. If, over time, you notice any chips or wear, don’t hesitate to retouch the affected areas with your original paint.
Preparing for Winter: Protecting Your Artwork
As the seasons change, especially entering winter, consider how the elements will affect your painted pots. If you live in an area prone to frost, it’s best to either bring your pots indoors or shelter them in a garage or shed to protect them from extreme temperature fluctuations. If you’re planting hardy outdoor plants, make sure to apply an extra coat of protective sealant to guard against freezing conditions. Doing so will extend the lifespan of your artistic creations, allowing your beautifully painted pots to grace your garden for many seasons to come.
By following this step-by-step guide, “Transforming Your Garden: A Step-by-Step Guide to Painting Clay Flower Pots,” you can create stunning garden accents that celebrate your creativity while providing a nurturing home for your plants. Embrace the process, let your imagination guide you, and enjoy the rewarding experience of transforming clay flower pots into beautiful garden treasures!
