Creating your own clay flower pots at home can be a rewarding and enjoyable hobby. Not only does it allow you to personalize your décor, but it also provides an opportunity to hone your crafting skills. Whether you’re a seasoned artist or a complete novice, the process of making your own flower pots can be both fun and satisfying. This comprehensive guide will walk you through everything you need to know to get started, from materials and tools to techniques and design ideas.
Introduction to Clay Flower Pots
The Allure of Handmade Pottery
One of the primary reasons why people are drawn to handmade pottery is the uniqueness it offers. Unlike mass-produced items, each piece of clay pottery tells a story. The subtle imperfections and variations in each pot add character and charm, making them special. Clay flower pots, in particular, are excellent for showcasing your plants and adding an artistic touch to your home or garden.
Benefits of Crafting Your Own Pots
Creating your own clay flower pots provides several advantages. Firstly, it allows you to customize the size, shape, and color to fit your specific needs and tastes. Secondly, making your own pots can be a cost-effective alternative to purchasing them in stores, especially if you plan to make several pieces. Finally, the process of crafting can be meditative and therapeutic, helping you unwind and express your creativity.

Materials You’ll Need
Key Material: Clay Types
When it comes to making clay flower pots, the type of clay you choose is crucial. There are several types of clay available, each with its unique properties.
- Earthenware: This clay is excellent for beginners and is widely used for flower pots. It is relatively inexpensive and easy to work with, although it is not as durable as other types.
- Stoneware: This type of clay is more durable than earthenware and can withstand higher temperatures. It is a good choice if you want your pots to last longer and resist outdoor conditions.
- Porcelain: Porcelain is known for its fine texture and is ideal for creating more intricate designs. However, it can be more challenging to work with and is often better suited for those with some pottery experience.
- Air-dry clay: If you’re not planning to fire your pots in a kiln, air-dry clay is a fantastic alternative. It hardens when exposed to air, making it much easier for beginners.
Additional Supplies
In addition to clay, you will need a few other essential supplies. First, invest in some basic pottery tools, such as a rolling pin, knife, sponge, and finishing tools. A sturdy work surface is also important, so be sure to have a clean and flat area to work on. Finally, don’t forget to have your choice of paint or glaze for adding color and finishing touches to your pots.
Basic Techniques for Pot Making
Hand Building vs. Wheel Throwing
When it comes to creating clay flower pots, there are primarily two techniques you can utilize: hand-building and wheel throwing.
- Hand Building: This technique allows for creativity and personalization. You can create pots by coiling, pinching, or slabbing the clay. Handbuilding is often recommended for beginners as it does not require specialized equipment.
- Wheel Throwing: If you have access to a pottery wheel, this technique allows for more uniform shapes and sizes. However, it requires some practice and skill to master, making it more suited for those with prior experience.
Step-by-Step Instructions
Regardless of the technique you choose, the basic steps for making a clay flower pot remain similar. Start by preparing your clay—knead it until it’s pliable and free of air bubbles. Then, form your base before choosing how to build up the sides of your pot, whether through hand-building or wheel throwing. Once your pot is shaped, trim any excess clay, smooth the surface, then allow it to dry slightly before adding texture or designs. Finally, let it dry completely before firing or painting.
Adding Texture and Designs
The Art of Texture
Adding texture to your flower pots can elevate their aesthetic appeal and add depth to your designs. There are numerous techniques you can use to create texture, such as stamping, carving, or impressing objects into the clay.
- Stamping: Use rubber stamps or household items like leaves, coins, or fabric to create patterns on the surface of your pot.
- Carving: Use a needle tool or a sharp knife to carve designs into your pot after it has slightly dried.
- Impressing: Press objects into the clay while it’s still wet. This technique allows for a more organic and spontaneous look.
Painting and Glazing Options
Once your pots have dried and you are satisfied with their texture, the finishing touch can be painting or glazing.
- Acrylic Paint: For air-dry clay, acrylic paint is an excellent choice. It’s easy to use and comes in a vast array of colors. Just be sure to apply a sealant after painting to protect your colors from fading.
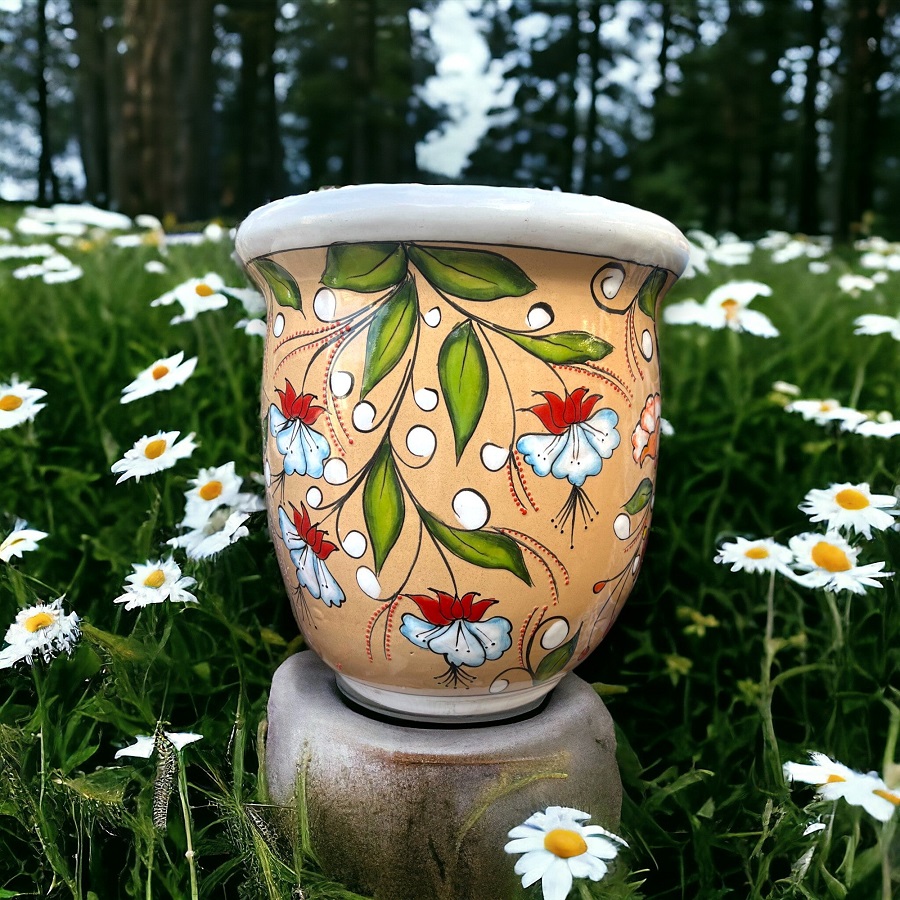
- Ceramic Glaze: If you’re using a kiln, glazing is the way to go. Glazing not only adds color but also makes your pots water-resistant, which is particularly important for flower pots. Experiment with different glaze techniques, such as dipping, pouring, or brush application, to achieve varied effects.

Curing and Firing Your Pots
Understanding the Drying Process
Once you’ve finished shaping and decorating your clay flower pot, it’s essential to allow it to dry properly. The drying process will depend on the type of clay you are using. Air-dry clay can be left to cure at room temperature, while traditional clay will need to be dried in a controlled environment.
Keep an eye on your pot; direct sunlight or high temperatures can lead to cracking. For best results, let your pot dry completely before firing or sealing it.
Firing: The Final Step
If you are using stoneware or porcelain, firing your pottery in a kiln is the final step to ensure durability. Firing transforms your soft clay into a hard, permanent piece. Ensure that your kiln is preheated correctly, and follow the manufacturer’s instructions for the best results.
After the initial firing, you may choose to glaze your pots and then fire them a second time. This process helps to set the glaze and ensures that your pot is not only aesthetically pleasing but also functional as a flower pot.
Personalized Touches and Decor
Adding a Personal Flair
One of the best things about creating your own clay flower pots is the ability to personalize them. You can add initials, quotes, or meaningful symbols that resonate with you. Think of your pot not just as an item for holding plants but as a functional piece of art.
Themes and Color Schemes
When designing your pots, consider using themes or color schemes that complement your existing décor or garden. For instance, a rustic theme could be enhanced with earthy tones, while a modern theme might benefit from a sleek, monochromatic finish. Mixing and matching pots in various sizes and colors can create a visually appealing display.

Care Tips for Your Clay Flower Pots
Proper Watering Techniques
Caring for your clay flower pots is just as important as making them. Ensure that your pots have drainage holes to prevent water from accumulating, which can lead to root rot in plants. When watering, be careful not to overwater; test the soil’s moisture before adding more water.
Cleaning and Maintenance
To maintain the beauty of your clay flower pots, regular cleaning is essential. Ensure that you gently remove any dirt or buildup with a damp cloth. If your pot starts to show signs of wear or fading, consider repainting or resealing it to restore its charm.
Conclusion
Embracing Your Creativity
Crafting your own clay flower pots at home can be more than just a decorative endeavor; it can become a fulfilling creative outlet. Each pot you create is an expression of your style and personality, providing a beautiful home for your plants.
Start Your Pottery Journey Today
With the right techniques, materials, and a touch of creativity, you can easily embark on your pottery-making journey. Don’t shy away from experimenting with various designs, textures, and colors. Over time, you’ll refine your skills and create beautiful, unique flower pots that you’ll be proud to display in your home or garden. Now that you know the ins and outs of making clay flower pots, it’s time to gather your materials and get started!
