Introduction to Painting Plastic Flower Pots
Revamping your garden can be creative and fun with a simple project like painting plastic flower pots. Often, these pots come in standard colors, lacking personality or flair. By adding a coat of paint, you can transform them into vibrant additions to your outdoor space. This DIY activity is not only budget-friendly but also an engaging way to involve family members, including kids, in garden decoration.
To start, understand that not all paints will adhere well to plastic surfaces. The key to a successful painting project is using paints designed for plastic material. Acrylic paints are commonly recommended because they come in a wide array of colors and are relatively easy to work with. When painting plastic flower pots for outdoors, choosing waterproof or outdoor-specific varieties ensures longevity and resistance to weather elements.
Preparing the pots is just as important as the painting itself. A clean and sanded surface allows the paint to bond better, reducing the likelihood of chipping or peeling. The process is straightforward—wash, sand, and paint. After the pot dries, it’s ready for your creative designs.
Whether you’re looking to add a pop of color or match your garden’s design theme, painted plastic flower pots offer a personalized touch. From geometric patterns to whimsical garden scenes, the creative possibilities are limitless. If speed is your priority, spray painting is an alternative method that can yield vibrant results in less time. However, using spray paints requires proper precautions, including a well-ventilated area and protective gear.
Ensuring your painted pots withstand the test of time involves applying a sealant for protection against sun and rain. With these steps, painting plastic flower pots for outdoors is a rewarding project that can enhance the beauty of your garden and give new life to ordinary pots.

Materials Needed for Painting Plastic Pots
Before diving into your painting project, gathering all necessary materials ensures a smooth and efficient process. Here is a list of essentials you’ll need to begin painting your plastic flower pots for an outdoor garden makeover:
- Plastic flower pots: Select pots that are clean and in good condition.
- Acrylic paints: Choose waterproof or outdoor-specific paints for durability.
- Sandpaper: Fine-grit sandpaper helps to roughen the pot’s surface.
- Paint brushes: Various sizes will accommodate different design needs.
- Painter’s tape: If you’re planning to create designs with sharp edges.
- Sealant: A waterproof sealant will protect your paint job from the elements.
- Drop cloth or newspaper: Protect your workspace from paint spills.
- Clear primer (optional): Helps the paint to adhere better to plastic surfaces.
- Paper towels or a clean rag: For cleaning up any mistakes or spills.
- Pencil: To sketch out designs before painting.
Choosing the right materials is crucial for ensuring your painted pots withstand outdoor conditions. Remember, investing in quality paints and a suitable sealant can make a significant difference in the longevity of your pots. Each material plays a role in the transformation of your garden’s aesthetic, turning ordinary plastic pots into personalized pieces of outdoor decor.
Preparing Your Plastic Pots for Painting
Before painting your plastic flower pots, proper preparation is crucial. This step ensures that your paint adheres well and lasts longer. Here’s how to effectively prepare your pots for a fresh coat of paint.
Cleaning the Pots
Start by cleaning the pots to remove any dirt, grime, or oils. Use warm, soapy water and a scrub brush to thoroughly clean both the inside and outside of the pots. Rinse them well and allow them to dry completely before proceeding to the next step.
Sanding the Surface
Sand the surface of your plastic pots with fine-grit sandpaper. This creates a rougher surface that helps the paint stick better. Sand evenly and gently to avoid creating deep scratches. Wipe the pots down with a damp cloth to remove any dust from sanding.
Applying a Primer (Optional)
For best results, apply a clear plastic primer to your pots. This step is optional but recommended if you want maximum paint adhesion and durability. Spray or brush the primer on and let it dry according to the product instructions.
By following these steps, your plastic flower pots will be well-prepared for a beautiful and lasting paint job. Next, we’ll dive into how to paint them using acrylics to achieve the best results.

Step-by-Step Guide to Painting with Acrylics
Transforming your garden’s plastic flower pots using acrylic paint is simple. Here’s a guide to do it step by step.
Decide on Your Design
Start by deciding the look for your pots. Sketch the design on paper first.
Clean the Pot
Wash the pot with soapy water. Rinse, then let it dry fully.
Sand the Pot
Gently sand the pot’s surface with fine-grit sandpaper. It helps paint stick better.
Apply Paint
Now, apply your choice of acrylic paint. Use even strokes for a smooth finish.
Let It Dry
Allow the first paint coat to dry. Check if it needs another coat.
Add Details
Using a fine brush or markers, add your sketched design to the pot.
Apply Sealant
Protect your art. Use a clear sealant over the paint and let it dry fully.
Acrylic paints are great for such projects because they’re easy to handle and come in many colors. Remember to pick waterproof paints if the pots will be outdoors. For extra protection, you could even apply a sealant after the paint has dried.
Creative Design Ideas for Your Painted Pots
Once your pots are prepped and primed, the real fun begins. It’s time to get artistic and infuse your garden with your personal style. Here are creative design ideas to inspire you:
Choose a Theme
Consider selecting a theme that complements your garden. It could be floral patterns, geometric shapes, or even a series of pots that each represent a season.
Go for Bold Colors
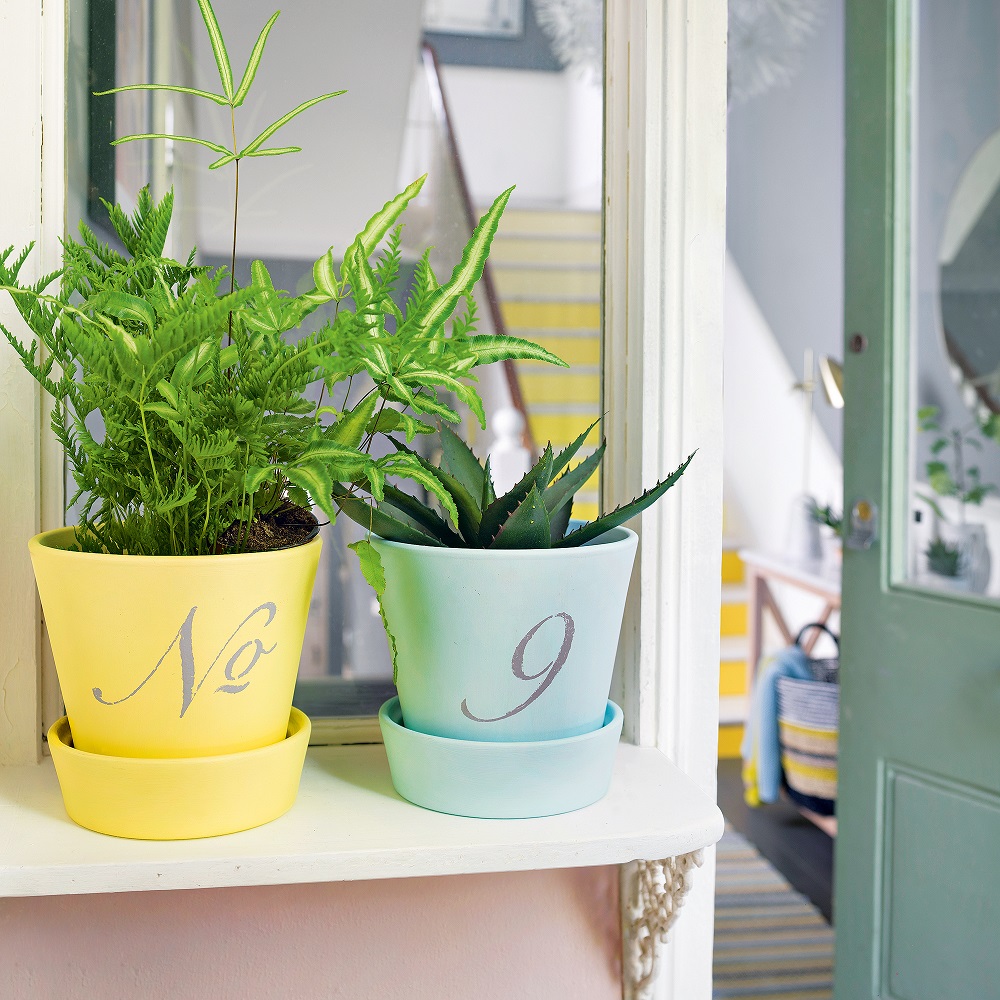
Don’t shy away from vibrant hues. Bright yellows, blues, and reds can add a cheerful pop of color to any garden space.
Use Stencils
If free-hand painting isn’t your thing, stencils are a great way to achieve sharp, professional-looking designs. They help create uniform patterns across multiple pots.
Try Sponge Painting
For a textured look, use a sponge to dab on paint. This technique gives a more natural and organic feel.
Personalize with Names
Paint your family members’ names on pots and let everyone choose a plant to care for. It’s a wonderful way to personalize your outdoor area.
Mix and Match Styles
Combine different painting techniques on the same pot for a unique, eclectic look. For example, the top half could be striped, while the bottom features polka dots.
Create a Mini Art Gallery
Turn your garden into an art display. Paint famous art pieces or original artwork on your pots. It’s sure to become a conversation starter.

Add Inspirational Quotes
Choose your favorite quotes or sayings and paint them onto pots. These can serve as daily reminders to uplift your spirits.
With these ideas, your painted plastic flower pots will stand out and give your outdoor space a fresh, personalized touch. Don’t forget to use waterproof or outdoor-specific acrylic paints to ensure your designs can withstand the elements. Once dried, apply a sealant to lock in the beauty of your work. Happy painting!
Spray Painting Plastic Pots: Fast and Vibrant Results
Spray painting offers a quick way to beautify plastic flower pots. This method provides vibrant and even color coverage in significantly less time compared to brush painting. Follow these straightforward steps to achieve the best results.
Choose Your Paint
Select spray paint that adheres well to plastic. Look for paints marked for outdoor or plastic use to ensure durability.
Prep the Pots
Always start with clean pots. Wash them thoroughly with soap and warm water. Next, sand lightly to scratch the plastic surface. This enhances the paint’s adhesion. Ensure the pots are dried completely before painting.
Set Up Your Painting Area
Create a well-ventilated painting area to protect yourself from fumes. Outdoor spaces work best. Use drop cloths or old newspapers to catch any overspray.
Apply the Paint
Shake the spray paint can well before use. Hold it about 6-8 inches from the pot’s surface. Apply paint in a sweeping motion. Coat the pot evenly, avoiding drips. It might require several light coats for full coverage. Allow each coat to dry before applying the next.
Let It Dry
Allow the final coat to dry thoroughly. This might take a few hours depending on the weather.
Apply a Sealant
For enhanced protection and a glossy finish, apply a clear sealant after the paint has dried. This step is crucial for outdoor pots exposed to elements.
By following these simple steps, you can quickly transform any plastic pot into a striking piece of garden art. Remember that spray paints work fast, so your decoration project can be completed in less time. Always work in a safe environment and take necessary precautions to ensure flawless results.
Protecting Your Painted Pots: Sealant and Care Tips
After painting your plastic flower pots, it’s important to protect them. The right sealant keeps colors bright and prevents peeling. Here’s how you can shield your colorful creations.
Choose the Right Sealant
For outdoor pots, pick a waterproof sealant. It will guard against rain and sun. Applying it is easy: just brush or spray it on your pot after the paint dries.
Properly Apply the Sealant
Evenly cover the painted area with the sealant. Do it in a well-ventilated space. Let it dry as the product label says. A second coat might be needed for the best shield.
Regular Pot Care
Regular checks help your pots last. Wipe them with a damp cloth to keep them clean. Avoid harsh cleaners that can damage the paint. If you spot chips or cracks, touch them up with paint, then seal again.
Handle with Care
When moving pots, be gentle to avoid scratches or dropping. In cold weather, move the pots indoors if you can. This prevents the paint from cracking in the freeze.
These tips will make sure your outdoor painted pots stay as fresh as the day you painted them. With care and the correct sealant, they’ll keep beautifying your garden for a long time.
Common Questions About Painting Plastic Flower Pots
When embarking on the project of painting plastic flower pots, you might have several questions. Here are some answers to the most common ones:
Can I use any paint on plastic flower pots?
No, not all paints work well on plastic. It’s best to use paints designed for plastic, such as acrylic or specific plastic paints.
How do I ensure the paint sticks to the plastic?
Preparation is key. Clean the pots thoroughly and sand them to create a rough surface. This helps the paint adhere better.
Do I need to use a primer?
Using a primer is optional but recommended. It can improve paint adhesion and increase the durability of your paint job.
How many coats of paint should I apply?
Generally, two to three coats will give you a solid finish. Make sure each layer dries fully before applying the next one.
What designs work best for decorating the pots?
Simple designs like stripes or polka dots are easy for beginners. Stencils can also help in creating more complex patterns.
Is it necessary to apply a sealant?
Yes, especially for outdoor pots. A waterproof sealant protects your paint from weather conditions and UV rays.
How long does it take to dry the paint?
This can vary depending on the paint and weather conditions but typically requires a few hours.
Can spray painting be a quicker alternative?
Yes, spray painting is faster and can provide even coverage. Ensure you do it in a well-ventilated area and apply a sealant afterwards.
These tips and answers should help you successfully paint your plastic flower pots, enhancing your outdoor or indoor garden space.
