Introduction to Stone Decoration for Flower Pots
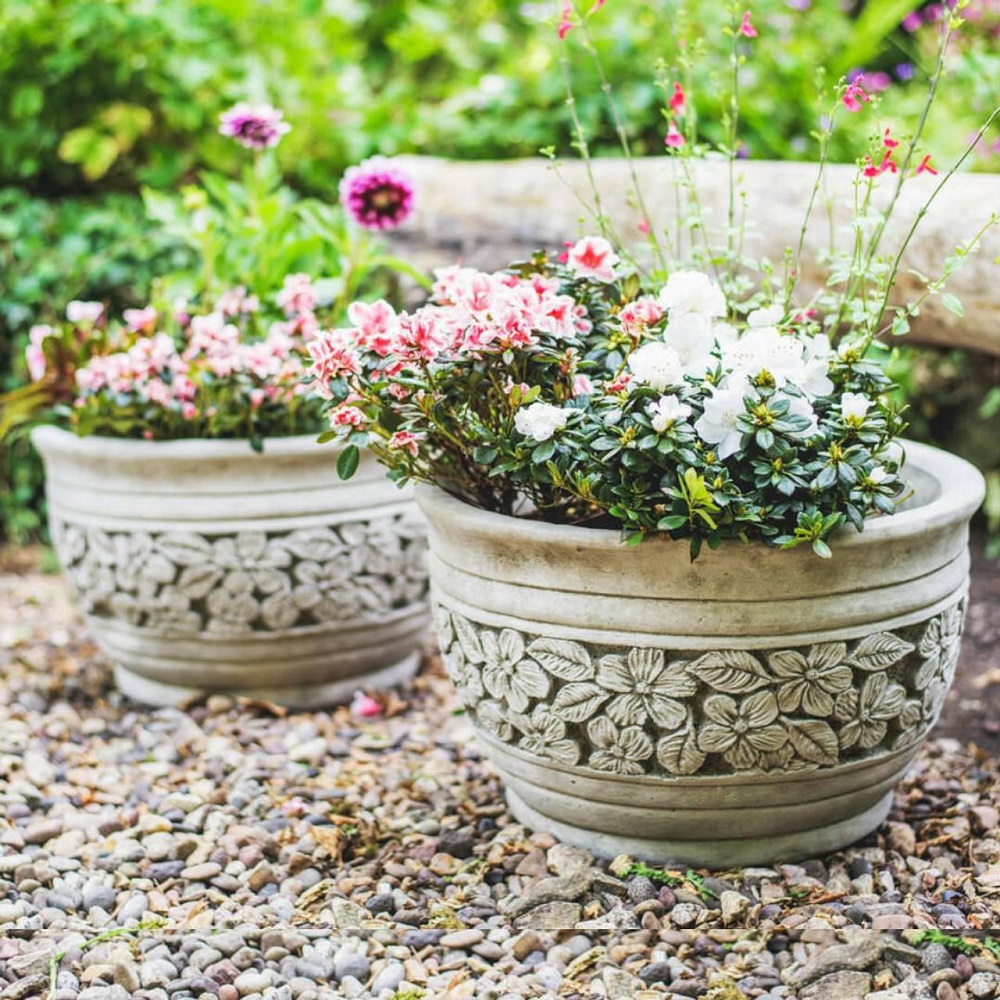
Decorating flower pots with stones adds a unique charm to any space. It’s a creative way to revamp your home or garden. Stone decoration not only enhances the aesthetic appeal but also provides a rustic, natural look to your pots. This method is versatile and can accommodate various design preferences, from minimalist to elaborate.
Choosing the Right Pots and Stones
When selecting pots and stones for decoration, consider the style and durability. Terracotta or ceramic pots are popular choices due to their porous nature which complements the stone texture. Choose stones that are size-appropriate and match the color tone you desire. Flat stones are easier to glue and create a seamless look. For a dramatic effect, contrasting colors can make the stones stand out against the pot.
Preparing Your Flower Pots
Before starting the stone decoration, proper preparation of your flower pots is crucial for a lasting finish. Clean and prime your pots to ensure the stones and paint adhere well.
Cleaning and Priming for Stone Application
First, clean each pot carefully to remove dirt, grime, or old paint. Use soapy water and scrub gently. Rinse and let the pots dry completely. Dryness is key for the next steps.
Then, select a primer suitable for your pot’s material. For terracotta or ceramic pots, a spray primer works well. It creates an even base. Apply one coat of primer and let it dry as directed on the product label.
The right preparation makes the following decoration steps more effective. Now your pots are ready for stone textures and creativity to take over.

Selecting Your Stone Texture Style
When personalizing your flower pots with stone effects, choosing the right texture style is crucial. This foundational decision will guide your material choices and application techniques. You can opt for a natural or a more stylized stone appearance, depending on your decor style.
Exploring Different Stone Paints and Techniques
Different stone paints and techniques offer varied textures and finishes. For a simple, cost-effective solution, stone-textured spray paint, like Rust-Oleum, provides an immediate textured effect, ideal for both beginners and experienced crafters. For a more hands-on approach, using a mixture of plaster or textured paint can achieve more authentic stone effects. Apply the base coat using a thick brush to introduce texture, and use sponges for more intricate stonework patterns.
Adding Real Stones for a Natural Look
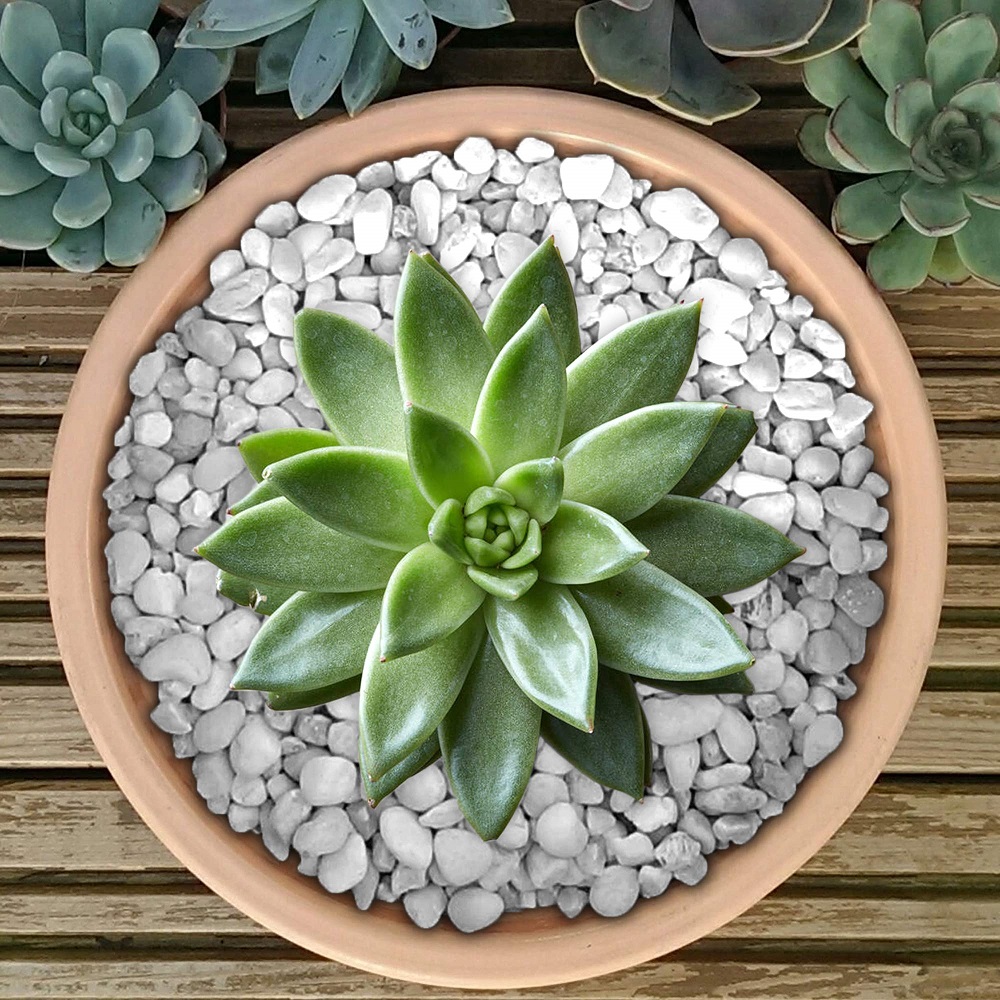
For those who prefer authenticity, affixing real stones to your pots can create a stunning natural look. Select stones based on size and color to fit your pot and overall design. Using a strong adhesive, arrange the stones closely to avoid gaps, and create patterns or random designs as you wish. This method requires more time but results in a highly custom, durable stonework that truly enhances your space.
Step-by-Step Guide to Creating Stone Effects
To personalize your flower pots with stone effects, follow this simple guide. Start by gathering your materials and preparing your workspace. Then, dive into the step-by-step process that ensures your pots gain that natural stone charm.
Applying Base Coats and Texturizers
Begin with the base coat. Use stone-textured spray paint like Rust-Oleum for an easy start. Spray evenly and let it dry overnight. Alternatively, mix plaster with paint for a hands-on approach. Spread this mixture over the pot with a thick brush. Aim for an uneven coat to mimic natural stone textures.
Techniques for Layering and Color Variation
For depth, layer different shades. Darker tones form shadows, while lighter ones create highlights. Apply the darker plaster mix to pot grooves. As it dries, lightly brush lighter tones onto raised areas. Use sponges for more detailed patterns. Keep alternating between shades while adding texture. Let each layer dry before adding the next. The goal is to replicate the multi-tonal look of real stones while decorating your flower pots with stone effects.
Adding Finishing Touches for Authenticity
Once your pots have their stone textures, it’s time to add some final touches to enhance their authenticity. These elements not only increase the visual appeal but also add a touch of nature.
Incorporating Elements like Moss or Lichen
Adding small patches of moss or lichen gives your pots a naturally aged look. Start by selecting either preserved moss or fresh lichen, depending on availability and preference. Apply small amounts to areas that would typically accumulate growth in nature, such as around rims and in crevices. Use a strong adhesive or a moss paste to attach these elements securely. This step adds a beautiful, earthy touch and deepens the natural stone effect.
Fine-Tuning with Sanding and Sealing
After all decorative elements are securely in place, consider fine-tuning your pot’s texture through sanding. Use fine-grit sandpaper to gently sand down rough edges or too-thick plaster areas. This process helps smooth out any uneven surfaces and enhances the stone-like feel.
Sealing your pots is crucial, especially if they will be used outdoors. Apply a clear sealant that is appropriate for the materials you used. This sealant will protect the paint, plaster, and added elements from weather conditions and wear. Allow everything to dry completely according to the sealant instructions before using the pots or placing them on display.
These steps ensure that your DIY stone-decorated pots not only look authentic but are also durable and ready for any environment.

Styling Your Stone-Decorated Pots in Your Home
Once you’ve completed the crafting process, it’s time to incorporate your stone-decorated pots into your home decor. These uniquely textured containers can add depth and a natural touch to any room. With the right styling, they can be a focal point or a complementary element.
Indoor Decor Tips with Stone Textured Pots
When it comes to indoor decor, stone textured pots can fit into any style. Here are some tips to make the most of them:
- Place them on window sills. They catch light and create shadow effects.
- Use them as centerpieces. Fill them with bright flowers or green plants.
- Mix with other textures. Combine with smooth ceramics or metal accents.
- Group small pots. Display them together for a bigger impact.
Remember, these pots are best for indoor use as their materials may not withstand harsh outdoor conditions.
Considering Outdoor Use: Weatherproofing Tips
If you want to use your stone-decorated pots outdoors, you need to protect them.
- Apply a waterproof sealant. This shields the materials from rain and moisture.
- Choose outdoor-suited plants. Some plants can handle the weather better than others.
- Place under cover. Avoid direct rain by placing the pots on a porch or under a canopy.
- Regular maintenance. Check for wear and reapply sealant as needed.
By taking these precautions, your stone-decorated pots can brighten up your outdoor space as well.
DIY Stone Pot Decoration Variations and Ideas
When enhancing pots with stone effects, the options are endless. Experiment to reflect your personal style.
Combining Textures and Materials
Mixing different textures and materials can elevate your stone pot designs. Here’s how:
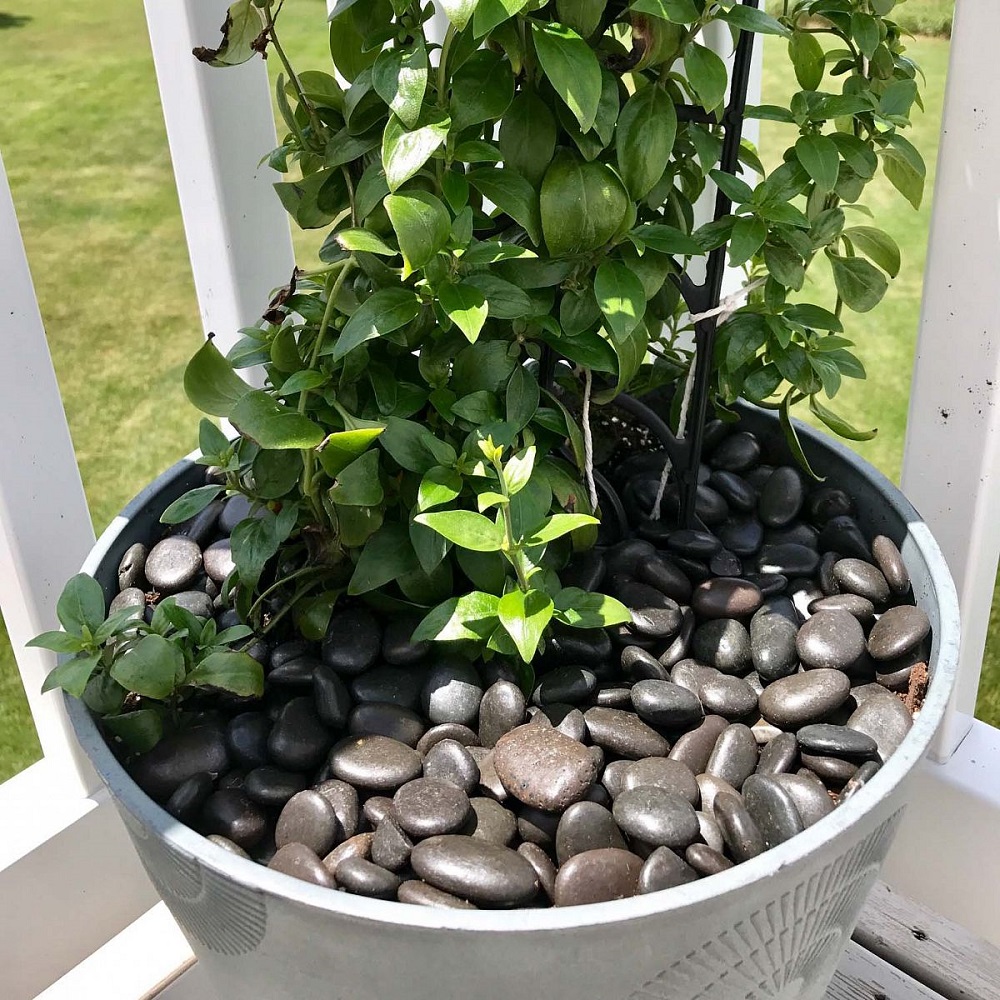
- Pair smooth stones with rough, natural ones for contrast.
- Alternate between shiny and matte finishes.
- Add touches of metallic paint for a modern twist.
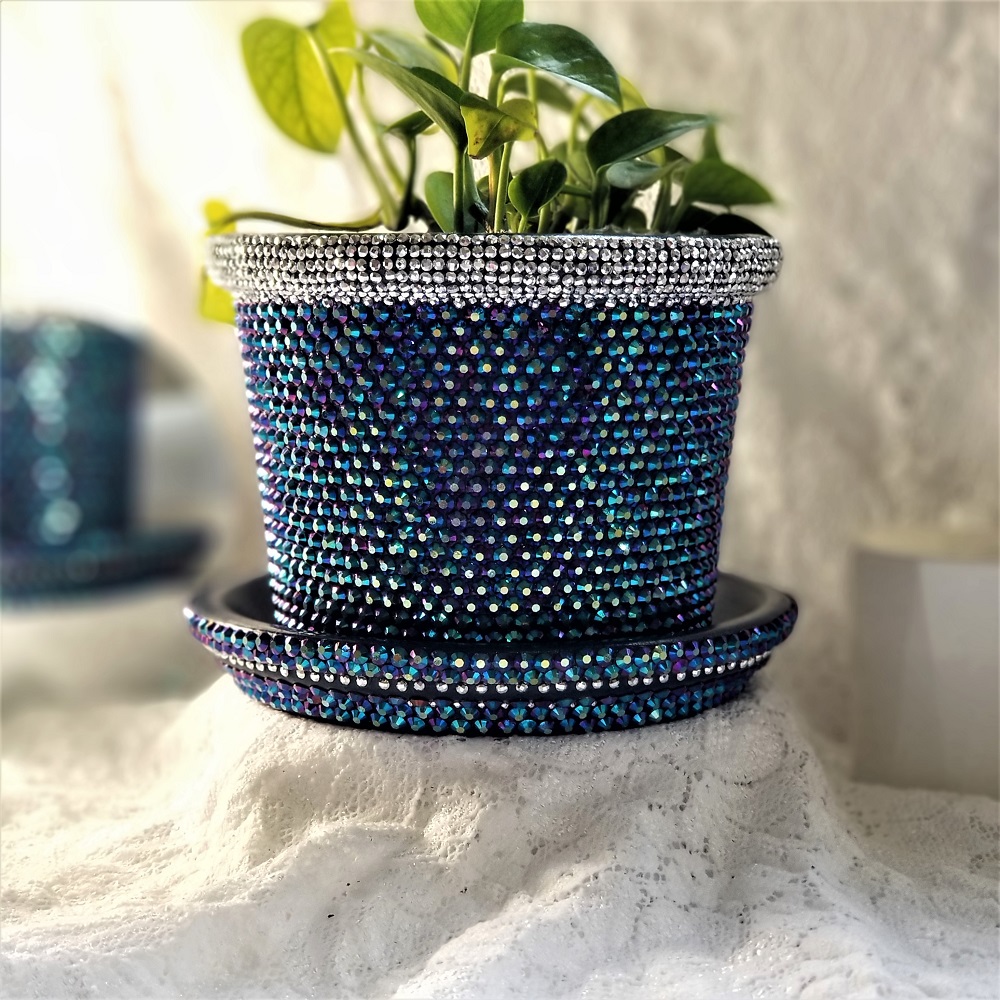
- Integrate glass beads or tiles for extra sparkle.
Each combination creates a unique look. Don’t be afraid to try new mixes that catch your eye.
Thematic Designs for Seasonal Decor
Decorating pots with themes can mark the seasons or holidays. Here are quick ideas:
- For spring, paint with fresh greens and pastels.
- In summer, add bright colors and beach elements like shells.
- Fall calls for warm, earthy tones and dried leaves.
- Wintertime? Think silver, blue, and white with a dusting of fake snow.
Seasonal themes keep your decor lively and up to date. Change as the seasons do for a fresh vibe.

Conclusion
With our step-by-step guide to decorating flower pots with stones, you’re well-equipped to transform your space. Whether you’ve chosen to go with stone paints, actual stones, or a mix of both, the result is sure to be stunning and unique to your taste.
Encouraging Personal Creativity and Final Thoughts
We encourage you to unleash your creativity when applying stone effects to flower pots. Try different textures, materials, and designs to find what works best for you. Remember, there’s no right or wrong in art and craft; it’s all about personal preference and having fun with the process. By integrating stone-decorated pots into both your indoor and outdoor spaces, you’ll add a touch of nature and uniqueness. And remember, these pots make great gifts, too. They’re a perfect way to show your loved ones how much you care, with a personalized homemade touch. So grab your supplies, and let your imagination run free. Happy crafting!
