Choosing the Right Materials for Plastic Pot Painting
To begin giving those plastic flower pots a new lease on life, you’ll need the right materials. The success of your painting project hinges on this initial step, as using inappropriate paints or tools can lead to disappointing results that may peel, crack, or fade prematurely.
The Essentials for Acrylic Pot Painting
For acrylic pot painting, stock up on:
- Plastic flower pots, preferably clean and free from damage.
- Acrylic paints, chosen for their adhesion to plastic surfaces.
- Painting brushes in various sizes for different detail work.
- Water for diluting paint and cleaning brushes.
- Paper towels or rags for likely spills and splatters.
Getting your hands on these basics sets the stage for a creative and fun painting experience.
Selecting Acrylic Paints and Sealants
When selecting acrylic paints for your pots, focus on options labeled ‘for outdoor use’ or ‘weather resistant’ if the pots will live outside. These paints withstand the elements better than regular acrylics.
A sealant is a key player in this process. After painting, a good sealant protects your art from sun damage and rain. Look for a “clear acrylic sealant” at your local craft store, and ensure it’s suitable for outdoor use if necessary. Some sealants offer UV protection, which is a bonus for color preservation.
Remember to respect the environment and choose products that are non-toxic and eco-friendly when possible. Whether you’re painting for an indoor herb garden or to brighten up your patio, the right paints and sealants can make a world of difference in the outcome of your project.
Preparing Plastic Pots for Painting
Before diving into the fun of painting, preparing your plastic pots correctly is vital for ensuring that your paint adheres well and lasts long.
Cleaning Process for Optimal Paint Adhesion
Clean pots are crucial for successful painting. Dirt and grime can prevent paint from sticking properly. Here’s how to do it:
- Start by removing any stickers or labels from the pot.
- Use soapy water to thoroughly wash each pot. A scrub brush can help remove stubborn dirt.
- Rinse the pots well to make sure no soap residue remains.
- Dry the pots completely with a clean cloth or let them air dry.
By cleaning your pots thoroughly, you create a perfect canvas for your creative designs.
Sanding Techniques for a Better Paint Grip
Sanding your pots can enhance paint adhesion by creating a rougher surface for the paint to cling to. Follow these steps:
- Choose a fine-grit sandpaper so as to not overly scratch the plastic.
- Gently sand the exterior of the pot in a circular motion.
- Focus on smoothing out rough edges and removing any glossy finish.
- After sanding, clean the pot again to remove any dust particles, ensuring it’s completely dry before you start painting.
This preparation ensures that your paint job will look great and stand up to the elements, whether inside or outside.
Step-by-Step Painting Guide
To kickstart your plastic pot painting, follow this easy guide.
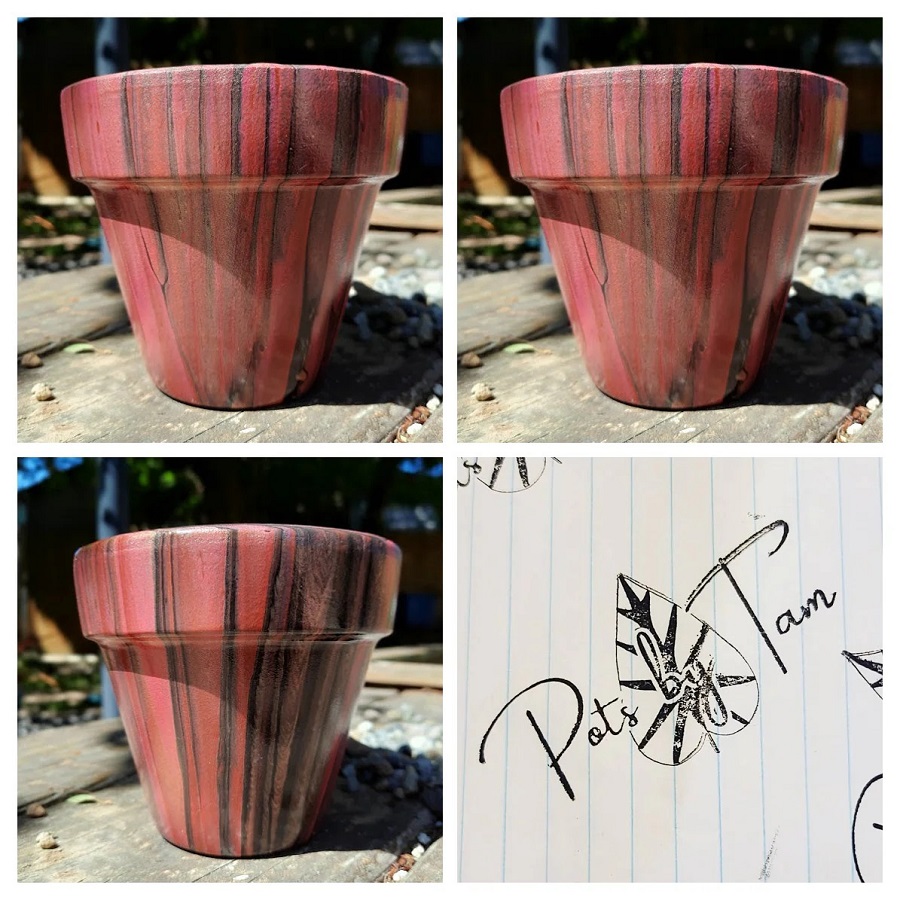
Design Selection and Sketching Ideas
First, choose a design for your pots. Think about colors that match your garden. Sketch your ideas on paper to see how they look. If you’re with kids, let them draw too. They love being part of garden projects.
Choose simple patterns if you’re a beginner. Try stripes, polka dots, or even basic shapes. For those more skilled, try detailed floral or geometric designs. Whatever you pick, make sure it fits your garden’s theme.
Step-by-Step Application of Acrylic Paint
Have your clean and sanded pots ready. Apply a base coat if needed; it helps colors pop. Let it dry completely.
Next, start painting your design with acrylic paint. Work from the top down to avoid smudges. If you make a mistake, don’t worry. Let it dry and paint over it.
Take your time. Apply thin layers and let each layer dry well. This stops paint peeling later on.
Adding Final Touches and Detailing
Now for the fun part – details. Use a fine brush or marker pens for adding small details or lines. This adds charm to your pots.
Once done with painting, step back. Look for spots that need more color or another layer. Make sure everything’s even and clear.
Remember, acrylics dry fast. So work quickly but carefully to blend and smooth.
After detailing, let your pots dry for a full day. This ensures the paint sets well. Then, they’re ready for plants and display either indoors or outdoors.
Protecting Your Painted Pots
Once you’ve painted your plastic flower pots, it’s crucial to protect them. This ensures the paint lasts through weather and wear. Here’s how you can safeguard your artwork.
Sealant Application for Longevity
After the paint on your pots has dried, apply a clear acrylic sealant. This acts as a protective coat. It prevents the paint from peeling, fading, or getting scratched. Choose a sealant suitable for outdoor conditions if your pots will be exposed to the elements. Apply the sealant evenly, covering all painted areas. Ensure you work in a well-ventilated area while applying the sealant, as it may release fumes.
Tips for UV Protection and Weatherproofing
To help your pots withstand sunlight and weather conditions, use a UV-resistant sealant. This will help keep the colors vibrant longer, even under direct sunlight. If the pots will be outdoors, consider placing them in semi-shaded areas. This minimizes prolonged sun exposure. In rainy or snowy conditions, move the pots indoors or to covered areas. This prevents water from eroding the protective sealant and the paint beneath. Regularly check your pots for any chips or wear, and reapply sealant as needed to maintain their appearance and durability.
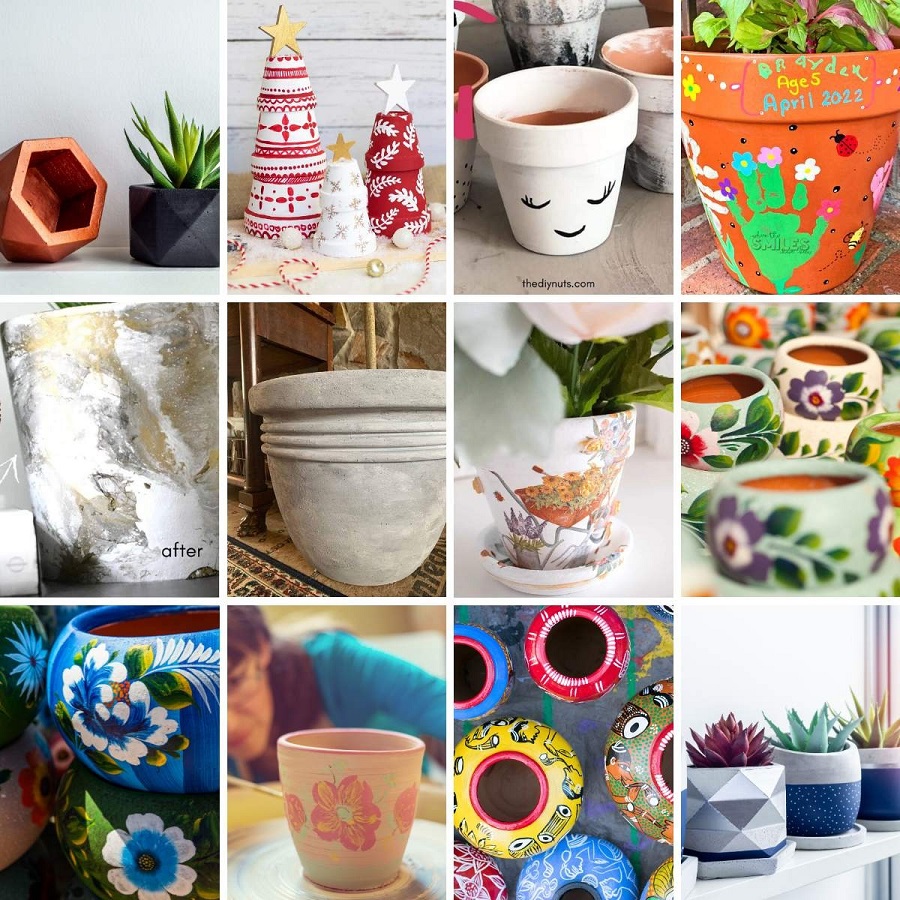
Creative Design Ideas for Painted Plastic Pots
Transforming your garden can be as simple as adding a dash of color to your plant holders. Use acrylic paints to bring a burst of creativity to plastic flower pots. Here’s how to get started with your designs.
Inspiration for Themes and Patterns
Thinking of themes sparks great ideas for pot painting. Nature patterns, geometric shapes, or abstract art offer great starting points. Consider what catches your eye in a garden. Perhaps it’s the flight of butterflies or the precision of a honeycomb. Take these inspirations and sketch out simple designs. Stripes, polka dots, and waves are easy for beginners. More advanced painters might try leaves, sunsets, or even animal prints. Match your garden’s vibe with colors and patterns that complement it.
Choosing a theme also means your pots will have a unified look. Whether you’re aiming for a serene, green space or a playful, color-filled corner, your painted pots can reinforce that theme.
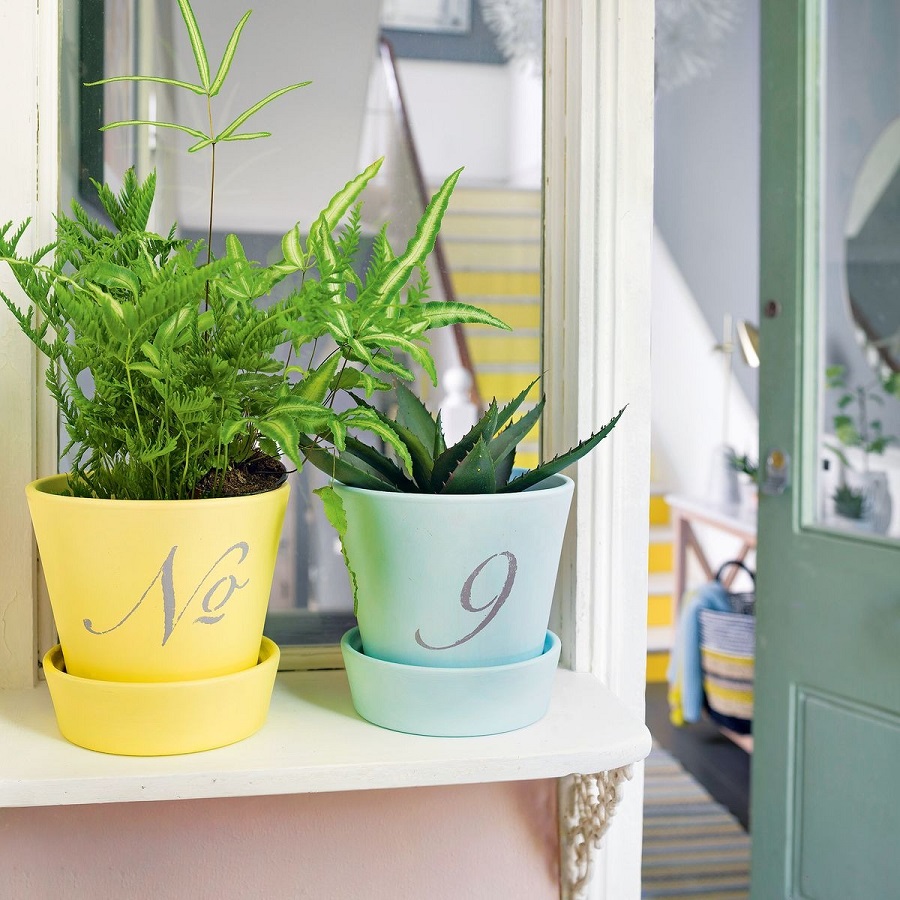
Incorporating Personal Style into Pot Designs
Your garden is yours, so let it show off your style. Personalizing pots can mean painting your favorite colors, or it might involve etching your initials into the design. Kids can add handprints or their drawings, making the garden more personal.
Consider the plants that will live in these pots. Succulents? Cacti? Bright flowers? Select designs that echo the plants’ shapes or hues. A spiky design could mirror the look of a cactus, while a fluid watercolor effect might suit a flowering plant.
Don’t be afraid to experiment. Personal style is all about what feels right to you, so try out an idea on one pot and see how it looks. Painting plastic flower pots with acrylic is all about individual expression, turning the ordinary into the extraordinary.
Safety Precautions for Plastic Pot Painting
When painting plastic flower pots with acrylic, safety is essential. Exposure to fumes can be harmful, so take precautions to stay safe.
Ventilation and Safety Gear When Spray Painting
For spray painting, work in a well-ventilated area, like outdoors or in a space with open windows. Wear a mask to avoid inhaling fumes. Use gloves to protect your skin from paint and solvents.
- Paint outdoors if possible for the best ventilation.
- If indoors, open windows and use fans to keep air moving.
- Always wear a mask designed to filter out paint particles.
- Put on gloves to prevent paint from getting on your skin.
Environmental Considerations and Clean-up
Painting may impact the environment. Use eco-friendly paints and dispose of materials properly.
- Choose acrylic paints with low or no volatile organic compounds (VOCs).
- Clean brushes in a sink, not outside where paint can go into the ground.
- Dispose of empty paint containers according to local regulations.
- Avoid letting paint enter water systems.
By taking these steps, you can enjoy painting your pots while staying safe and eco-friendly.
Alternatives to Painting: Other Revamp Ideas for Plastic Pots
When you’re looking to renew plastic flower pots, painting isn’t your only option. There are other creative ways to give those pots a fresh look without using acrylic paints. Explore these alternatives to add personality and style to your garden space.
Using Stickers, Decals, and Other Non-Paint Options
You can quickly transform a pot’s look with stickers or decals. These come in many designs, like flowers, animals, or geometric patterns. Just choose your favorite, stick it on a clean pot, and you’re done. They’re easy to swap out, too, when you want a change.
For more texture, try wrapping pots with twine or fabric. Burlap gives a rustic touch, while colorful yarn adds fun patterns. Fabric glue can help these materials stay in place. Foil or colorful tapes are another fast way to add shiny lines or borders.
Upcycling and Eco-Friendly Decoration Techniques
Upcycling is about reusing materials to decorate your pots. Old clothes, textbooks, or even broken CDs can become new pot decorations. Cut fabric or paper to fit your pots and use an eco-friendly glue to attach it.
Making mosaics from broken dishes or tiles gives pots a colorful, long-lasting facelift. You can glue pieces on one at a time for a unique pattern. With eco-friendly projects, you not only beautify your garden but also help the environment.
For a nature-inspired look, try attaching pine cones, shells, or pebbles to the pots. These natural elements blend well with the garden setting and need no paint.
All these ideas can make your plastic pots stand out. They’re fun, easy, and let you express your style while being kind to the planet.