Introduction to Flower Pot Drawings
Welcome to the colorful world of flower pots drawing! Getting started with this art form is both exciting and rewarding. Flower pots, with their varied shapes and sizes, offer endless artistic possibilities. Not only do they serve as a fantastic subject for honing your drawing skills, but they also allow you to experiment with color and design.
As you embark on this creative journey, you’ll discover how to capture the essence of flower pots in your artwork. You’ll learn to observe differently, focusing on the unique contours and features that define each pot. This guide will take you through the basics and beyond, from choosing the right art supplies to mastering the techniques that bring your drawings to life. Whether you’re a beginner or an experienced artist, there’s something in flower pots drawing for everyone. So grab your pencils and let’s delve into the art of creating beautiful, blooming masterpieces!
Essential Art Supplies for Flower Pot Drawing
To create striking flower pots drawings, having the right art supplies is crucial. This section covers the essentials you’ll need to begin your artistic journey.
Choosing the Right Paper
The foundation of any great drawing starts with selecting the appropriate paper. Paper quality can vastly affect the outcome of your work. For flower pots drawing, use a smooth-textured paper that’s heavyweight. This will allow for refined detail and prevent bleeding if you choose to incorporate ink or markers. If you plan on using watercolors, opt for watercolor paper which can handle moisture without warping.
Selecting Appropriate Drawing Tools
Once you have your paper, you’ll need tools that can bring your vision to life. Pencils are a staple; start with a range of graphite pencils from hard (H grades) to soft (B grades) for versatile line work. For fine lines and sharp edges, mechanical pencils can be a good choice. An eraser that can precisely remove graphite without damaging the paper is also necessary.
For those who wish to add vibrancy and color, a set of quality colored pencils, markers, or watercolors will be essential. Colored pencils allow for precision and layering, while markers can provide boldness and strong color saturation. Watercolor, on the other hand, can give a soft and translucent effect, perfect for capturing delicate flowers and nuanced terracotta textures. Lastly, don’t overlook a good sharpener and a blending stump to soften lines and gradients; these tools complete your basic flower pots drawing kit. Start with these supplies and you’ll be well on your way to creating beautiful drawings.
Techniques for Drawing Flower Pots
Drawing flower pots requires mastering a few key techniques. These will help you create realistic and attractive drawings. By following these tips, you can bring elegance and authenticity to your flower pots drawing.
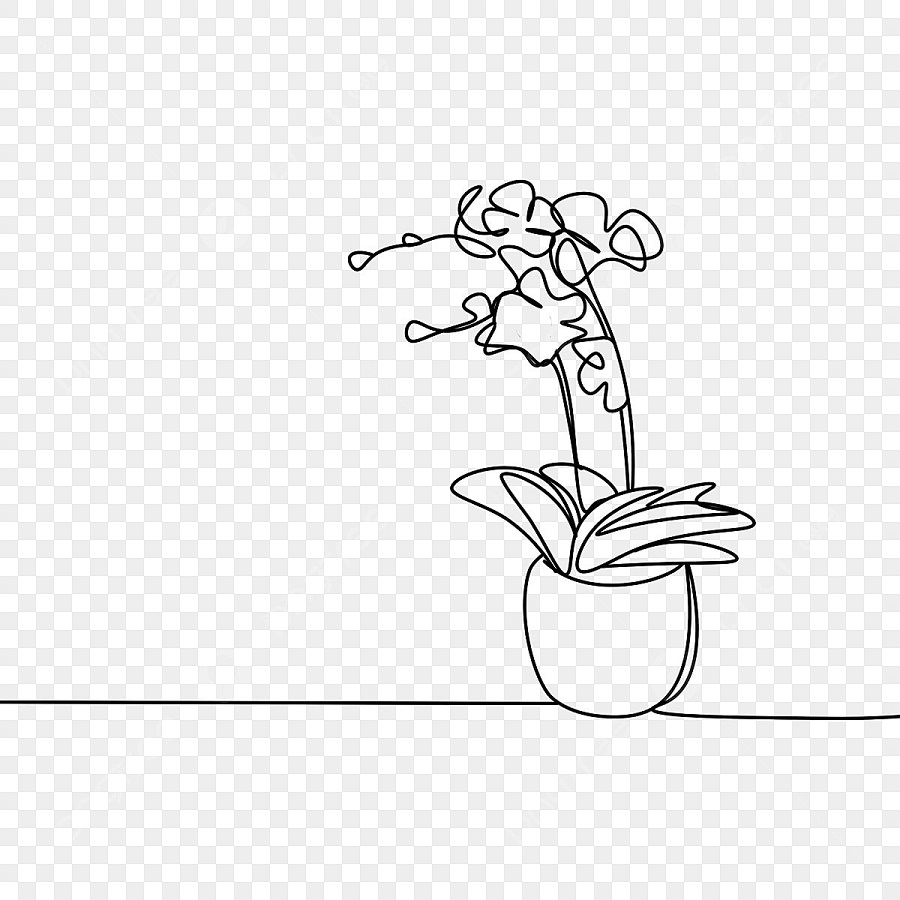
Drawing Basic Pot Shapes
Start with simple shapes to form the base of your pot. Circles and ovals for the opening, and straight or slightly curved lines for the sides, will help you sketch the outline. Remember, the bottom of the pot is often smaller than the top. Use light strokes with your pencil to make adjustments easy.
For different pot styles, combine basic shapes. A cylinder can represent a tall pot, and a sphere, when cut in half and flattened, can suggest a rounded, bowl-like container. Watch the proportions to keep the drawing balanced.
Adding Texture and Details
Once the basic shape is in place, adding texture and details will make your pot come to life. Lines and dots can mimic the roughness of terracotta or the smoothness of ceramic. Study different materials to understand their surface qualities.
For a woven basket pot, draw crisscross patterns. For a rustic look, use uneven lines to show wear and tear. To suggest shine on glazed pots, leave areas of white to act as highlights. These small touches can dramatically improve the realism of your flower pots drawing.
Keep practicing these techniques and observe how different pots look in real life. With time, your hand will get used to capturing various textures and pot designs, enhancing your drawings with every attempt.
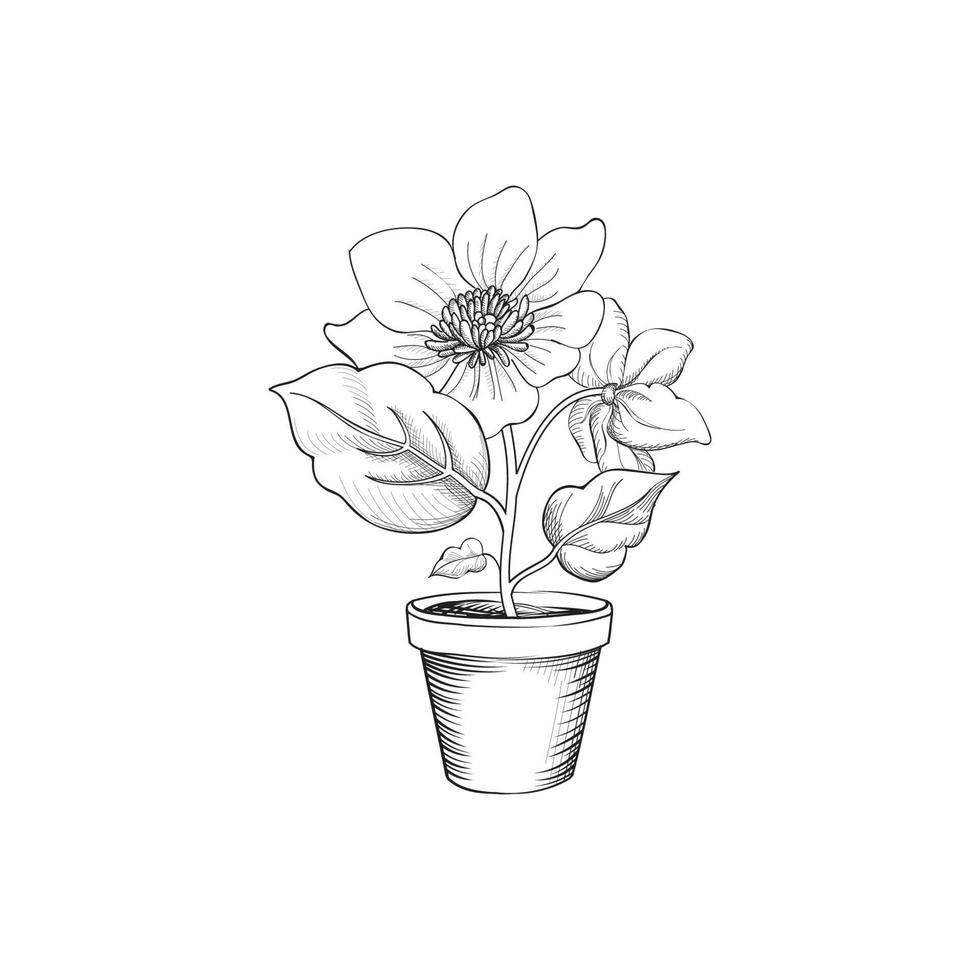
Incorporating Flowers into Your Pot Drawings
Now that you have a solid foundation with your flower pots drawing, it’s time to add the crowning glory: flowers. Flowers bring life, color, and vibrancy to your drawings, transforming a simple pot into a captivating piece of art. Knowing how to effectively incorporate florals will elevate your artwork and bring a touch of nature’s beauty onto your canvas.
Selecting Flower Types
Choose the right flowers to match the feel of your pot drawing. Consider the shape, size, and style of your pot. Opt for bold, large blooms to fill a spacious pot or dainty blossoms for a smaller or more delicate container.
Variety adds interest; mix different flowers to create a dynamic drawing. Think about how roses offer elegance, daisies bring a sense of cheer, and tulips provide sleek lines. The right combination can turn a drawing into a cohesive composition reflective of your artistic vision.
Techniques for Drawing Flowers
Crafting realistic flowers begins with observation. Notice the petals’ shape, the angle of the stems, and how leaves are positioned. Start with a gentle sketch, using soft lines to outline the basic form of each flower.
Layering is crucial—begin with lighter shades for the first layers. Use circular motions for rounded petals and short strokes to mimic the fine lines on leaves and stems. Build up color gradually, adding darker tones for depth and detail.
Remember to consider the light source. Highlights can make your flowers pop while shadows create a sense of depth. Practice blending techniques to achieve smooth transitions between colors and shades in your flower pots drawing.
By mastering these steps and paying attention to the subtleties in each type of flower, your drawings will become more lively and convincing. Keep refining your skills, and watch your flower pots drawings bloom right before your eyes!
Creating Depth and Perspective
In flower pots drawing, depth and perspective bring your art to life. These elements add realism. Here’s how to achieve them:
Understanding Perspective in Drawings
Perspective is how we see objects in three dimensions on a flat surface. For flower pots, use one or two-point perspective. One-point gives a straight-on view, while two-point offers an angled perspective. Align your pot’s edges to the points. This creates depth.
Techniques for Creating Depth
Shading is key to depth. Darker shades suggest shadows and recesses, while lighter tones appear closer. Overlap elements in your flower pots drawing. This trick shows which parts are in front. Play with size too; bigger objects look closer. Apply these tips, and your drawings will seem more three-dimensional.
Tips for Color Selection and Blending
Selecting the right colors and blending them well is crucial for flower pots drawing. Here are some effective tips to enhance your artwork with color.
Choosing the Right Colors
Select colors that complement the mood and style of your flower pots drawing. For a natural look, use earthy tones like browns, greens, and ochres. Vibrant colors like red, blue, and yellow can make your drawing lively. Consider the color wheel to find complementary colors that enhance each other.
Blending Techniques for a Smooth Finish
Blending colors smoothly can give your drawing a realistic and appealing look. Use a blending stump or a dry brush to soften the transitions between colors. For watercolors, experiment with wet-on-wet techniques to allow colors to flow into each other. Colored pencils can be blended using layering; start with light pressure and gradually increase to blend the colors together.
By mastering color selection and blending, your flower pots drawings will become more vibrant and lifelike. Keep practicing these tips, and explore different combinations to discover what works best for your artistic style.
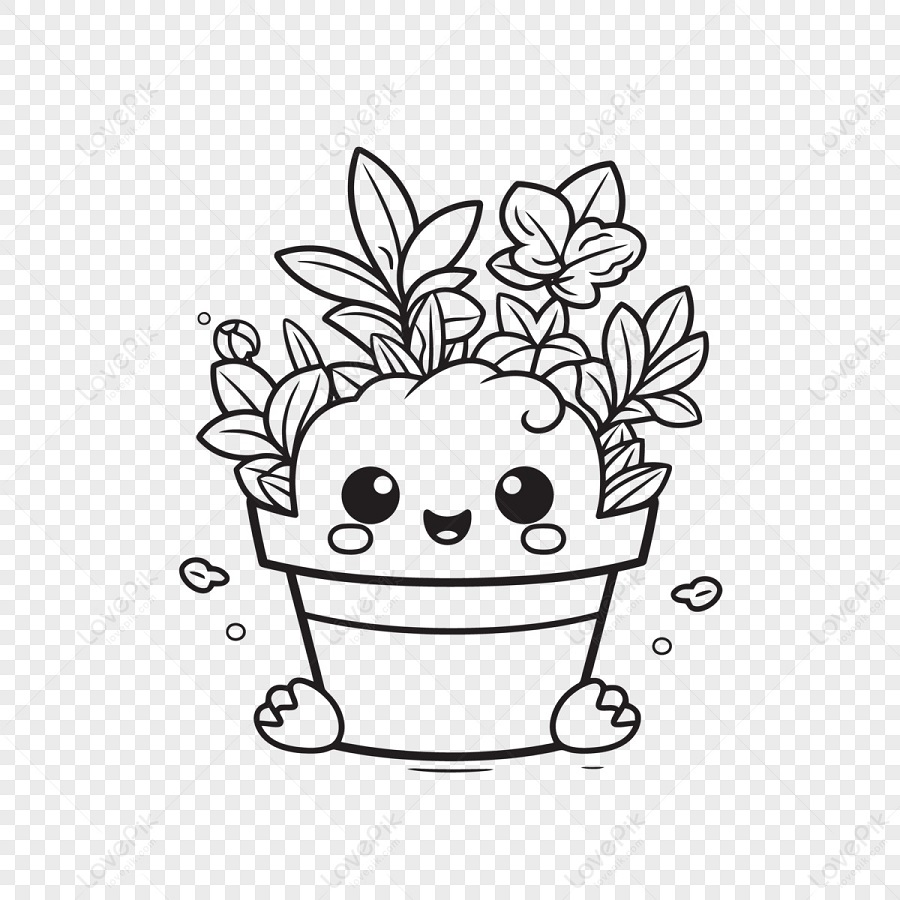
Inspirational Examples and Ideas
Drawing flower pots gives artists a chance to be creative and unique. Here are some inspirational examples and ideas to get you started:
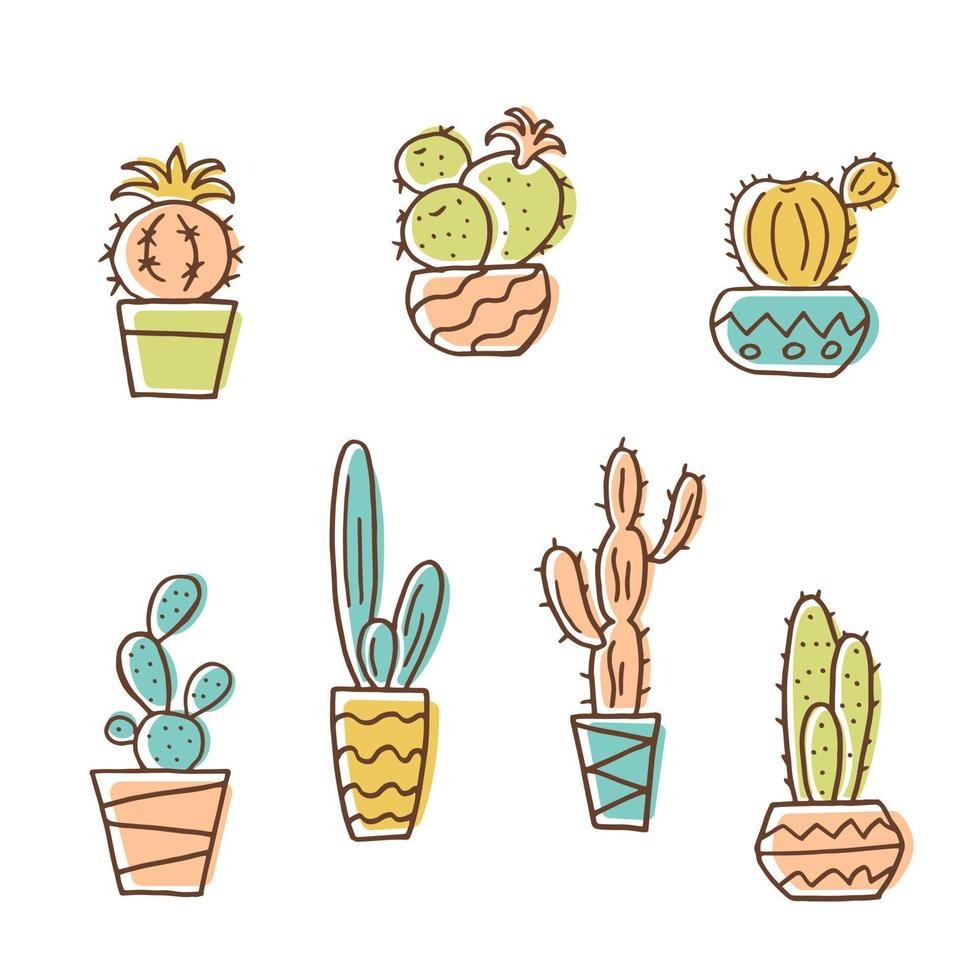
Explore Various Pot Styles
From classic terracotta to modern ceramic designs, variety makes your flower pots drawing rich and interesting. Try sketching different textures—smooth, rough, or ridged. Each style can bring a new dimension to your artwork.
Use Vibrant Backgrounds
A colorful background can make your flower pots stand out. Experiment with bold shades like turquoise or soft pastels to create contrast. This technique helps your pot and flowers pop from the canvas.
Mix Elements from Nature
Incorporate elements like rocks, wood, and leaves to complement the flower pot. These natural details add realism and enhance the visual appeal of your drawing.
Add Artistic Flair with Patterns
Geometric patterns or ethnic motifs on your pot designs can make them eye-catching. Drawing these patterns requires precision but the results are usually striking. Show off your attention to detail with finely drawn, complex patterns.
By trying out these ideas, your drawings will not only reflect skill but also creativity and a deep appreciation of beauty. Keep experimenting with different styles and techniques to find what best expresses your artistic vision.