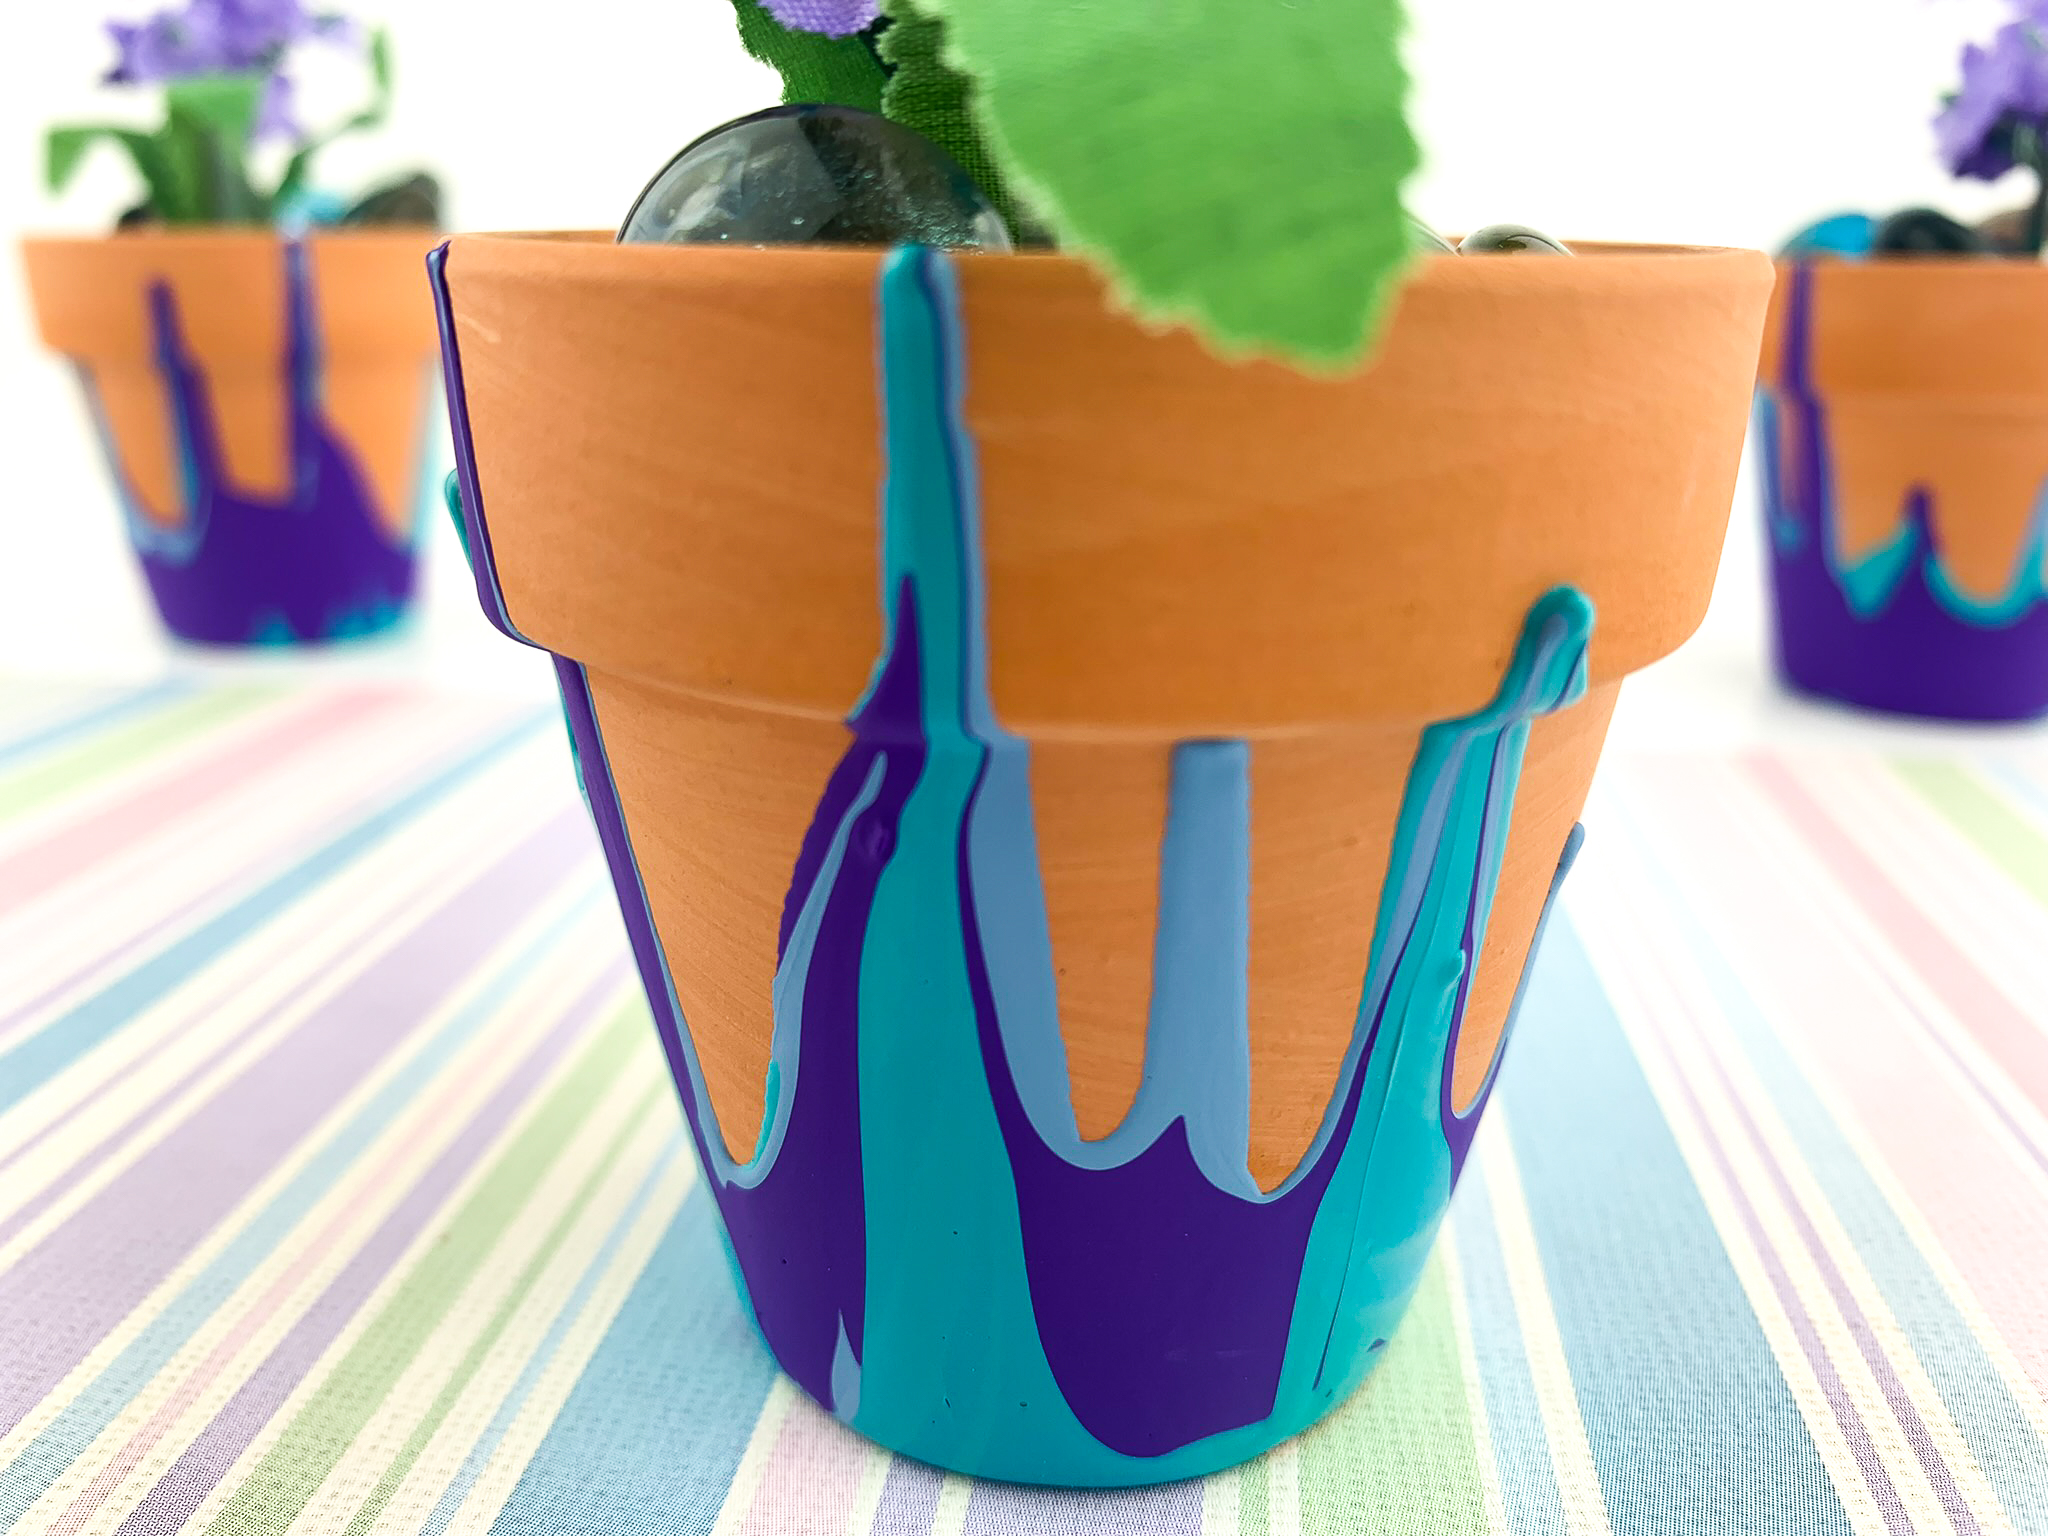
Painting Plastic Flower Pots: Tips and Techniques for Adding Color to Your Garden
Gardens are a place of beauty and tranquility, and one way to enhance their appeal is by adding color to your flower pots. While plastic flower pots are affordable and easy to find, they often lack the aesthetic appeal of other materials. Fortunately, you can easily transform plain plastic pots into vibrant and eye-catching pieces with a little paint and creativity. In this article, we will explore various tips and techniques for painting plastic flower pots, helping you create a stunning garden display that reflects your personal style and taste.
Choosing the Right Paint and Supplies
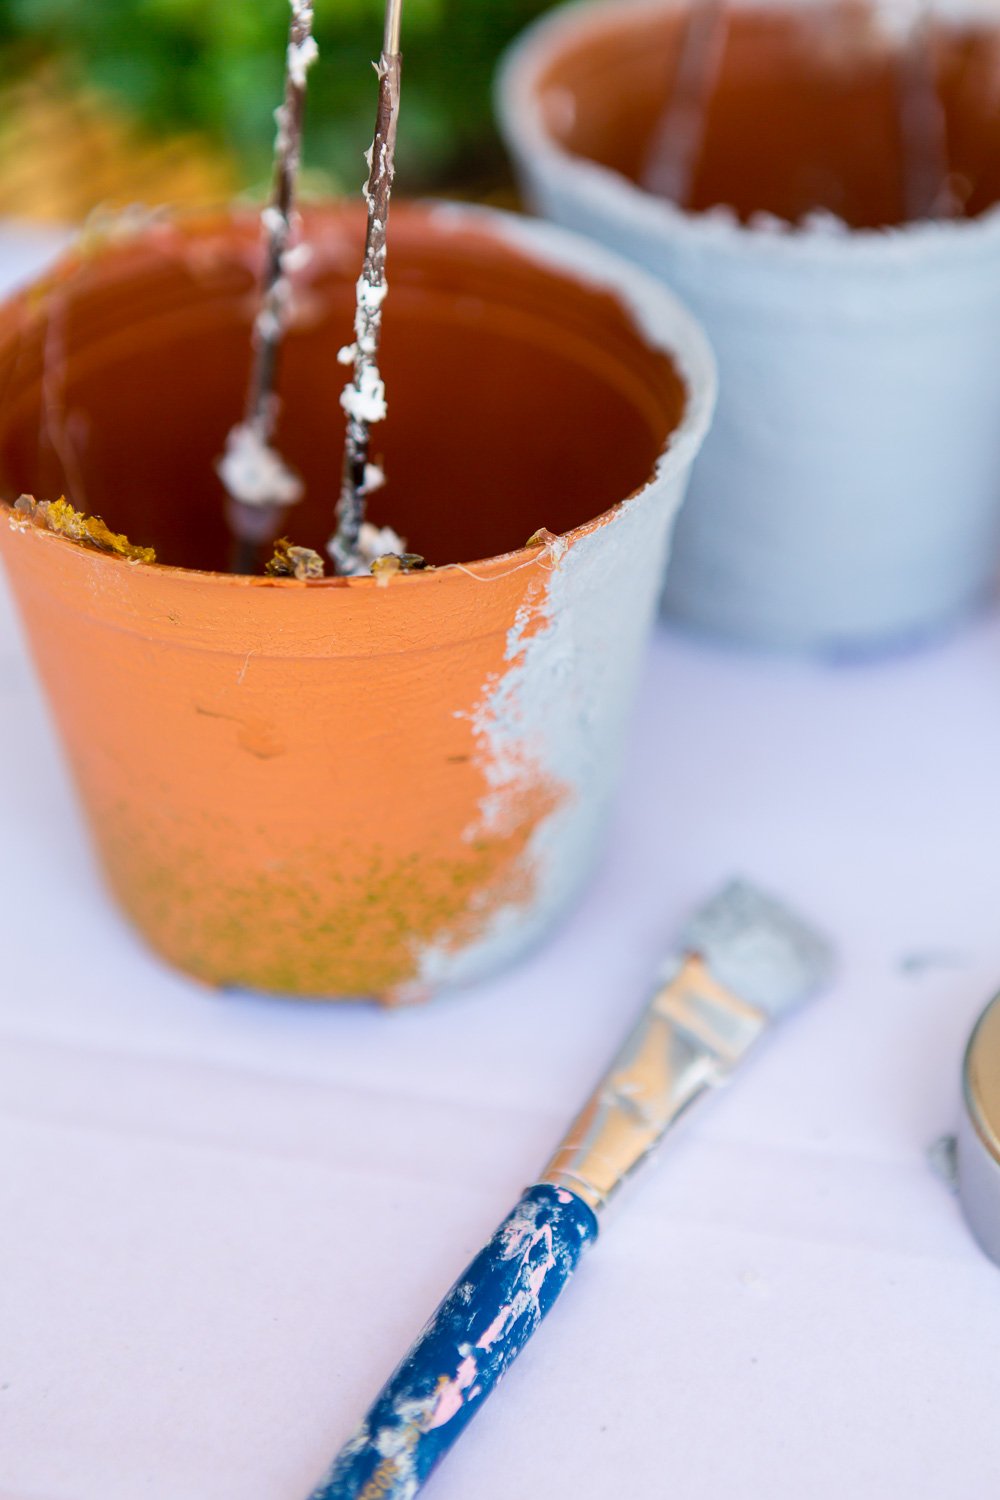
Before you begin painting your plastic flower pots, it’s important to gather the right supplies. Firstly, select a high-quality paint that is specifically designed for use on plastic surfaces. Look for paints that provide good adhesion and durability, as well as resistance to fading and peeling over time. Acrylic paints are a popular choice for painting plastic because they dry quickly and offer a wide range of colors. You’ll also need brushes or foam applicators, sandpaper or a sanding block, primer (if necessary), and a sealer to protect your finished artwork from the elements.
Preparing the Surface
To ensure proper adhesion and longevity of your painted flower pots, it’s crucial to prepare the surface before applying any paint. Start by cleaning the plastic pots thoroughly with warm soapy water to remove any dirt, dust, or residue. Once cleaned, lightly sand the surface of the pots using fine-grit sandpaper or a sanding block. This will create a slightly rough texture that helps the paint adhere better. After sanding, wipe away any dust with a damp cloth and allow the pots to dry completely before moving on to the next step.
Applying Primer (If Necessary)
In some cases, especially if your plastic pots have a glossy or slick surface, it may be necessary to apply a primer before painting. Primer creates a smooth and porous surface that allows the paint to adhere more effectively. If you choose to use a primer, select one that is specifically formulated for plastic surfaces. Apply an even coat of primer to the pots, making sure to cover the entire surface. Allow the primer to dry according to the manufacturer’s instructions before proceeding with the painting process.
Choosing Colors and Designs
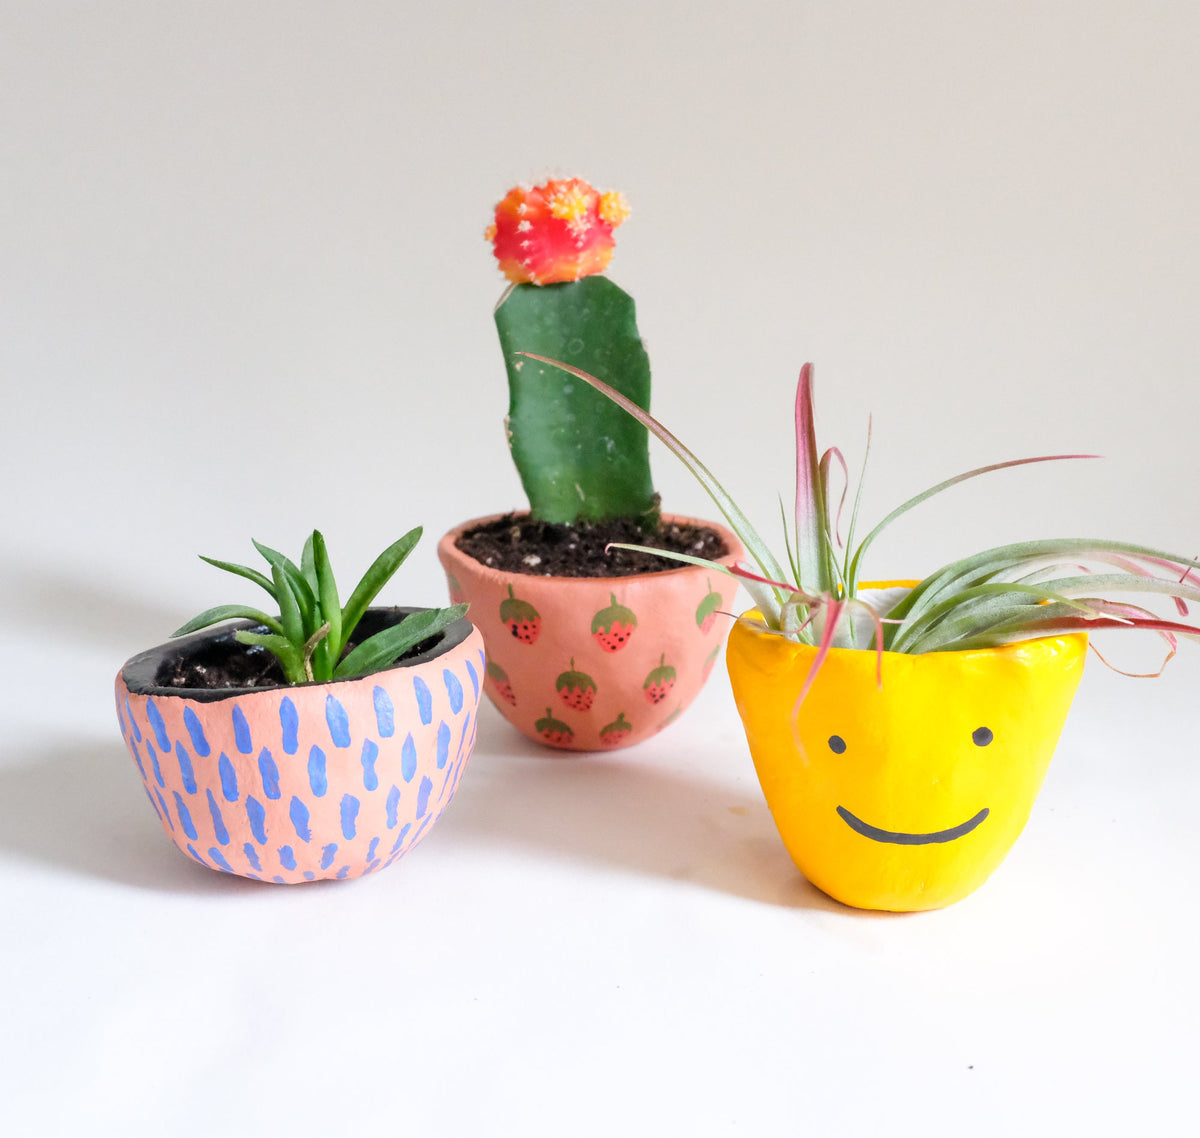
When it comes to selecting colors and designs for your painted flower pots, the possibilities are endless. You can opt for a single color to create a uniform look, or get creative and experiment with multiple colors and patterns. Consider the overall theme and style of your garden, as well as the colors of the flowers and plants you plan to display in the pots. Bright and vibrant colors like red, yellow, and blue can add a cheerful touch to your garden, while softer pastel shades create a more tranquil and soothing atmosphere. Additionally, consider using stencils or painter’s tape to create intricate designs or geometric patterns for added visual interest.
Applying the Paint
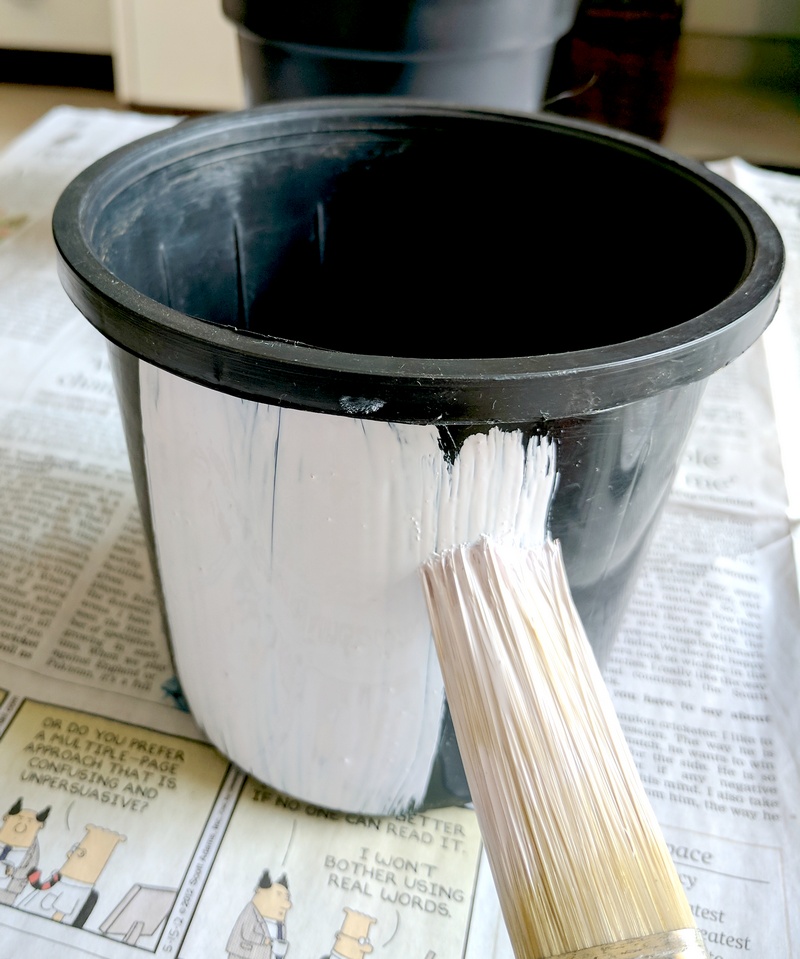
Now it’s time to bring your vision to life by applying the paint to your plastic flower pots. Use a brush or foam applicator to apply an even coat of paint to the surface, working in long, smooth strokes. Start at the top of the pot and work your way down, ensuring that the paint covers every nook and cranny. If you’re using multiple colors, allow each coat to dry before moving on to the next color. You may need to apply two or three coats of paint to achieve the desired opacity and vibrancy. Be patient and allow each coat to dry completely before proceeding.
Adding Details and Accents
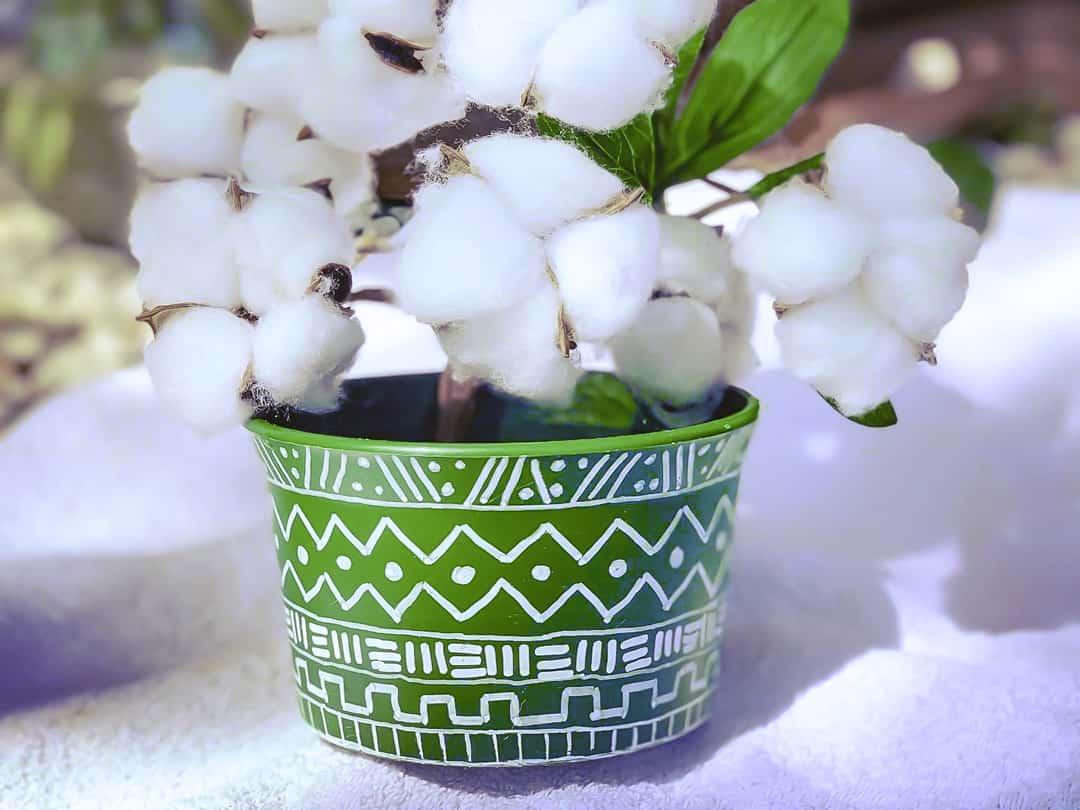
To take your painted flower pots to the next level, consider adding details and accents that complement your design. For instance, you can use a smaller brush to create intricate patterns, floral motifs, or even write names or messages on the pots. Metallic or glitter paints can also add a touch of sparkle and elegance. Don’t be afraid to get creative and experiment with different techniques, such as splattering or sponging on additional colors for a unique and artistic effect. The key is to let your imagination guide you and create pots that reflect your personality and style.
Sealing and Protecting Your Artwork
Once you’re satisfied with the painted design on your plastic flower pots, it’s essential to seal and protect your artwork to ensure its longevity. Apply a clear sealer specifically formulated for outdoor use, following the manufacturer’s instructions. The sealer will provide a protective barrier against UV rays, moisture, and other environmental factors that can cause the paint to fade or peel over time. Make sure to apply the sealer in a well-ventilated area and allow it to dry completely before placing your pots outside.
Displaying Your Painted Flower Pots
Now that your painted flower pots are complete and properly sealed, it’s time to showcase them in your garden. Arrange them in groups or clusters to create visually appealing displays. Consider using different sizes and heights to add depth and dimension to your garden space. You can also experiment with different placements, such as hanging pots from hooks, placing them on windowsills, or arranging them along pathways or garden borders. By strategically positioning your painted flower pots, you can create a cohesive and captivating garden that will delight both you and your visitors.

Maintaining Your Painted Flower Pots
To keep your painted flower pots looking vibrant and fresh, it’s important to maintain them properly. Regularly inspect your pots for any signs of wear, such as chipping or fading. Touch up any damaged areas with additional paint and reapply a fresh coat of sealer as needed. During the winter or in extreme weather conditions, consider bringing your pots indoors or placing them in a sheltered area to protect them from harsh elements. By taking these simple maintenance steps, you can ensure that your painted flower pots remain a beautiful and colorful addition to your garden for years to come.
Conclusion
Painting plastic flower pots is a fun and creative way to add color and personality to your garden. With the right paint, preparation, and techniques, you can transform plain plastic pots into stunning works of art that complement your garden’s aesthetic. Whether you opt for a single color or an intricate design, the key is to let your imagination run wild and create pots that reflect your unique style. By following the tips and techniques outlined in this article, you’ll be well on your way to creating a vibrant and visually appealing garden that will bring joy and inspiration to all who see it.
