Creating your own cement flower pots can be a rewarding project that adds a personal touch to your garden or home décor. Not only are these pots durable and stylish, but they also offer an affordable way to enhance your gardening setup. This comprehensive guide will take you through the process of making cement flower pots from start to finish, covering everything from materials and preparation to finishing touches.
Materials Needed for Cement Flower Pots
Essential Supplies
Before diving into the project, gather all necessary materials. You will need cement or concrete mix, water, a large mixing container, and a smaller container for shaping the pot. Additionally, you’ll need gloves, a trowel or mixing tool, and plastic sheeting or a drop cloth to protect your work area. For more intricate designs, you might consider using silicone molds or other decorative elements.
Optional Additions
To enhance the appearance of your flower pots, you can include optional materials like paint, sealants, or decorative stones. Paint can be used to add color and design to the pots, while sealants help to protect the surface and improve durability. Decorative stones or pebbles can be embedded in the cement for added texture and visual appeal.
Preparing the Cement Mixture
Mixing Cement and Water
The first step in creating your cement flower pots is preparing the cement mixture. Follow the instructions on your cement or concrete mix package for the correct ratio of cement to water. Typically, you’ll mix one part water with three parts cement. Pour the cement into a large container, gradually add water, and mix thoroughly until you achieve a smooth, workable consistency.
Consistency and Texture
The mixture should have a thick, pudding-like consistency to hold its shape. If the mixture is too runny, add a bit more cement. Conversely, if it’s too thick, add a little more water. It’s important to mix the cement thoroughly to avoid lumps and ensure an even texture. The consistency will impact the final strength and appearance of your flower pots.
Creating the Mold for Your Flower Pot
Selecting and Preparing Molds
You can use a variety of molds to shape your cement flower pots. A simple method is to use plastic containers or buckets. Choose a large container for the outer shape and a smaller one for the inner form, which will create the hollow space for planting. Lightly coat the inside of the larger container and the outside of the smaller one with a release agent, such as cooking spray or petroleum jelly, to prevent sticking.
Assembling the Mold
Place the smaller container inside the larger one, ensuring there is an even gap around the edges for the cement. Secure the smaller container in place by weighting it down or using a spacer. Pour the cement mixture into the gap between the two containers. Tap the sides of the larger container gently to release air bubbles and ensure an even fill. Allow the cement to set as per the manufacturer’s instructions, usually 24 to 48 hours.
Demolding and Finishing Touches
Removing the Mold
Once the cement has fully cured, carefully remove the outer container first. Gently pull or twist it away from the cement. Next, remove the smaller container by tapping or gently pulling it out. If necessary, use a utility knife to trim any rough edges or excess cement. If you used silicone molds, they should come off more easily without damaging the pot.
Smoothing and Painting
Use sandpaper or a smoothing tool to refine the surface of your flower pot. This step helps to remove any rough spots and create a polished look. If desired, you can paint the pot with exterior-grade paint to add color and protection. Apply a primer first, followed by one or more coats of paint, allowing each coat to dry thoroughly before applying the next. Consider using stencils or sponges to create unique designs and patterns.
Sealing and Protecting Your Cement Pots
Applying a Sealant
To extend the lifespan of your cement flower pots, apply a sealant. This will help protect the pots from moisture, prevent cracking, and enhance their durability. Choose a concrete sealant suitable for outdoor use and follow the manufacturer’s instructions for application. Typically, you will apply the sealant with a brush or spray and allow it to dry completely before using the pots.
Maintenance Tips
Regular maintenance is key to keeping your cement flower pots looking their best. Clean the pots with a mild detergent and water, and avoid using abrasive cleaners that could damage the surface. Inspect the pots periodically for any signs of damage or wear and reapply sealant as needed to maintain their protective layer.
Decorating and Personalizing Your Cement Pots
Adding Decorative Elements
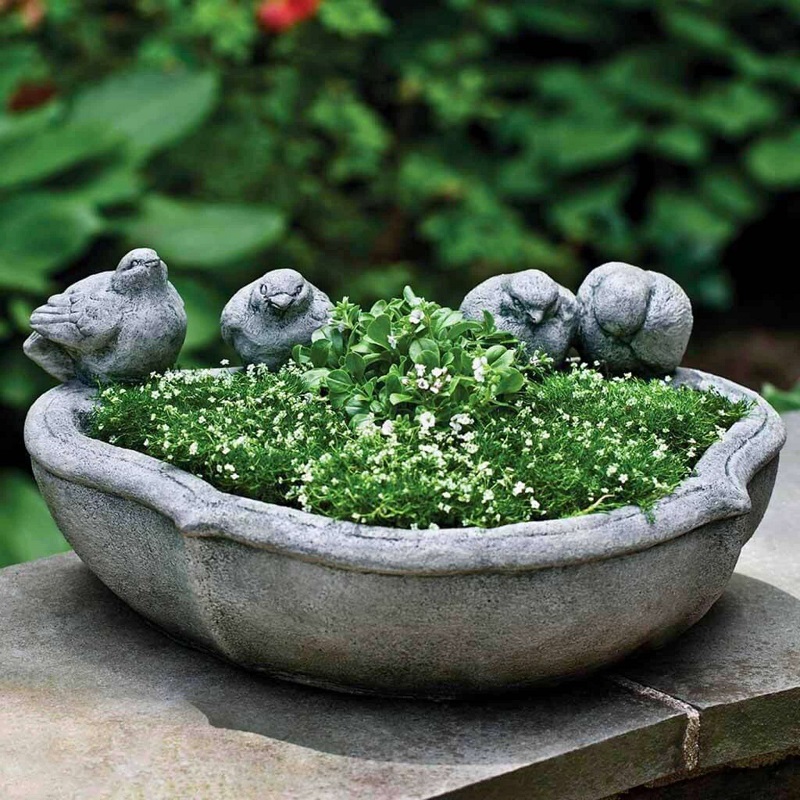
To make your cement flower pots truly unique, consider adding decorative elements. You can embed stones, glass beads, or shells into the cement before it dries for a textured, mosaic effect. Another option is to use stamps or stencils to create patterns on the surface. Experiment with different techniques to achieve a look that complements your garden or home décor.
Creative Painting Techniques
Get creative with painting your cement flower pots by using various techniques such as sponging, marbling, or ombré effects. Layering different colors and finishes can create visually stunning results. Try using paint pens or brushes to add intricate designs or personal messages to your pots. Seal the painted surface to protect your artwork from the elements.
Tips for Successful Cement Flower Pots
Working with Cement Safely
When working with cement, it’s important to prioritize safety. Wear gloves and a dust mask to protect your skin and respiratory system from cement dust. Work in a well-ventilated area to avoid inhaling fumes. Clean up spills and wash your tools promptly to prevent cement from hardening on surfaces.
Troubleshooting Common Issues
If you encounter issues such as cracks or uneven surfaces, don’t worry. Minor cracks can be filled with additional cement or a concrete repair product. Uneven surfaces can be smoothed with sandpaper or a cement patching compound. Addressing these issues promptly will ensure your flower pots remain functional and attractive.
Fun and Innovative Designs
Geometric and Sculptural Pots
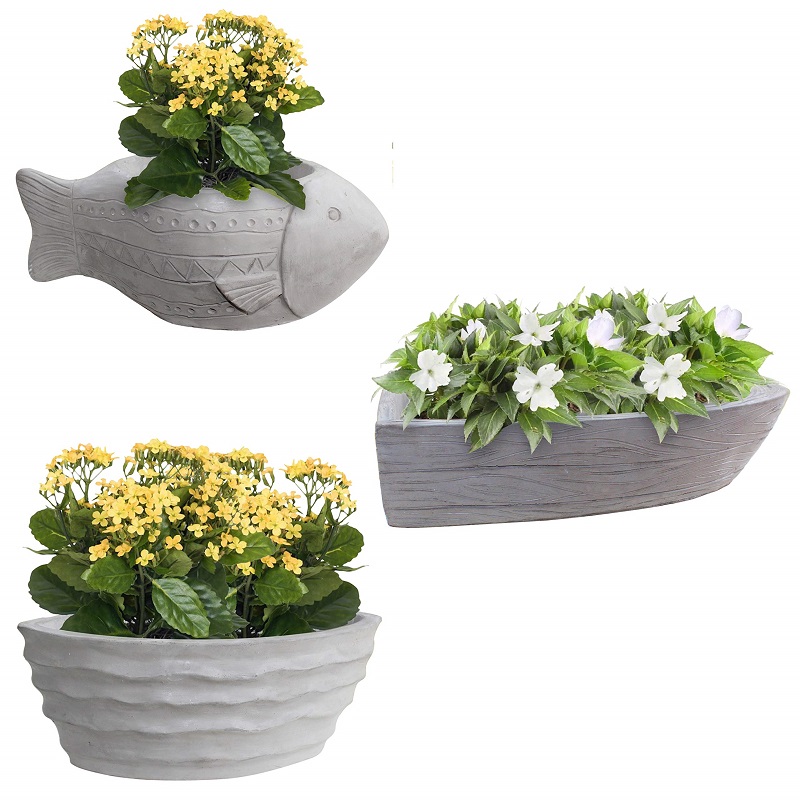
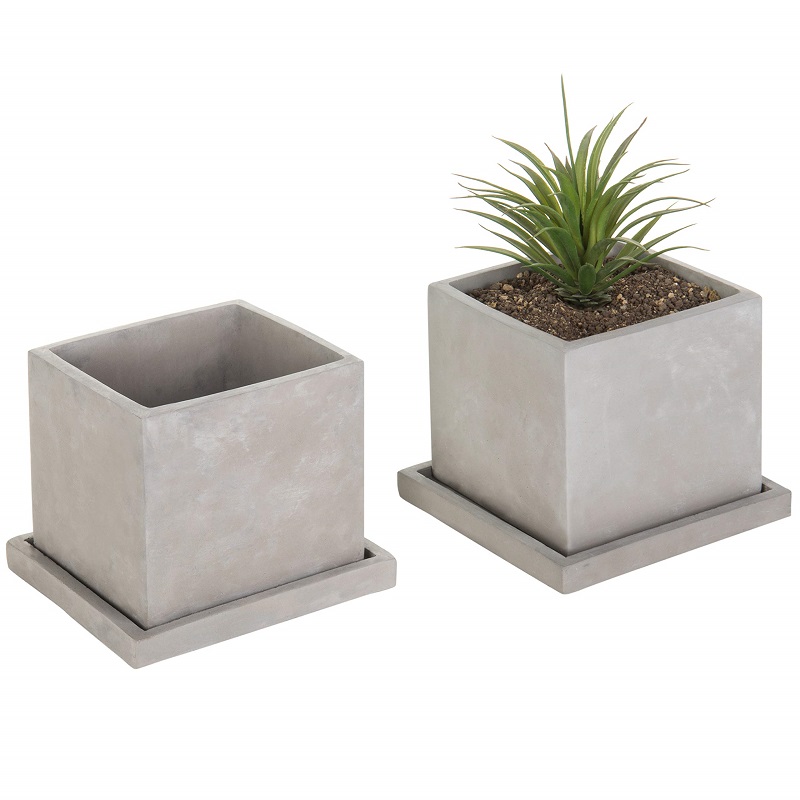
Explore geometric or sculptural designs to create visually striking cement flower pots. Use geometric shapes or abstract forms to make bold statements in your garden or home. You can achieve these designs by using specialized molds or by sculpting the cement directly. Experiment with different shapes, such as hexagons, pyramids, or freeform designs, to add an artistic flair to your plant displays.
Planters with Integrated Features
For a more functional and innovative approach, consider incorporating additional features into your cement flower pots. You might add built-in watering reservoirs, self-watering mechanisms, or integrated saucers to catch excess water. These features can help reduce maintenance and ensure your plants receive consistent care. Additionally, you can create multi-level or tiered planters for a dramatic and space-efficient display.
By integrating these new elements and ideas into your cement flower pot project, you can enhance both their functionality and aesthetic appeal. Experiment with different techniques, materials, and designs to create beautiful and practical additions to your garden or home décor.
Final Thoughts on Cement Flower Pots
Creating your own cement flower pots is a fun and fulfilling DIY project that allows you to add a personal touch to your gardening setup. By following the steps outlined in this guide, you can produce beautiful, durable pots that enhance your garden or home décor. Experiment with different designs, colors, and finishes to create pots that reflect your style and complement your space. Enjoy the satisfaction of your handiwork and the beauty of your custom cement flower pots!