Creating beautiful decoupage flower pots using tissue paper is a rewarding and enjoyable craft project that adds a personal touch to your home décor. Whether you are looking to brighten up your living space, create unique gifts, or simply indulge in a creative hobby, this guide will walk you through the entire process. From selecting materials to applying techniques, you’ll learn how to turn plain pots into stunning decorative pieces.
Understanding Decoupage: The Art of Paper Decoration
What is Decoupage?
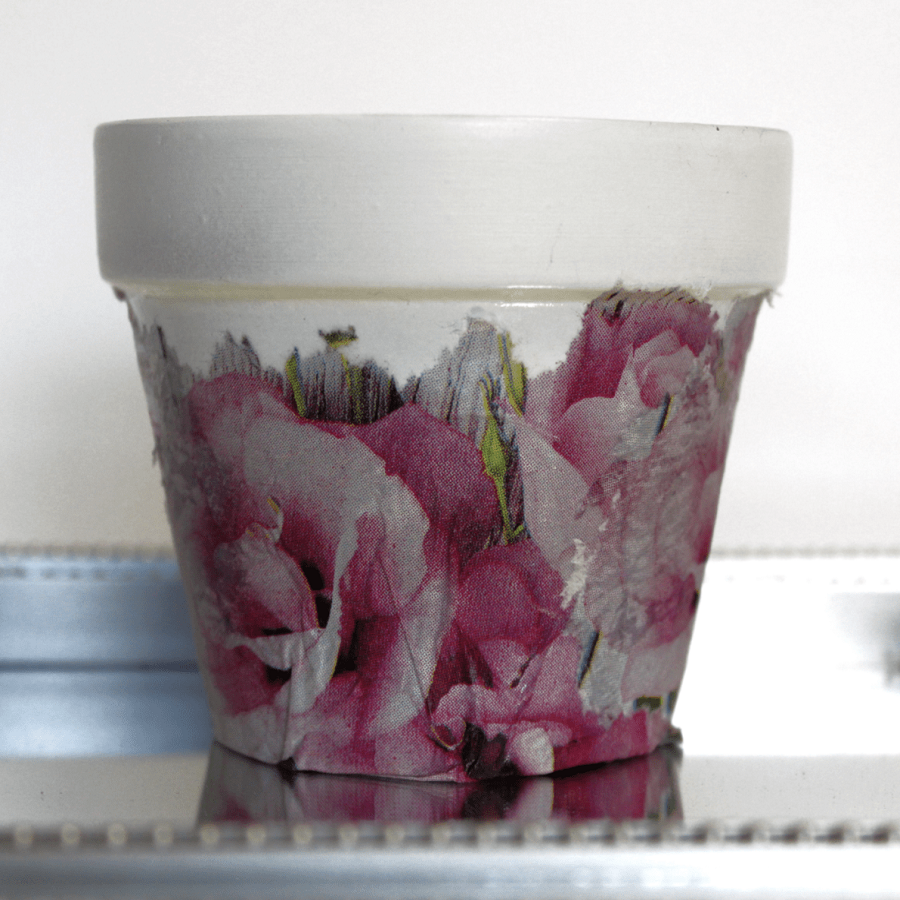
Decoupage is a decorative art form that involves gluing paper cutouts onto surfaces and then sealing them with a lacquer or varnish. This technique can be applied to various materials, such as wood, glass, and ceramics, making it versatile for all sorts of projects. In the context of flower pots, decoupage allows you to transform ordinary containers into vibrant works of art that reflect your style.
The History of Decoupage
The origins of decoupage can be traced back to 12th-century Asia, where artisans used it to embellish their creations. However, it gained popularity in Europe during the 17th century, particularly in France and Italy. The term “decoupage” derives from the French word “decouper,” meaning “to cut out.” Over the years, the technique evolved, encompassing various styles and materials. Today, decoupage remains a beloved craft among DIY enthusiasts who appreciate its creativity and accessibility.
Gathering Your Materials
Essential Supplies for Decoupage Flower Pots
Before you begin your decoupage flower pot project, gather the necessary materials. Here’s a list of essentials:
- Flower Pots: Choose terracotta, ceramic, or plastic pots. Terracotta is a popular choice due to its natural look and porosity.
- Tissue Paper: Select colorful tissue paper in patterns or solid colors. You can use multiple sheets to achieve a layered effect.
- Decoupage Medium: Look for a water-based decoupage glue or Mod Podge, which acts as both an adhesive and a sealant.
- Brushes: Use foam brushes or flat paintbrushes for easier application of the glue.
- Scissors: For cutting the tissue paper into desired shapes or sizes.
- Sponge or Cloth: To smooth out wrinkles and excess glue.
- Sealer (Optional): A spray sealer or additional coat of Mod Podge can provide extra protection.
Finding Inspiration
Once you have gathered your materials, take a moment to find inspiration for your design. Browse online platforms like Pinterest or Instagram for ideas on color combinations, patterns, and themes. Consider seasonal motifs, such as floral designs for spring or autumn leaves for fall. You can also create themed pots based on specific holidays or events to celebrate special occasions.
Preparing Your Flower Pots
Cleaning the Pots
Before you start decorating, it’s crucial to prepare your flower pots properly. Begin by cleaning the pots thoroughly to remove any dirt or grease. If you’re using new pots, a simple rinse with warm water should suffice. For used pots, scrub with soap and water, then allow them to dry completely. This step ensures that the decoupage medium adheres well to the surface.
Painting the Base (Optional)
If you want to add an extra layer of creativity to your flower pots, consider painting the base before applying the tissue paper. Choose a solid color that complements your tissue paper design. Use acrylic paint for durability and easy application. Apply one or two coats, allowing ample drying time between applications. A painted base can provide a beautiful backdrop for your decoupage design and enhance the overall appearance of your finished pot.
Cutting and Arranging Tissue Paper
Selecting Your Design
After preparing the pots, it’s time to focus on the tissue paper. Decide on the design you want to create. You can opt for a collage of multiple patterns or focus on one cohesive design. If you’re feeling adventurous, mix different colors and textures for a more dynamic look. The key is to choose a design that resonates with your personal style and complements your home décor.
Cutting the Tissue Paper
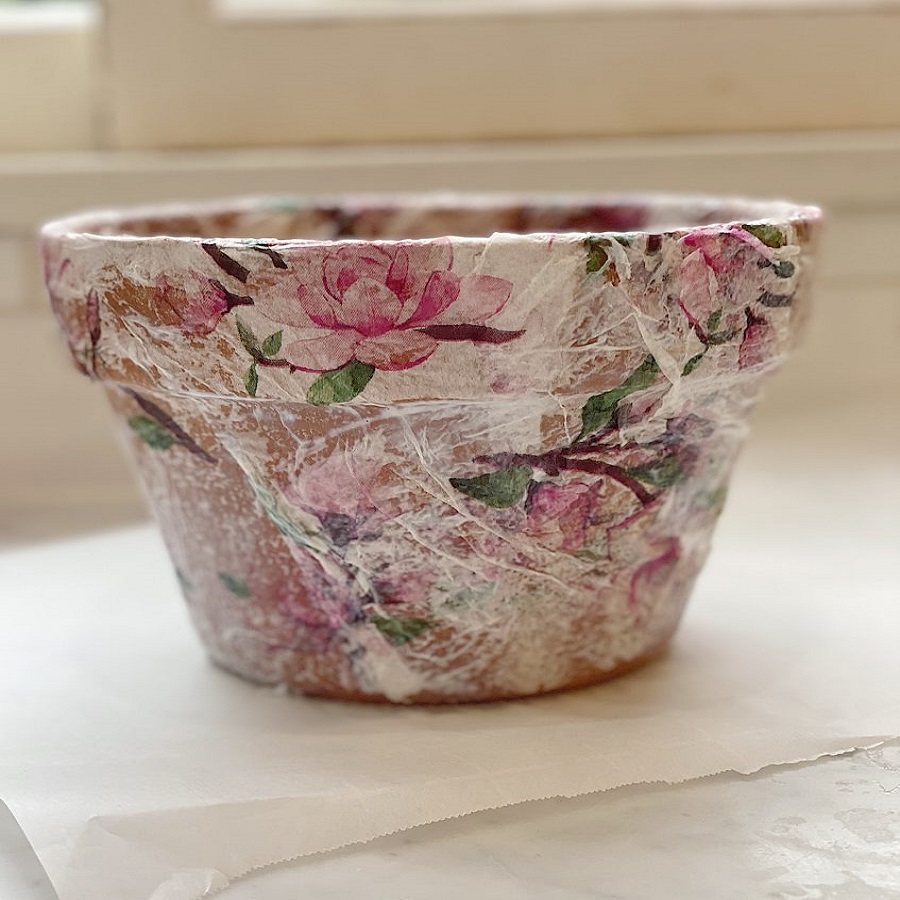
Using scissors, cut the tissue paper into desired shapes and sizes. You can create squares, rectangles, or even whimsical shapes like flowers and leaves. For a layered effect, cut larger pieces to cover the pot’s surface, and smaller pieces for accents. Keep in mind that tissue paper is delicate, so handle it gently to avoid tearing. If you’re using printed tissue paper, cut around the designs to showcase specific patterns.
Applying the Decoupage Medium
Working With the Decoupage Glue
With your flower pot prepared and tissue paper cut, it’s time to apply the decoupage medium. Start by pouring a small amount of the decoupage glue into a container. Using a foam brush or flat paintbrush, apply a thin layer of glue to the area of the pot where you’ll place the tissue paper. Work in small sections to keep the glue from drying out before you apply the paper.
Layering the Tissue Paper
Carefully lay the cut tissue paper onto the glued area of the pot. Use your fingers or a sponge to gently press down on the tissue paper, smoothing out any wrinkles or bubbles. If you’re working with multiple layers, repeat the gluing and layering process until the entire pot is covered. Make sure to overlap pieces slightly to create a seamless look. Once satisfied with the arrangement, allow the glue to dry completely.
Sealing and Finishing Touches
Applying the Final Coat
Once the initial layer of tissue paper has dried, it’s important to seal your work. Apply a generous coat of decoupage medium over the top of the tissue paper. This step protects your design and gives it a polished finish. Use a clean brush and apply the sealer in long, even strokes to avoid disturbing the tissue paper underneath. Allow the final coat to dry according to the product’s instructions.
Adding Extra Protection
For added durability, consider applying a clear spray sealer after the decoupage medium has dried. This is especially useful if your flower pots will be used outdoors. The spray sealer adds an extra layer of protection against moisture and UV rays, ensuring your designs remain vibrant over time. Follow the instructions on the sealer for the best results, and allow it to dry completely before placing your pots outside.
Decorating Your Home with Decoupage Flower Pots
Creating a Cohesive Look
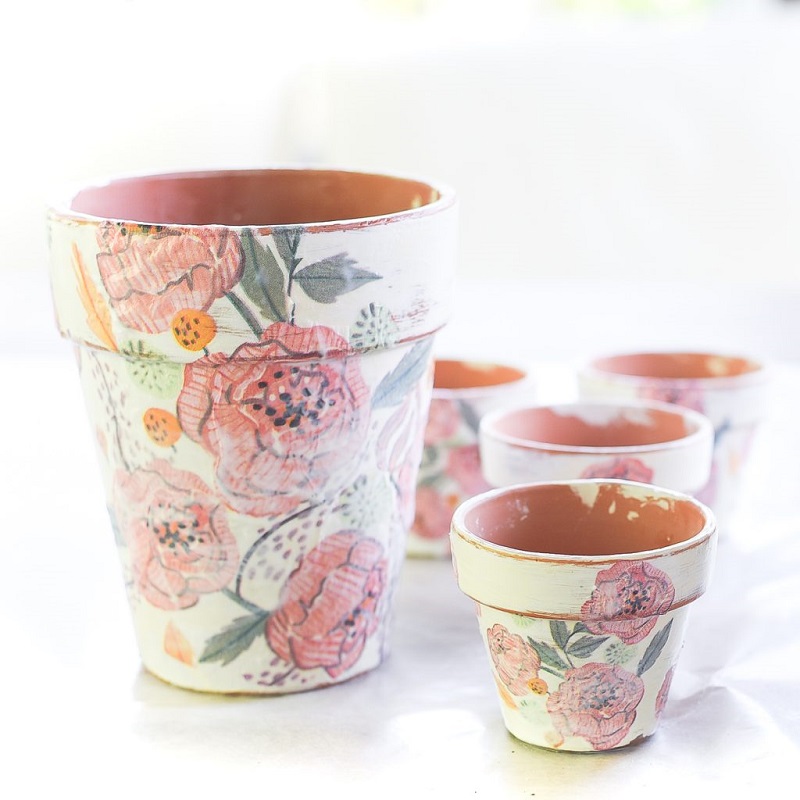
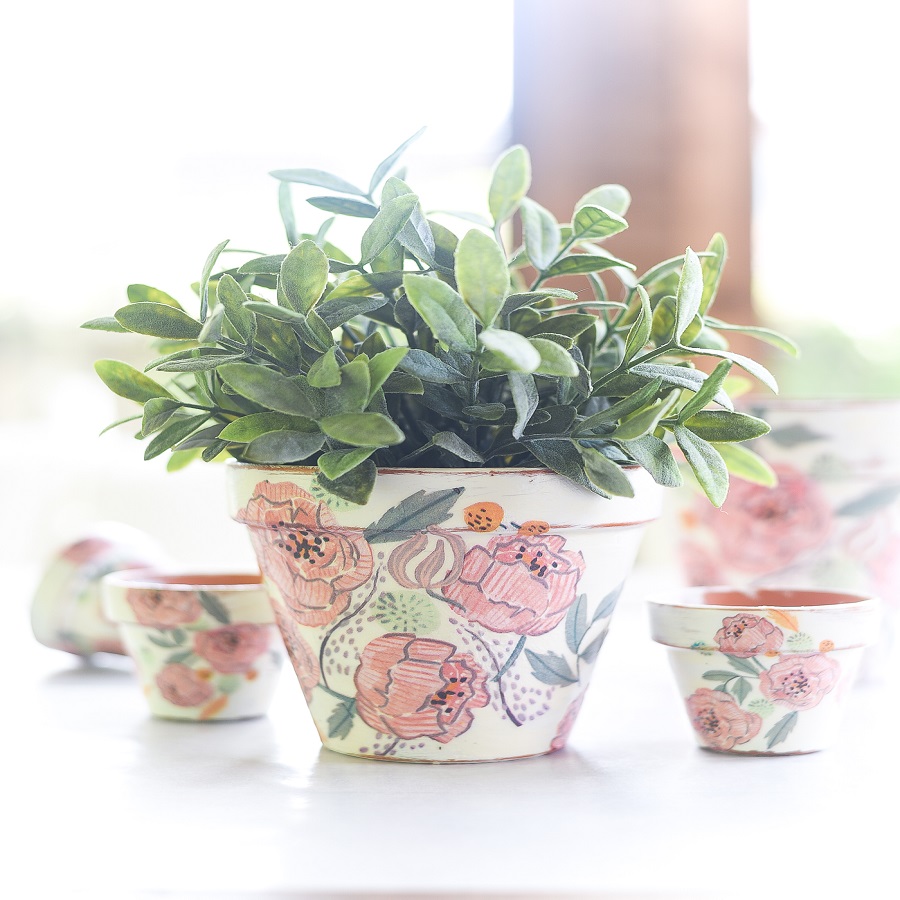
Now that your decoupage flower pots are finished, it’s time to incorporate them into your home décor. Consider creating a cohesive look by arranging pots of varying sizes and designs together. Place them on a windowsill, shelf, or dining table to add a pop of color and personality to your space. Grouping pots can create visual interest and make a statement in any room.
Gift Ideas: Sharing the Joy of Decoupage
Personalized Gifts for Friends and Family
Decoupage flower pots make excellent gifts for friends and family. Personalize your pots by incorporating their favorite colors, patterns, or themes. For birthdays, consider adding a small plant or flower to the pot to complete the gift. You could also create themed pots for holidays, such as Christmas or Mother’s Day, making each gift truly special and memorable.
Hosting a Decoupage Party
If you love crafting, why not host a decoupage flower pot party? Invite friends over for a fun afternoon of creativity. Provide all the necessary materials, and let everyone unleash their artistic side. This activity is perfect for birthdays, bridal showers, or just a casual gathering. Guests will leave with their own unique creations, making it a memorable and enjoyable experience.
Exploring Further Creative Possibilities
Experimenting with Different Techniques
Once you’ve mastered the basics of decoupage flower pots, consider exploring other techniques to expand your crafting repertoire. You could try layering different types of paper, such as scrapbook paper or fabric, to create unique textures. Additionally, experimenting with stencils or stamps can add intricate designs to your pots. The possibilities are endless, allowing you to continually evolve your skills.
Maintaining Your Decoupage Flower Pots
Proper Care and Cleaning
To ensure the longevity of your decoupage flower pots, proper care is essential. Avoid exposing them to extreme weather conditions if they will be placed outdoors. When cleaning, gently wipe the surface with a damp cloth rather than soaking the pot, as excessive moisture can damage the decoupage. Regularly check for any signs of wear, and reapply a protective sealant as needed to maintain their beauty.
Conclusion: Embrace Your Creativity
Creating beautiful decoupage flower pots with tissue paper is a fulfilling and enjoyable DIY project that adds a touch of personality to your home. By following the steps outlined in this guide, you can transform ordinary pots into stunning decorative pieces that showcase your unique style. Whether you choose to create them for yourself or as thoughtful gifts, the joy of crafting and personalization allows you to embrace your creativity fully. So gather your materials, unleash your artistic flair, and enjoy the wonderful world of decoupage!