Introduction to Cement Flower Pot Crafting
Cement flower pots crafting is an exciting DIY project. It allows garden enthusiasts to put a personal touch on their outdoor or indoor space. The process of making cement flower pots is both simple and rewarding. With basic materials and tools, anyone can create sturdy and customizable pots. These handmade pots are perfect for housing a variety of plants. They also add a unique element of style to any garden. Let’s dive into the journey of crafting your very own cement flower pots.
Materials Needed for Making Cement Flower Pots
Before you start making cement flower pots, gather the following materials:
- Cement Mix: Choose a high-quality cement mix for the best results.
- Coarse sand: To mix with cement and improve the texture.
- Water: For mixing with cement and sand to create concrete.
- A large bucket: To mix the cement, sand, and water.
- Mold or Container: To shape the flower pot. Use an old bucket or create a custom mold.
- Stirring Stick or Spade: For mixing ingredients evenly.
- Protective Gear: Safety goggles, gloves, and a dust mask for protection.
- Non-stick agent (optional): Vegetable oil or a commercial release agent to prevent sticking.
- Sandpaper or a filing tool: For smoothing rough edges after the pot dries.
Make sure you have a clean workspace and lay down newspaper or a tarp to make cleanup easier. It’s important to have all materials on hand to streamline the process. With these materials, you’re ready to start crafting your pots.

Step-by-Step Guide to Creating Your Own Cement Flower Pots
Creating your own cement flower pots is both fulfilling and practical. Follow this simple step-by-step guide to turn cement mix into stylish containers for your plants.
- Prepare the workspace: Clear the area and spread out a tarp or newspaper.
- Mix the materials: In the large bucket, blend cement mix, coarse sand, and water. Aim for a consistency similar to peanut butter.
- Apply non-stick agent: If using, coat the inside of the mold with vegetable oil or a commercial release agent.
- Fill the mold: Pour the mixture into the mold. Tap the sides to eliminate air bubbles.
- Insert a smaller container: Place a smaller container inside to create the pot cavity. Weigh it down so it does not rise.
- Allow to set: Let the filled mold sit undisturbed for at least 24 hours.
- Remove the pot: Once set, gently remove the cement pot from the mold.
- Smooth the edges: Use sandpaper or a filing tool to smooth any rough spots.
Repeat the process to make more pots. Remember, the mix should neither be too runny nor too thick. Adjust the water accordingly. As you get comfortable, try different molds for unique shapes. With some practice, making cement flower pots can become a breeze and a great addition to your garden decor.
Design Ideas for Cement Flower Pots
Transforming your freshly crafted cement flower pots into stylish garden features is both fun and creative. Here are several design ideas to make your pots stand out:
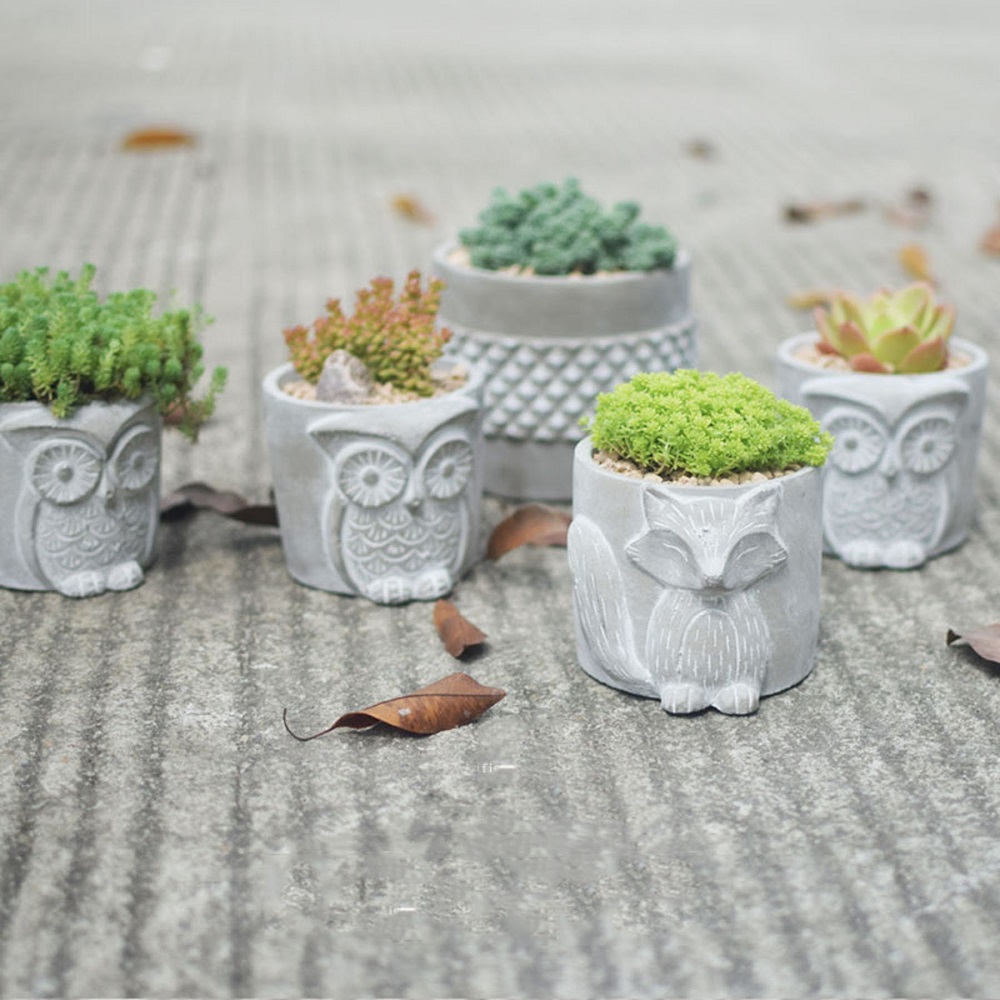
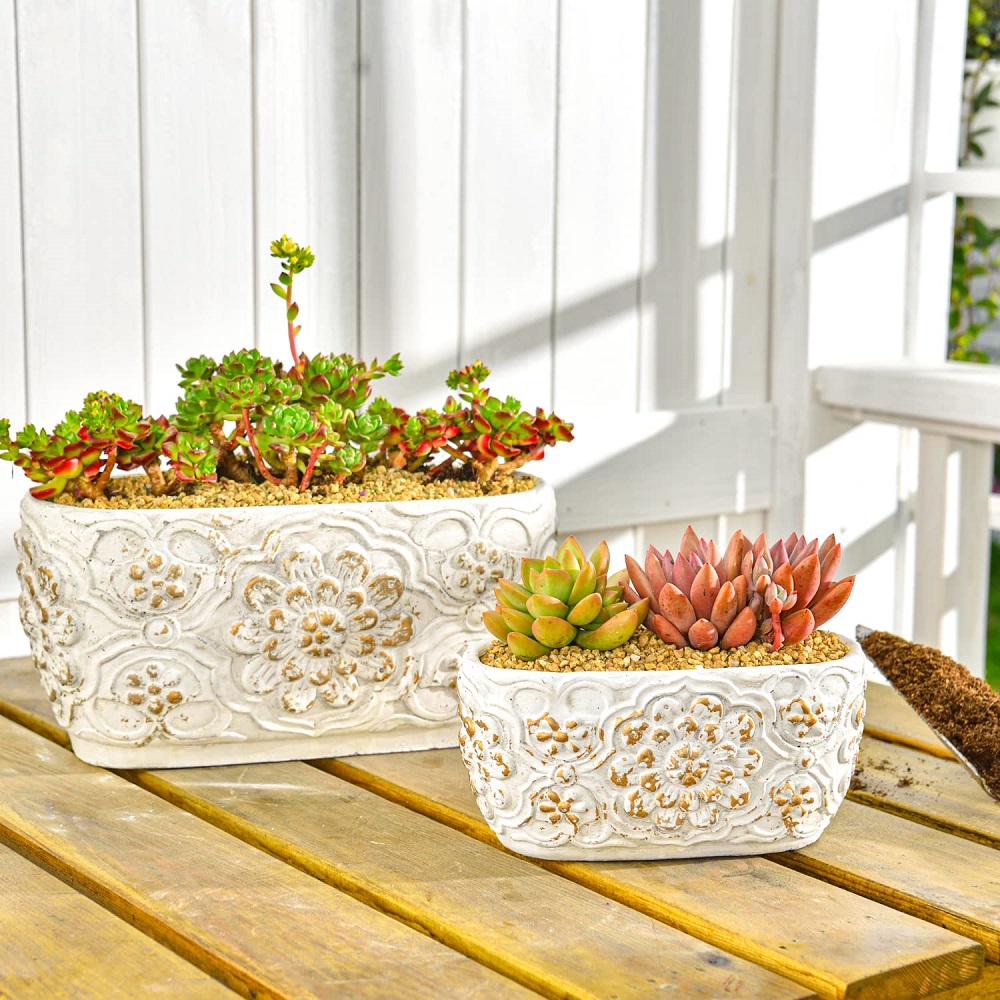
- Textured Patterns: Press leaves or lace onto the wet cement to imprint natural or intricate patterns. Once set, these textures give life to the plain cement surface.
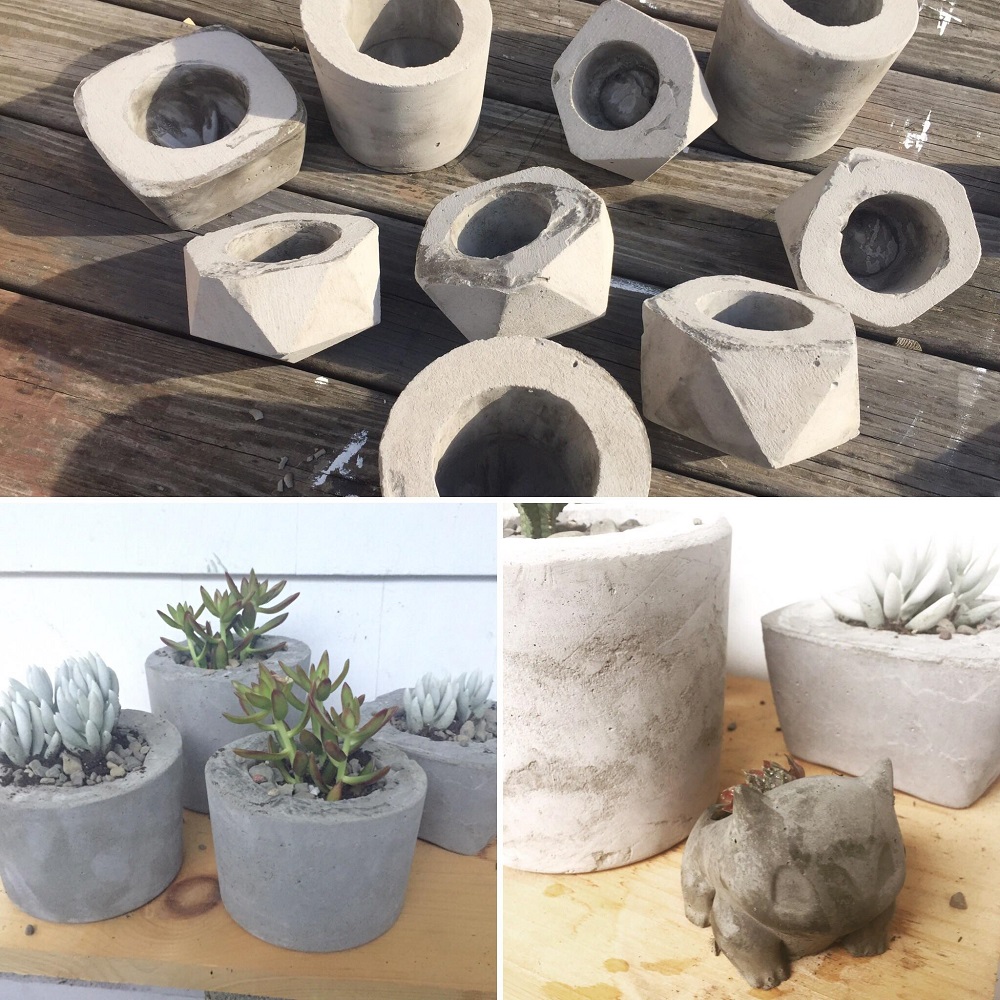
- Geometric Shapes: Use cardboard cutouts or custom molds to create pots with geometric shapes like triangles, hexagons, or cylinders.
- Color Layers: Incorporate pigments into the cement mix for colored layers or marbling effects. This adds a vibrant appeal to your garden.
- Rustic Charm: To achieve a rustic look, wrap burlap or twine around the mold before pouring the cement. This will leave a unique textured imprint after removal.
- Stenciling: Once the pot is dry, use stencils to add painted designs, numbers, or letters.
These design touches turn simple cement flower pots into true garden treasures. Get creative and let your garden’s style shine through your handcrafted pots.
Tips for Perfect Cement Mixing and Pot Molding
Achieving the perfect cement mix and pot mold is essential for creating durable and attractive flower pots. Here are tips to ensure you get it right every time:
- Correct Proportions: Use the right ratio of sand to cement. A common mixture is one part cement to three parts sand.
- Consistency is Key: Aim for a mix with the consistency of peanut butter. If it’s too thick, add a little more water; if too runny, more cement mix.
- Mix Thoroughly: Blend the materials well to avoid lumps. Use a stirring stick or spade and mix for several minutes.
- Eliminate Air Bubbles: After pouring into the mold, tap the sides vigorously. This helps prevent air pockets that can weaken the pot.
- Clever Molding: For smooth demolding, apply a non-stick agent. Try using vegetable oil or a commercial release agent inside the mold.
- Precision in Molding: Ensure the inner container is centered and stable. It creates an even cavity for the plants.
- Creative Textures and Patterns: Before the cement sets, press patterns or textures into the exterior for a unique look.
- Cure the Cement Right: Allow the filled mold to set undisturbed. It usually takes at least 24 hours, longer in cold or damp conditions.
By following these tips, your cement flower pot making experience will be more successful, and the pots you produce will be both stylish and functional for your garden spaces.

Drying and Curing Process for Cement Flower Pots
The right drying and curing process is crucial for the durability of cement flower pots. Here’s a simple guide to ensure your pots set correctly and last long.
- Avoid Direct Sunlight: Keep the pot in a shaded area during the initial drying stage. Direct sunlight can cause the cement to crack.
- Maintain Moisture: Cement needs moisture to cure properly. Cover the pot with a plastic sheet to retain humidity.
- Cure for at Least 24 Hours: Don’t disturb the pot for at least 24 hours. This gives the cement time to set.
- Check for Dryness: After a day, touch the pot. If it feels damp, let it cure for longer.
- Full Cure Time: Allow a full cure time of about 7 days for ultimate strength and durability.
- Dry Out Slowly: After the initial cure, remove the plastic and let the pot dry out slowly.
- Avoid Movement: Keep the pot still during curing. Moving it can cause cracks or weaken the structure.
By following these steps, you’ll ensure your handcrafted cement flower pots are well-formed and last for years in your garden. It’s a test of patience, but the result is a durable home for your lovely plants.
Painting and Decorating Cement Flower Pots
Once your cement flower pots have fully cured, it’s time to turn them into pieces of art. Painting and decorating your pots can add a personal touch and integrate them seamlessly into your garden’s theme. Here are some tips and ideas to help you beautify your cement flower pots.
- Choose the Right Paint: Use paints that are suitable for outdoor use to ensure they withstand the elements. Acrylic paints or masonry paints are great choices.
- Primer is Key: Apply a primer designed for concrete to help the paint adhere better and last longer.
- Simple Patterns: Create simple patterns using painter’s tape. Stripes, chevrons, or polka dots can add playful or elegant touches.
- Stencils for Detailing: Use stencils to add detailed designs or lettering. This can personalize pots with names or favorite quotes.
- Add Some Texture: Blend sand into paint before applying it to create a textured finish. This gives the pots a rustic look.
- Sealing is Crucial: Once the paint dries, seal the pot with a clear outdoor sealer. This helps protect the paint from moisture and UV rays.
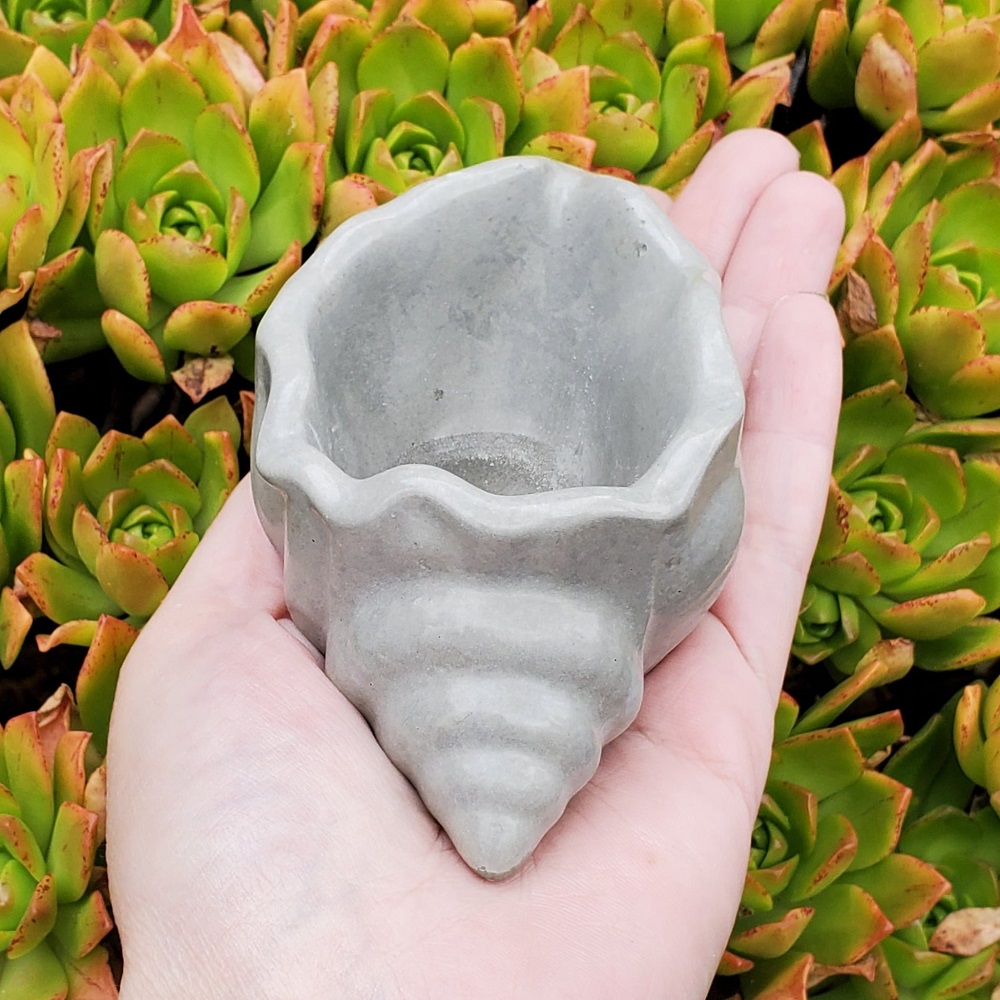
- Decorative Embellishments: Glue on stones, shells, or mosaic tiles to enhance the pot’s exterior. This adds dimension and interest.
By painting and decorating your cement flower pots, you not only increase their aesthetic value but also provide a protective layer against weather effects. Have fun experimenting with different colors and decorations to make your pots stand out!

Care and Maintenance for Cement Flower Pots
Taking care of your cement flower pots ensures they last long and keep looking great. Here are some tips for maintaining your cement creations:
- Regular Cleaning: Wipe down your pots with a damp cloth. This removes dirt and keeps them looking fresh.
- Drainage Check: Ensure the pot has proper drainage. Clear blocked holes to prevent waterlogging.
- Avoid Harsh Chemicals: Clean with mild soap and water. Strong cleaners can damage the cement surface.
- Winter Care: If possible, move pots indoors during freezing weather. This prevents cracking.
- Refresh the Sealer: Reapply a clear sealer annually to protect the paint and cement.
- Fix Cracks Promptly: Fill any small cracks with a cement patching compound to avoid further damage.
- Handle with Care: Move your pots carefully. Cement can crack if dropped or knocked hard.
- Rotate Plants: Change out or rotate plants to avoid soil compaction and encourage even weathering.
By sticking to these care guidelines, your cement flower pots will remain durable and visually appealing for seasons to come. Remember, a little maintenance goes a long way in extending the life of your beautiful handmade pots.
