Introduction to Fabric Covered Flower Pots
Fabric covered flower pots offer a creative twist to traditional gardening. By using fabric, you can infuse personality and color into your plant displays. This guide will help you master the craft of decorating flower pots with fabric, transforming them into eye-catching pieces for your home or garden.
Benefits of Decorating with Fabric
Decorating flower pots with fabric has several advantages:
- Aesthetic Appeal: Fabric adds a unique texture and color to pots, enhancing the visual appeal of your plants.
- Customization: With a vast array of fabric designs available, you can easily customize pots to match your decor or season.
- Protection: Fabric can help shield the pot from environmental elements, potentially increasing its lifespan.
- Gift Potential: They make excellent, personalized gifts for occasions like Mother’s Day or housewarmings.
Choosing the Right Materials for Your Project
To begin decorating your flower pots, selecting the right materials is crucial:
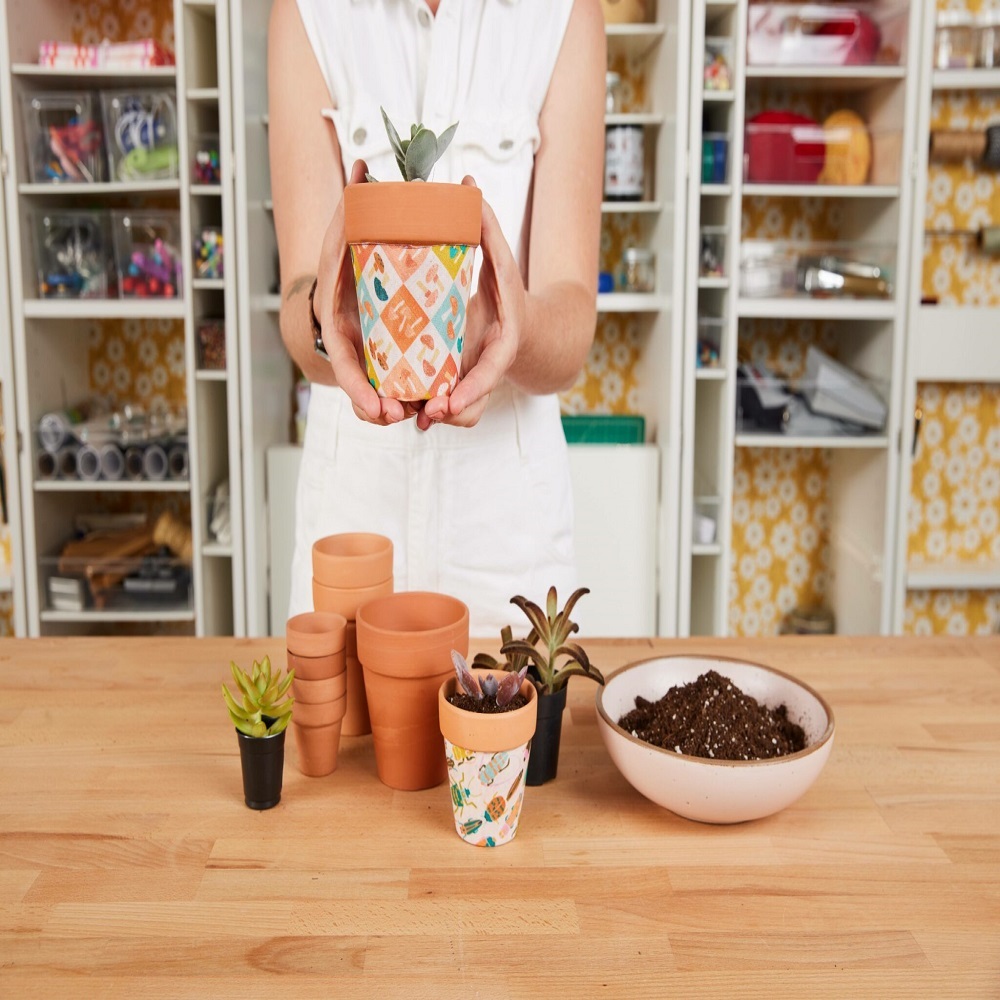
- Pots: Terra cotta pots are ideal due to their porous nature, which helps the fabric adhere better.
- Fabric: Opt for cotton or outdoor fabric for durability. Make sure it complements your garden or home theme.
- Adhesives: Mod Podge or a similar sealer will be needed to affix the fabric and seal it.
- Brushes: Foam or bristle brushes are essential for applying adhesive evenly.
- Sealant: A clay pot sealer helps prepare your pot by sealing it before you apply fabric, ensuring a smoother application and durability against moisture.
With these materials, you’ll be equipped to start creating stunning, fabric-adorned flower pots that brighten up any space.

Step-by-Step Guide: Creating Your Fabric Covered Flower Pots
Step 1: Selecting and Sealing Your Terra Cotta Pots
Start by choosing high-quality terra cotta pots.
Clean the pot surface for better adherence.
Apply clay pot sealer internally and let it dry.
This prevents moisture from seeping and ruining the fabric.
Step 2: Measuring and Cutting Your Fabric
Lay out the fabric and measure it around the pot.
Mark the fabric with a fabric marking pen, tracing the pot’s rim and bottom.
Cut the fabric, leaving extra inches for overlap. This ensures a snug fit.
Step 3: Attaching the Fabric with Mod Podge
Apply a thin Mod Podge layer on the pot.
Carefully align the fabric on the pot, smoothing out air bubbles.
Overlap fabric edges slightly and secure.
Let it set briefly before the next step.
Step 4: Applying the Final Seals
Once the fabric is set, apply another Mod Podge layer.
Focus on outer areas and edges to fully seal the fabric.
This layer helps make the fabric moisture-resistant.
Let the pot dry before using.
Step 5: Embellishing with Optional Plant Stakes
Add extra flair with painted wooden stakes.
Choose shapes like butterflies or flowers for decoration.
Attach them to the pot with hot glue or tie securely.
This step is optional but adds a unique touch.
Tips for Perfecting Your Fabric Covered Flower Pot
Perfecting your fabric covered flower pot is key. Follow these tips to avoid common issues.
Dealing with Air Bubbles and Imperfections
Air bubbles can ruin the smooth look of your fabric pots. Use a flat tool to push them out gently as you apply the fabric. If imperfections appear, don’t worry. Small pieces of fabric can patch up any mistakes seamlessly. Just make sure to cover them with a layer of Mod Podge to blend them in.
Ensuring Weather Resistance
Outdoor pots face sun and rain, so your fabric needs protection. Using Mod Podge Outdoor will help. It’s designed to withstand the elements. Apply it as a top coat to keep your designs fresh and intact for longer. In very wet areas, you might want to keep pots under a cover.
The Secret to Cutting Fabric Accurately
Accurate fabric cutting is a must. Take your time measuring your pot and marking the fabric. Always cut a bit extra; it’s better to have more than less. If you cut too much, you can trim it later. Fabric marking pens help by giving a clear line to follow while cutting.

Decorating Ideas for Your Fabric Flower Pots
Transforming your garden or home with fabric covered flower pots is easy and fun. Here are some decorating ideas to help elevate your pots’ look.
Choosing Fabric Patterns and Colors
Selecting the right fabric is key to creating an eye-catching flower pot. Here are a few tips:
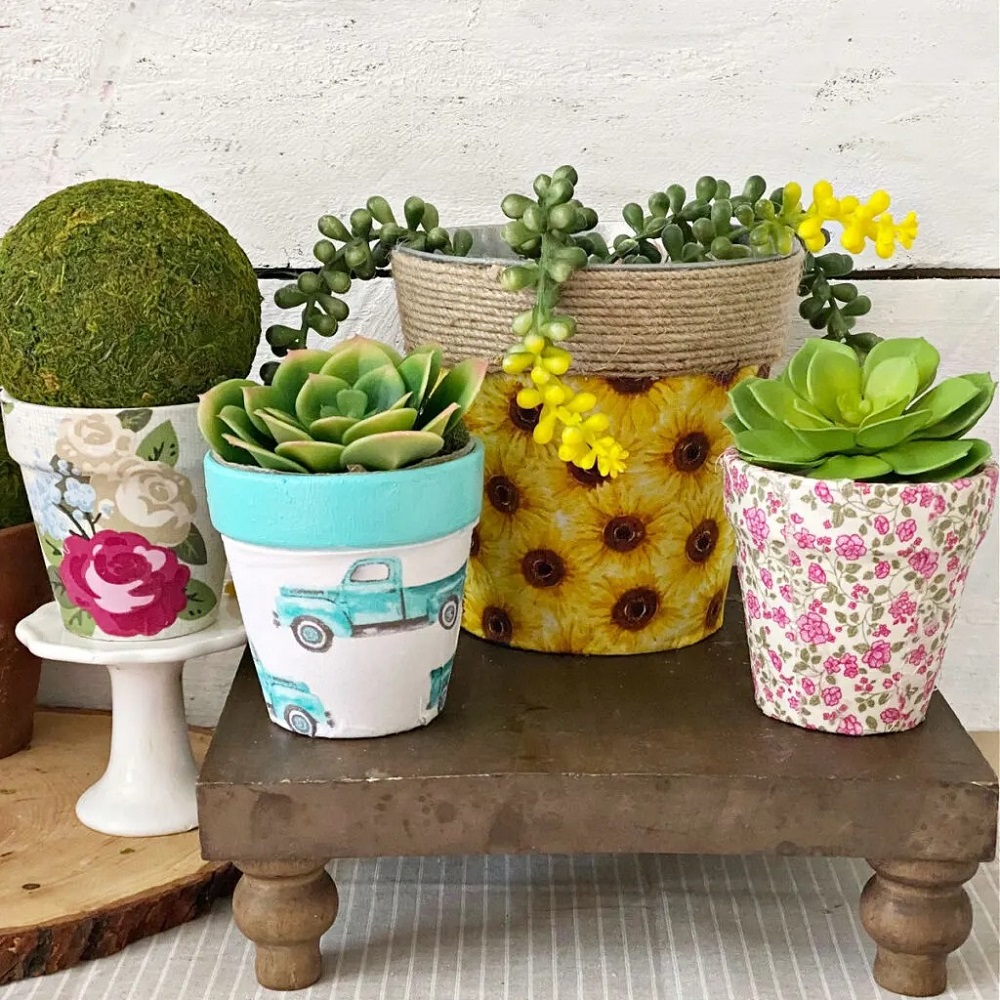
- Match the surroundings: Choose colors and patterns that compliment your garden or home decor.
- Seasonal themes: Pick holiday colors or seasonal patterns for a timely touch.
- Texture matters: Mix and match textures like cotton and canvas for depth.
- Brightness: For shaded areas, opt for bright fabrics to add a spark of light.
Remember, the fabric you choose will become a focal point, so select something that reflects your style.
Themes for Different Occasions
Your fabric pots can reflect various themes:
- Holidays: Use festive patterns for Christmas or Halloween.
- Events: Wedding white or baby blues and pinks for showers and parties.
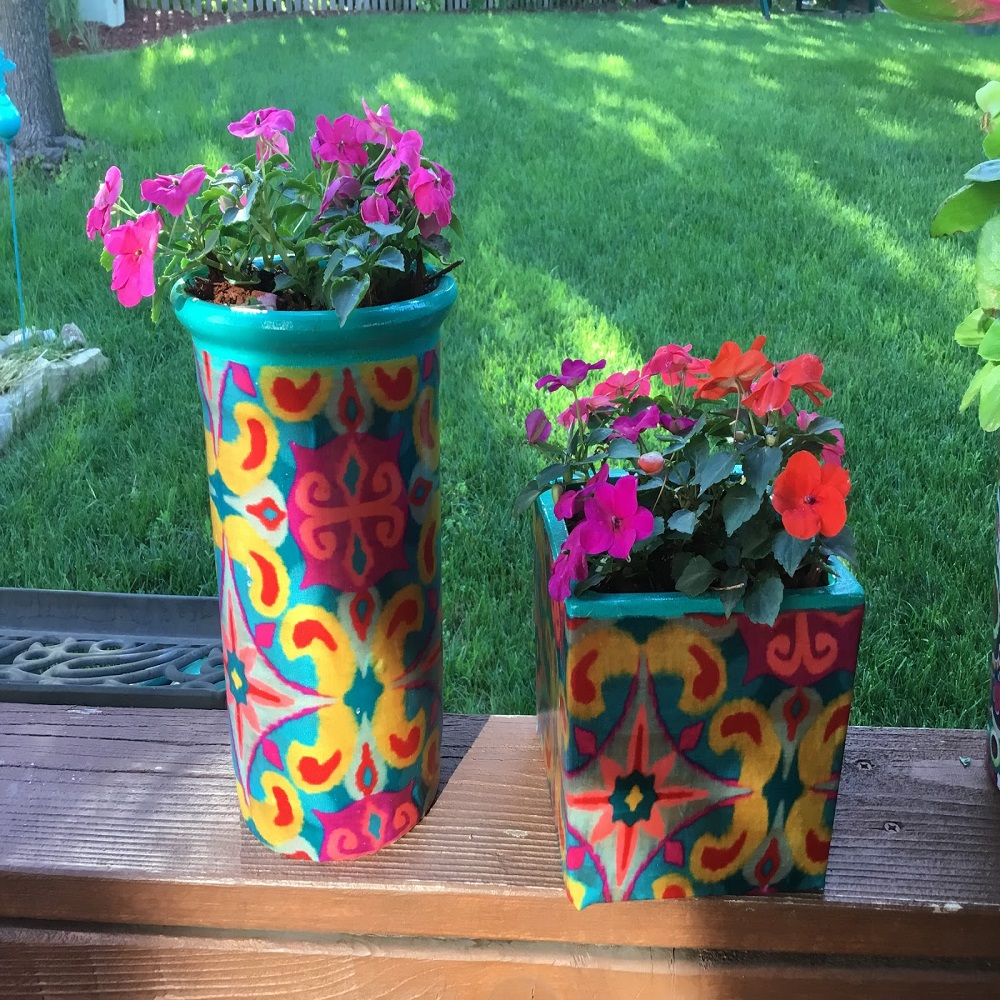
- Gardening styles: Herb prints for a kitchen garden; bold colors for tropical vibes.
- Kids’ designs: Animal prints or cartoon characters for children’s play areas.
Themed pots not only serve as decor but can also be great conversation starters.
Adding Personal Touches with Acrylic Paint
Acrylic paint can add personal flair to your pots. Here’s how:
- Highlights: Use paint to highlight fabric patterns or add borders.
- Monograms: Paint initials for a personalized touch.
- Creative patterns: Stencils or freehand designs to show off your artistic side.
- Finishing touches: A layer of paint can also seal the edges of the fabric.
Acrylic paint is durable and comes in many colors, so it’s perfect for customizing your fabric-pots.

Care and Maintenance for Your Fabric Adorned Flower Pots
Proper care ensures the longevity of your fabric-covered flower pots. Here are effective strategies:
Positioning Your Pots for Longevity
Choose areas with indirect sunlight for your pots. Direct sun can fade the fabric and cause damage. Indoors, place them near windows that provide filtered light.
Protecting from Sun and Rain
Cover the fabric pots with a weather-resistant sealant. This helps them withstand rain and retain their vibrant look. If placed outdoors, opt for shaded spots or under porch overhangs.
Using Saucers for Water Management
Always use a saucer under your pots to catch excess water. This prevents water stains on surfaces and aids in proper plant drainage. Painting the saucer with acrylic paint can add to the aesthetic while offering extra protection.
Wrapping Up with Stylish Fabric Covered Planters
Fashioning flower pots with fabric wraps up our guide beautifully. With the steps we’ve covered, you now have all you need to make unique, durable and personalized pots. Whether for your own space or as a gift, these pots add a charming touch to any setting. Let’s dive into some final tips for using these fabric-adorned planters.
Ideas for Gifting
Fabric covered pots are perfect as gifts. Here are some occasions where they shine:
- Mother’s Day: Surprise her with a custom pot with her favorite flower.
- Housewarmings: A pot with a stylish fabric aligns well with new home decor.
- Teacher Appreciation: They make a thoughtful thank you gift filled with blooms or herbs.
Think about the recipient’s taste when choosing fabric. Add a personal note for a special touch.
Display Options for Home and Garden
These fabric pots suit various spots in your home or garden. Consider these ideas:
- On shelving: Elevate indoor spaces by arranging them on open shelves.
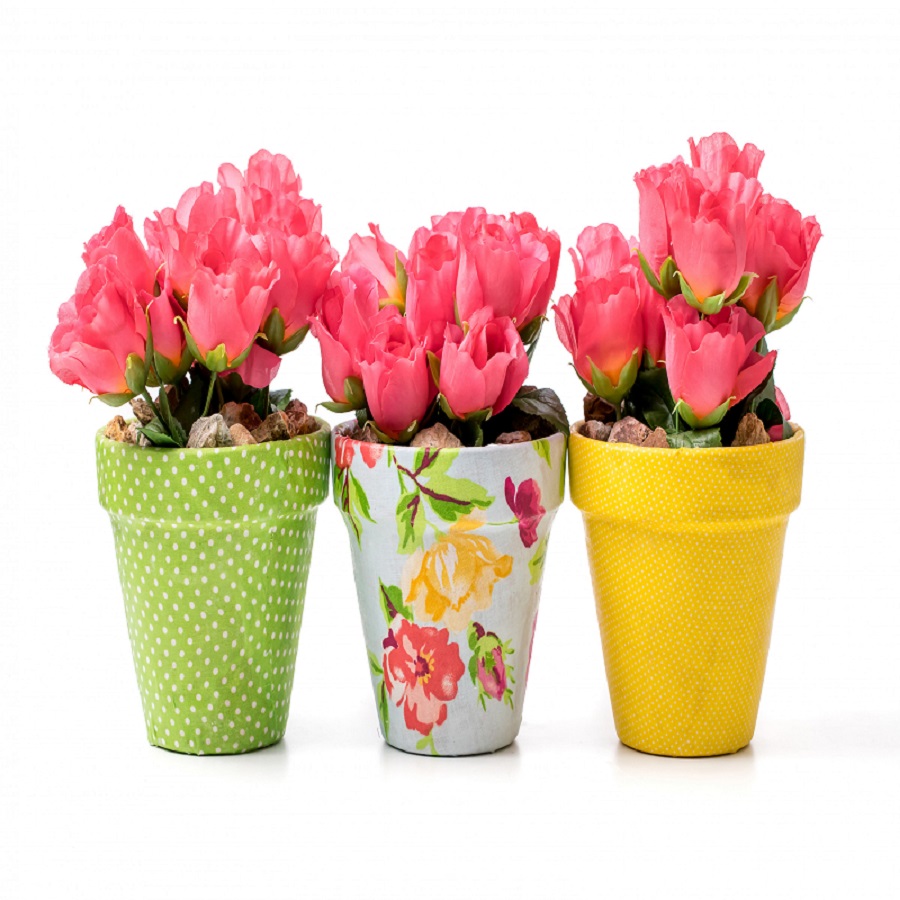
- Garden nooks: Create a cozy corner with pots in various fabric patterns.
- Tabletops: Use small fabric pots as centerpieces or decorative accents on tables.
With a little creativity, these fabric pots can brighten any area, indoors or out.
Use these tips and ideas to create charming spaces with your fabric covered flower pots. Remember to choose the right materials, follow the step-by-step guide, and care for your pots properly. Enjoy your crafting journey!
