Introduction: Unleashing Creativity for a Vibrant Garden Oasis
Transforming plain terracotta or plastic flower pots into vibrant, personalized works of art can breathe new life into your garden or indoor green space. Painting flower pots is not only a fun and creative DIY project but also an affordable way to infuse personality and color into your living environment. This comprehensive guide will walk you through the process, from gathering supplies to sealing your masterpiece, ensuring that your garden becomes a stunning reflection of your artistic flair.
Gathering Materials: The Foundation of Your Artistic Journey
Before dipping your brush into the world of painted pots, gather all necessary materials. You’ll need flower pots (preferably cleaned and dried), acrylic paints (for their weather-resistant properties), paintbrushes of various sizes for detail work, painter’s tape for clean lines, a sealant or varnish to protect your artwork from the elements, newspapers or a drop cloth to protect your workspace, a primer (optional but recommended for better paint adhesion), and some inspiration for your designs.
Preparing the Surface: Laying the Groundwork for Success
To ensure a smooth and long-lasting finish, proper surface preparation is crucial. Start by cleaning the pots thoroughly with soap and water, removing any dirt, stickers, or labels. For a more professional touch, lightly sand the surface with fine-grit sandpaper to create a slightly rough texture that paint can adhere to more easily. If you’re using a primer, now is the time to apply it, following the manufacturer’s instructions. Allow it to dry completely before proceeding with painting.
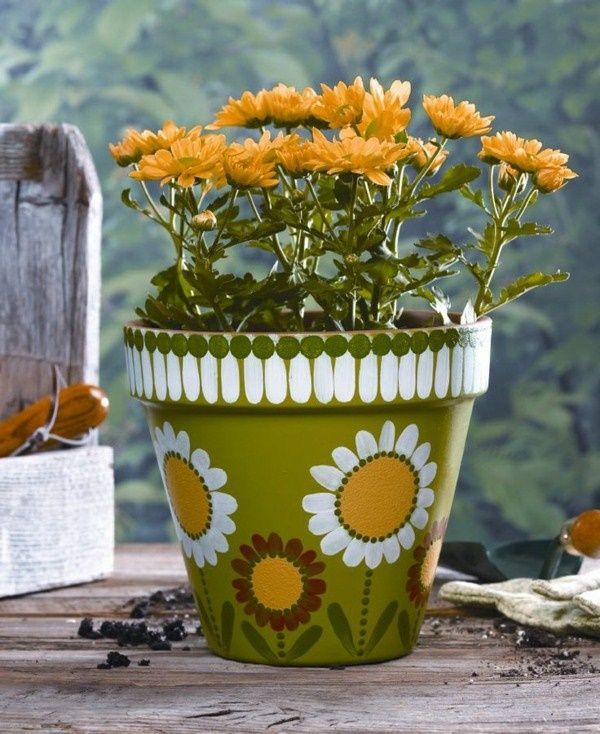
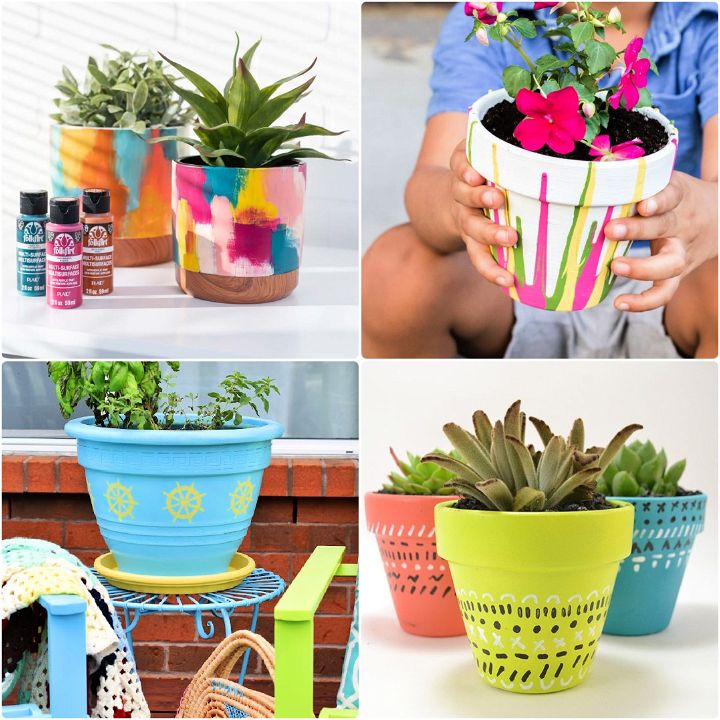
Choosing Your Design: From Whimsical to Classic
The design possibilities for your flower pots are virtually endless. You might opt for a whimsical pattern of polka dots, stripes, or even hand-painted floral motifs that echo the plants within. Alternatively, consider a more classic approach with monochromatic ombre effects or geometric shapes. For a personal touch, paint your family name, inspirational quotes, or the names of the plants directly onto the pots. Gather inspiration from nature, art, or even your favorite textiles to create a cohesive theme throughout your garden.
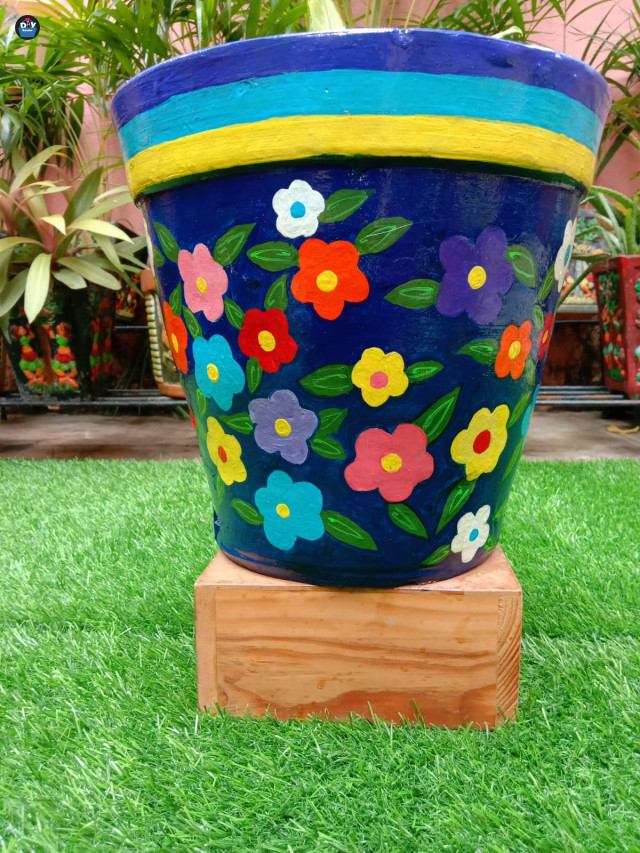
Color Theory and Harmony: Crafting a Visual Symphony
Understanding basic color theory can elevate your pot painting from ordinary to extraordinary. Complementary colors, such as blue and orange or red and green, create visual contrast and vibrancy. Analogous colors, which are next to each other on the color wheel (like yellow, green, and blue), offer a more harmonious, calming effect. Don’t shy away from experimenting with bold, bright hues that can make your plants pop or subtle pastels for a soft, romantic aesthetic. Remember, the colors you choose should complement not only the plants but also the overall ambiance of your outdoor or indoor space.
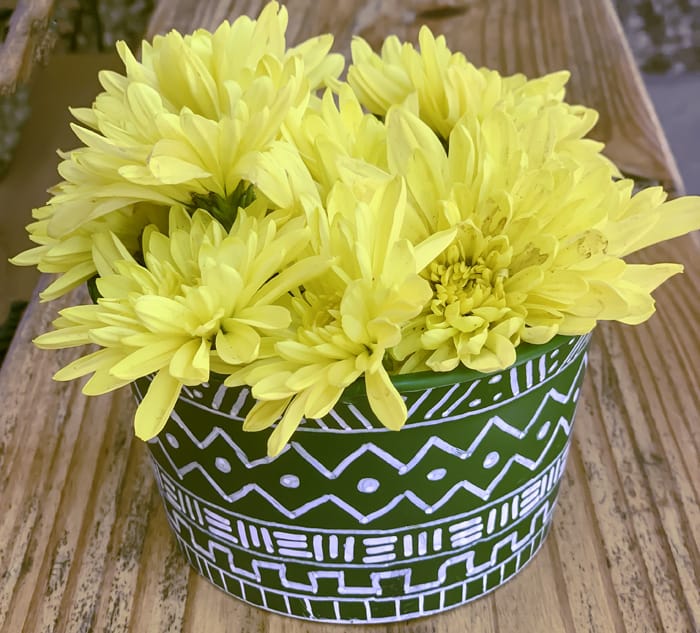
Techniques for Painting: Bringing Your Vision to Life
Several painting techniques can add depth and texture to your pots. Layering different shades of the same color can create a rich, dimensional look. Dry brushing, where you remove most of the paint from your brush and lightly sweep it over the surface, can give a weathered, rustic effect. Stenciling is another great method for precise patterns or intricate designs. To achieve a professional finish, use painter’s tape to create clean edges and remove it while the paint is still wet to avoid peeling. Remember, patience is key; allow each layer to dry fully before applying the next to prevent smudging.
Adding Finishing Touches: Elevating Your Masterpiece
Once your base design is complete, consider adding finishing touches to enhance the overall appeal. Glitter, beads, or small stones glued onto the dried paint can add a touch of glamour. For a more natural look, consider attaching small pebbles or seashells. Another technique is distressing the paint lightly with sandpaper post-drying, revealing hints of the pot’s original color underneath for a vintage charm.
Sealing Your Work: Protecting Your Artistry
To ensure your beautiful creations withstand the test of time and weather, sealing is imperative. Choose a clear, weatherproof sealant specifically designed for outdoor use. Apply a thin, even layer with a brush, following the grain of your design, and let it dry thoroughly according to the product instructions. Some sealants require multiple coats for optimal protection. This step not only preserves your artwork but also makes cleaning and maintenance much easier.
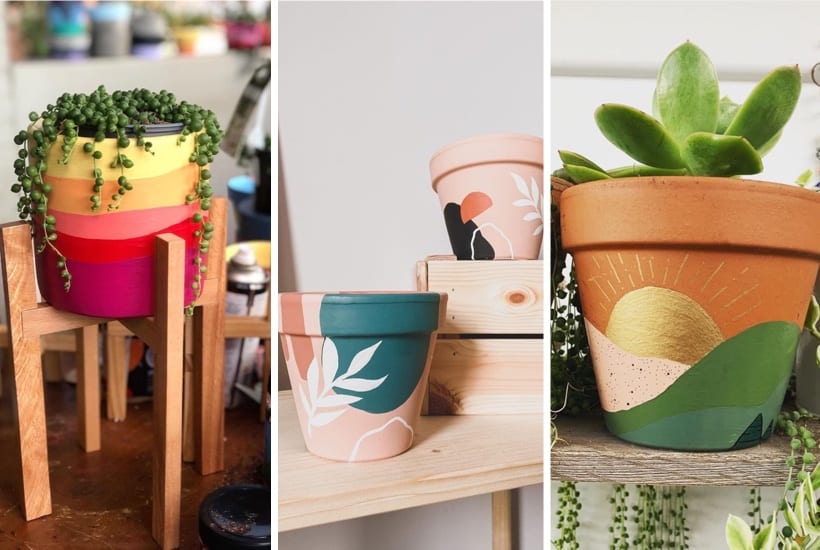
Displaying Your Artful Creations: Transforming Your Garden
Now comes the rewarding part—displaying your newly painted pots. Arrange them thoughtfully around your garden, pairing complementary colored flowers or plants with their respective pots. Mix and match sizes and heights for visual interest, or create a themed corner with pots sharing similar design elements. Indoors, use them to liven up windowsills, bookshelves, or as centerpieces on dining tables. Remember, the beauty of this DIY project lies in its versatility and personal expression.
Maintenance and Longevity: Caring for Your Painted Pots
To keep your painted pots looking fresh, follow a few simple maintenance tips. Clean them gently with a soft cloth and mild detergent when needed, avoiding abrasive cleaners that could scratch the paint or sealant. Inspect the pots periodically for signs of wear and reapply sealant as necessary, especially if you notice any chipping or fading. By taking good care of your creations, they can continue to beautify your spaces for years to come.
Incorporating Lighting for Dramatic Effects: Illuminating Your Garden Art
To further enhance the ambiance of your outdoor space, incorporate lighting elements that highlight your painted pots. Solar-powered stake lights placed near or behind your pots can cast a warm glow on your artwork during evening hours, creating an enchanting display. Alternatively, string lights woven through larger plants or wrapped around tree trunks near your displayed pots add a touch of whimsy and make for a delightful setting during gatherings.
Conclusion: Cultivating Joy Through Creative Expression
Painting flower pots is not merely a craft; it’s a journey of self-expression and creativity that infuses life and personality into your garden. Whether you’re an experienced artist or a beginner exploring your creative side, this DIY project offers a rewarding experience that combines the joy of gardening with the satisfaction of handmade artistry. As your uniquely painted pots fill your outdoor or indoor spaces with color and charm, remember that the true beauty lies not only in the finished product but also in the process itself. So, gather your materials, let your imagination run wild, and embark on this colorful adventure to transform your garden into a vibrant oasis.